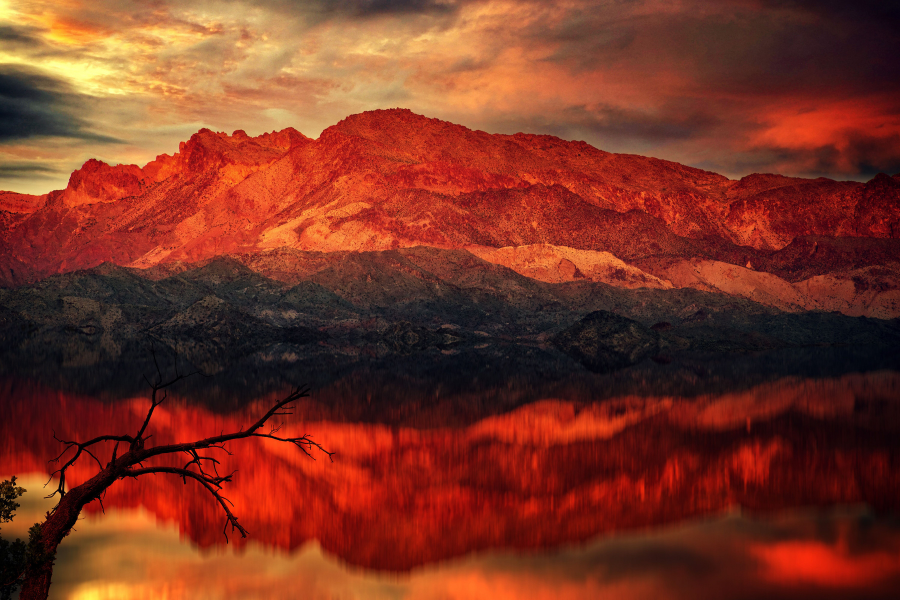
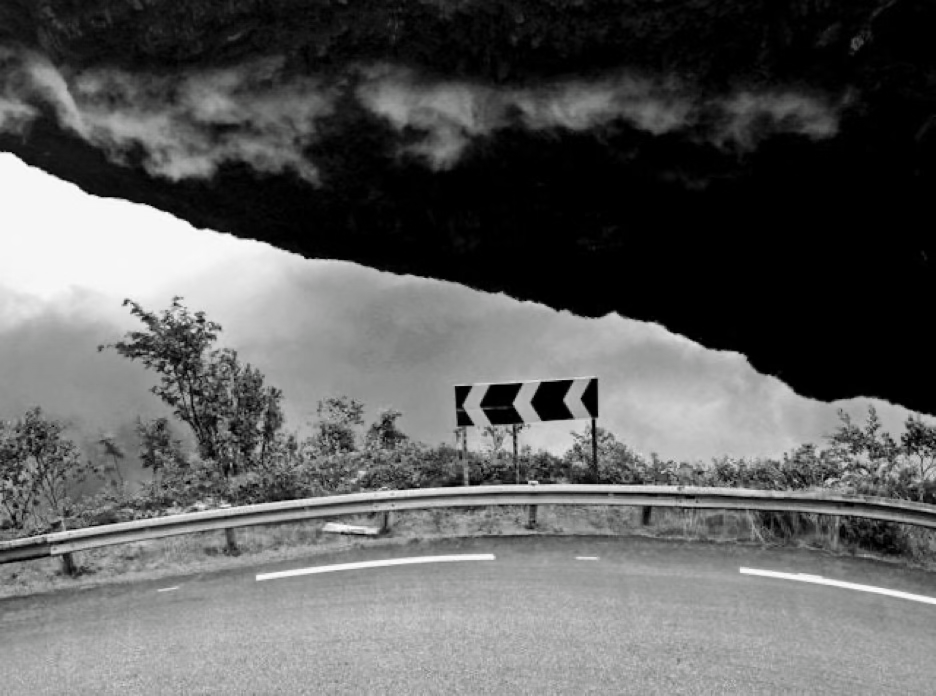
Sometimes, the most powerful landscape images are the ones that feel slightly impossible. A mountain looks too large to be real; A shoreline turns into mist; Trees glow white like they belong on another planet; A lone figure stands in a vast, empty scene that feels more like a dream than a destination. That’s the allure of surreal landscape photography.
Surreal landscape photography techniques move beyond traditional realism and into the world of imagination, emotion, and visual storytelling. Instead of asking, “How can I capture this scene accurately?” you might ask, “How can I make this scene feel like a version that exists in my mind?”
Surreal landscapes captivate viewers because they make the familiar feel unfamiliar. We recognize the elements: water, clouds, trees, mountains, sand, and sky. But something about the way they’re shot or edited makes us pause. The scene feels dreamlike, whimsical, weird, ethereal, or otherworldly. It gives the viewer just enough reality to feel grounded, then bends that reality enough to make them curious.
Creating this kind of image takes more than dropping a preset onto a pretty view. It starts with pre-visualization, continues with intentional in-camera techniques, and comes alive in the digital darkroom. In this guide, we’ll explore how to recognize surreal potential in the landscape, use in-camera techniques to distort time and light, and shape the final image through thoughtful creative editing.
Thinking Like a Surrealist
Before you ever reach for filters, tripod, camera settings, or Photoshop layers, you must start with a concept.
Surreal landscape photography begins with seeing potential instead of simply seeing what’s in front of you. For example, a basic desert scene might become a minimalist alien planet. A foggy forest might become a portal into another world. A still lake might become a perfect mirror that feels more symbolic than literal.
Some landscapes naturally lean surreal because they lack the usual visual cues we use to understand scale and place. White Sands in New Mexico, Iceland’s highlands, salt flats, badlands, volcanic deserts, ice caves, and sand dunes are all great examples. These places already feel slightly disconnected from everyday life. There might be no trees, buildings, roads, or people to give the viewer a sense of size. That emptiness gives you room to create something strange and cinematic.
But you don’t need to travel halfway across the world to make surreal images. Foggy fields, frozen ponds, stormy beaches, overgrown forests, quarries, marshes, and even familiar local parks can become ethereal landscapes if you learn to see them differently.
Atmosphere is your best assistant when it comes to surreal landscapes. Fog, mist, rain, snow, dust, smoke, and harsh weather can simplify a scene and remove distractions. They act like a visual veil, softening detail and creating mystery. A cluttered woodland becomes a layered dreamscape. A normal hillside becomes a ghostly silhouette. A familiar beach becomes a blank canvas.
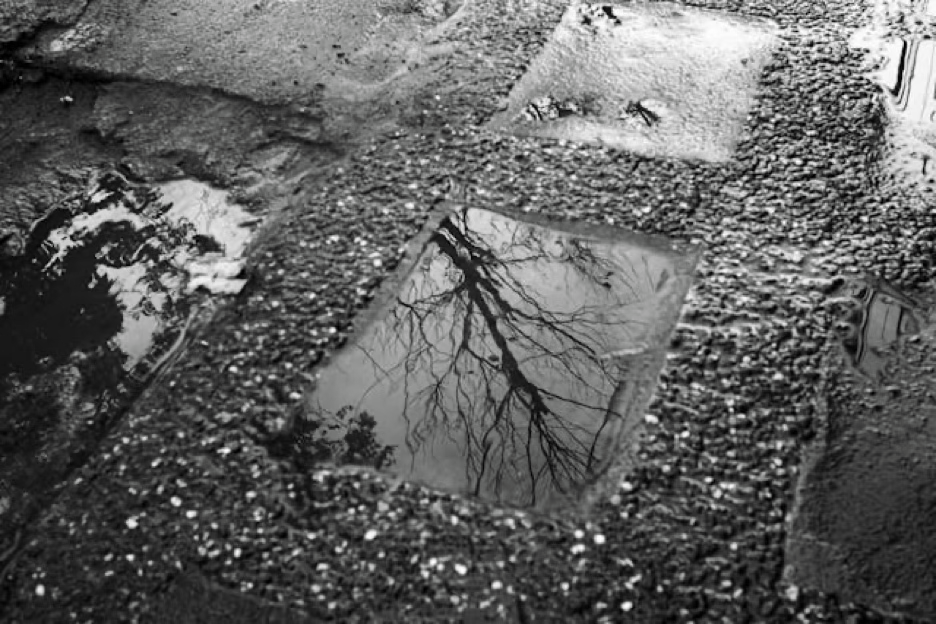
That familiar local park, for example, might not feel inspiring at first because you’ve already seen the walking path, picnic tables, playground, and tree line a hundred times. But surreal landscape photography asks you to ignore the obvious version of the place and look for fragments instead. A patch of fog between two trees can become a mysterious forest entrance. A puddle on the pavement can become a mirrored portal if you get low enough. Backlit leaves can turn into glowing shapes. A shadow from a fence or branch can become a graphic pattern that feels more abstract than literal.
In-Camera Techniques
Some of the most effective surreal landscape photography techniques happen before you ever open your editing software. In the next few sections, we’ll look at how long exposures, infrared photography, and intentional camera movement can help you bend time, reveal invisible light, and turn familiar scenes into something far more dreamlike.
Long Exposure and the Fluidity of Time
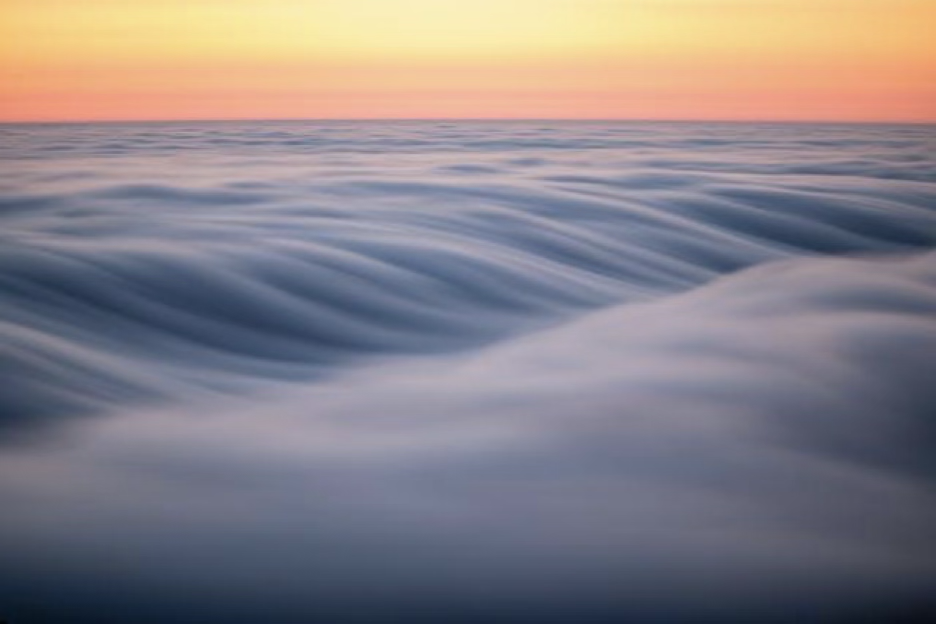
One of the most effective in-camera surreal landscape photography techniques is long exposure photography. Long exposures distort time, and time distortion is one of the easiest ways to make reality feel dreamlike.
With a long exposure, water doesn’t look like water anymore. It softens into mist, waves start to look like vapor, clouds stretch across the sky, and busy places can suddenly feel calm and empty. Long exposure turns movement into mood.
For daytime long exposures, you’ll need neutral density filters. A 10-stop ND filter is a great starting point, while a 15-stop ND filter is useful when you want ultra-long exposures in bright conditions. These filters block light so you can use slower shutter speeds without overexposing your image.
Here’s a simple way to think about the long exposure process:
- Start by setting up your camera on a sturdy tripod. You’ll be using a slow shutter speed, so the camera needs to stay completely still.
- Choose your composition and focus before adding the ND filter. Once the dark filter is on the lens, your camera may have trouble seeing and focusing.
- Switch to manual focus after you’ve focused. This keeps the camera from trying to refocus when you press the shutter.
- Take a test photo without the ND filter. A good starting point is ISO 100, an aperture between f/8 and f/11, and whatever shutter speed gives you a properly exposed image.
- Add your ND filter, then lengthen your shutter speed based on how strong the filter is. A 10-stop filter requires a much longer exposure than your original test shot.
- If the final shutter speed is longer than 30 seconds, use bulb mode with a remote shutter release or intervalometer.
The easiest way to calculate the new shutter speed is to use an ND filter calculator app. You enter your original shutter speed, choose the strength of your filter, and the app tells you how long the exposure should be.
For example, let’s say your test shot without the filter is 1/4 second. If you add a 10-stop ND filter, your new shutter speed will be about 4 minutes. That additional time is what smooths out water, stretches clouds, and creates that soft, surreal feeling. A 15-stop filter makes the exposure even longer, so you may need to adjust your aperture or ISO if the shutter speed becomes too long to manage.
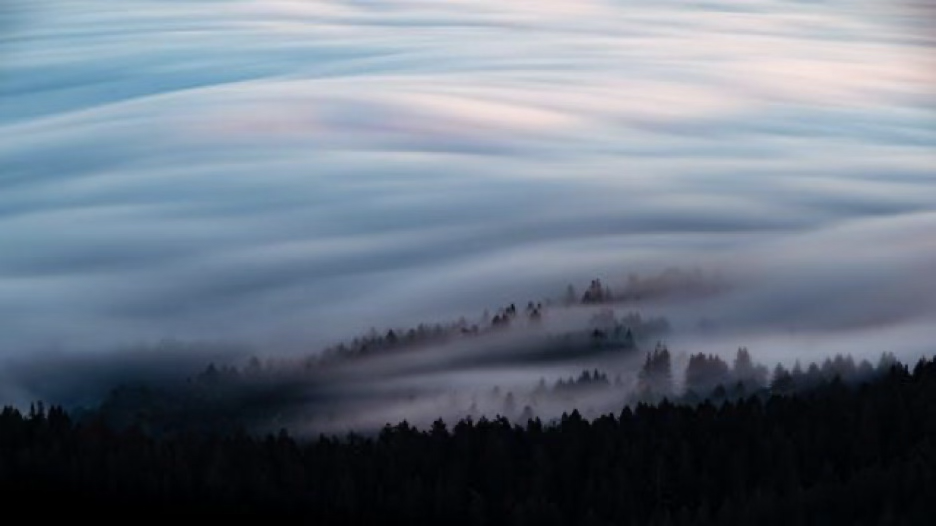
For surreal seascapes, start with exposures between 2 and 4 minutes. That’s usually long enough to turn waves into a soft, cloudlike surface while keeping rocks, cliffs, or piers sharp. For moving clouds, try 1 to 3 minutes and look for clouds traveling in one clear direction. The stronger and more consistent the movement, the more dramatic the streaking effect will be.
Long exposure works especially well when there’s a strong static subject against moving elements. Think rocks against water, mountains under clouds, trees in fog, or architecture beneath a moving sky. The still subject gives the image structure while the moving elements give it magic.
Infrared Photography: The Invisible World
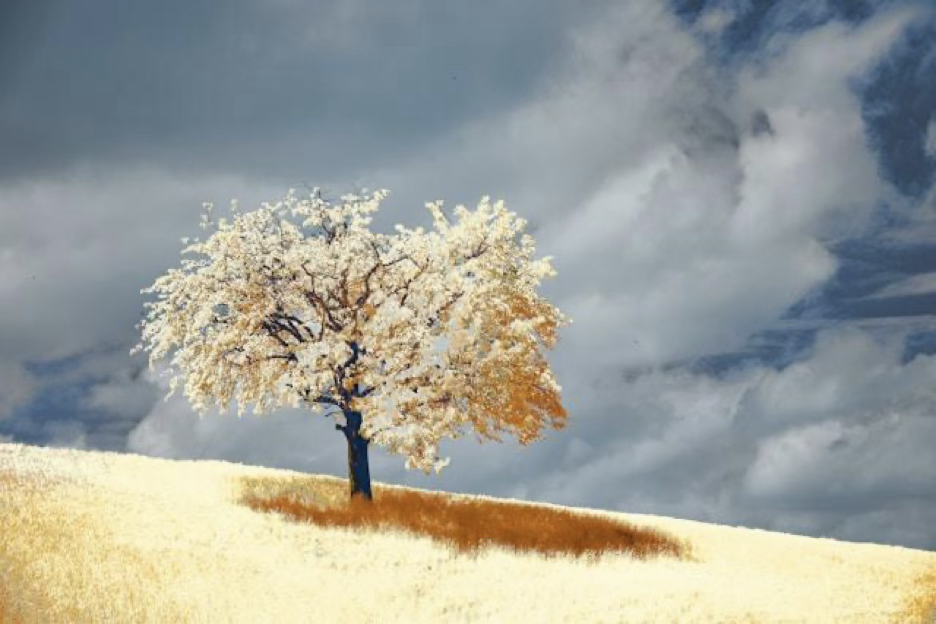
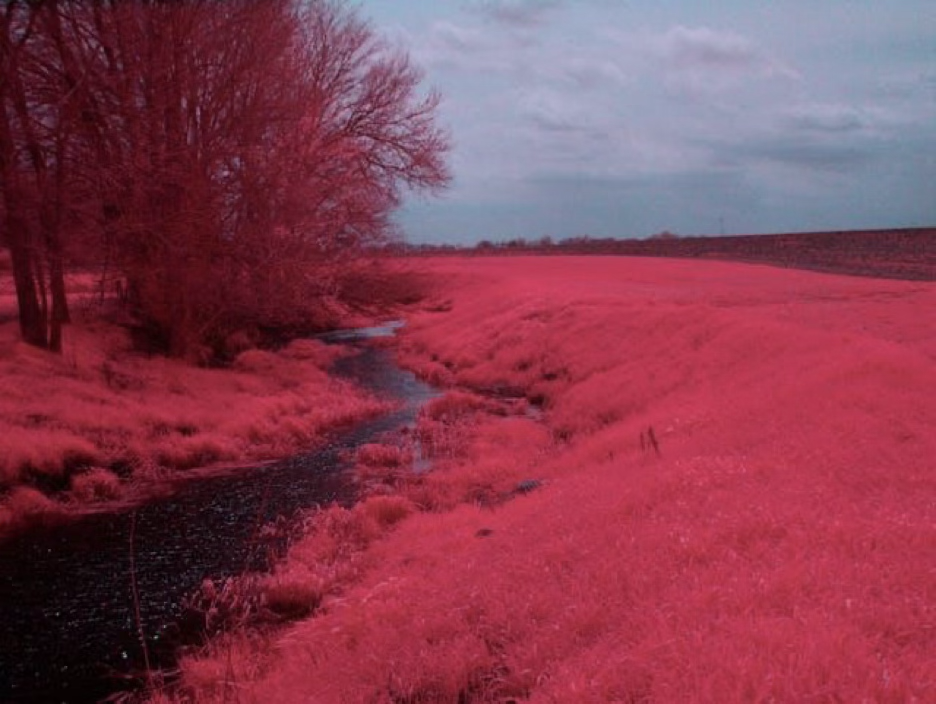
Infrared landscape photography is another beautiful way to break the reality barrier. Infrared photography records light that’s normally invisible to the human eye. The result can feel strange, luminous, and otherworldly. Foliage often turns bright white or pale pink because of the “Wood Effect,” while skies can become deep and dramatic. A simple summer landscape can look like a snowy dream.
There are two common ways to shoot infrared landscapes. You can use an infrared filter, such as a 720nm IR filter, or you can use a camera converted specifically for infrared photography.
An infrared filter is the more affordable option, but it blocks a lot of visible light, so you’ll need long exposures and a tripod. It’s also worth knowing that many modern digital cameras have strong internal filters that block infrared light, which means an external infrared filter may not work well, or will require very long exposures. An infrared converted camera is more expensive, but it allows for faster shutter speeds and easier handheld shooting. Once it’s converted, it works just like a regular digital camera, so you can compose, focus, and shoot normally without fighting through a nearly black filter.
Infrared files usually look odd straight out of camera, so don’t panic. The real transformation happens in post-processing. You’ll need to adjust white balance, swap color channels, increase contrast, and refine tones to get that glowing, surreal effect.
Infrared works especially well with trees, grasses, lush vegetation, blue skies, and dramatic clouds. Midday light, which can be harsh for traditional landscapes, can actually work beautifully for infrared because foliage reflects infrared light strongly.
Infrared gives you permission to go out and create weird, dreamy landscapes at high noon. That alone makes it worth experimenting with!
Intentional Camera Movement
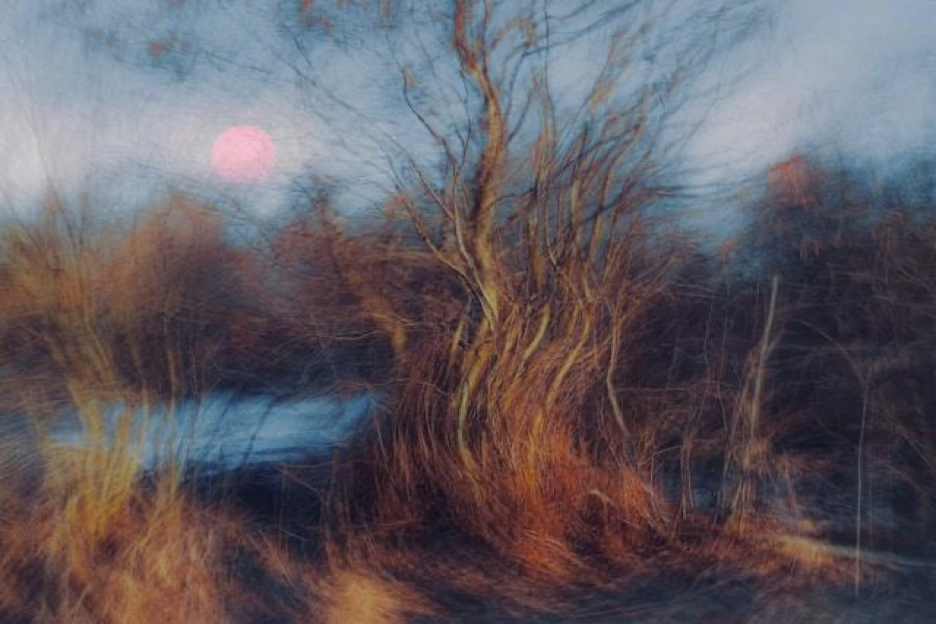
Intentional camera movement, or ICM, is where landscape photography starts to feel more like painting.
Instead of keeping the camera perfectly still, you move it during the exposure. The result is soft, abstract, and expressive: Trees become vertical brushstrokes, shorelines become bands of color, and reflections become ripples of light.
For ICM, start with shutter speeds between 1/4 second and 2 seconds. The exact speed depends on how fast you move the camera and how much detail you want to preserve.
Try these approaches:
- Pan horizontally along a shoreline to create soft bands of land, water, and sky.
- Move vertically through a forest to stretch trees into elegant lines.
- Zoom your lens during exposure to create a tunnel-like pull toward the center of the frame.
- Rotate the camera slightly for a more abstract, disorienting effect.
ICM isn’t about perfect sharpness. It’s about rhythm, color, gesture, and emotion. You’ll probably take a lot of bad frames before you get one that works, and that’s completely normal. This technique is wonderfully unpredictable.
The trick is to look for simple scenes with strong shapes or color separation. Too much detail can turn into visual mush. A clean tree line, a bright patch of flowers, a misty woodland, or a high-contrast coastline will work better than a busy, cluttered scene.
Manipulating Perspective with Advanced Composition
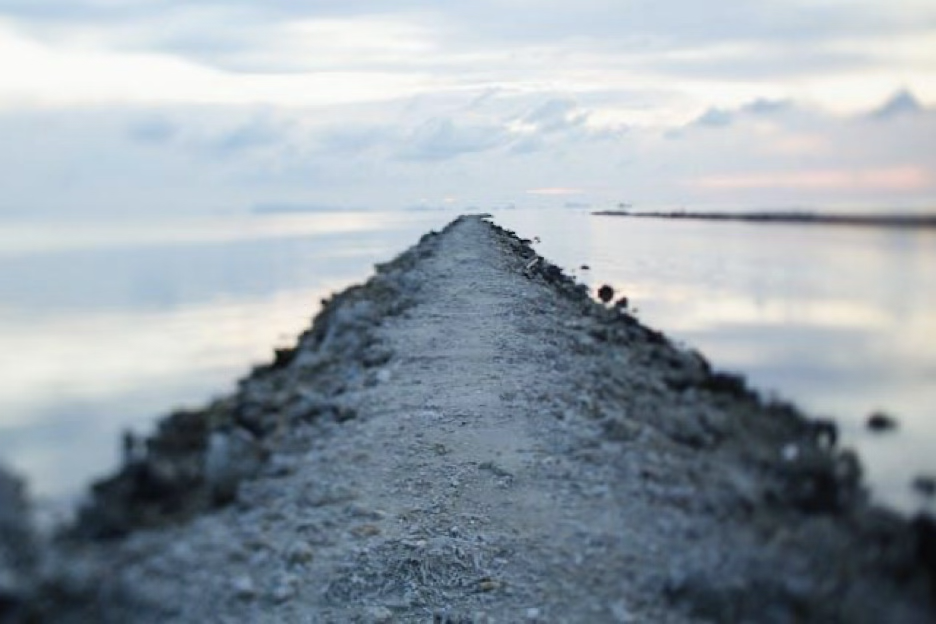
Surrealism doesn’t always have to come from motion blur, unusual colors, or dramatic editing. Sometimes, the most powerful way to make a landscape feel otherworldly is to change how the viewer understands depth, distance, and scale. You can do this in several ways, including focal length blending, using reflections, and playing with scale distortion.
Focal Length Blending
One powerful method of manipulating perspective is with focal length blending. This technique combines a wide-angle foreground with a telephoto background to create a scene that feels grander than reality. It’s often used to make mountains, moons, or distant features appear much larger behind a foreground subject.
Here’s the basic workflow:
- Set up your camera on a tripod.
- Shoot your foreground with a wide-angle lens, such as 16mm to 24mm.
- Without moving your tripod position too much, switch to a longer focal length, such as 70mm to 200mm, and photograph the background.
- Blend the two images in Photoshop using masks.
- Match lighting, contrast, color temperature, and sharpness so the final image feels believable.
This technique can create a powerful sense of scale, but it needs restraint. If the background looks cartoonishly large or the perspective feels inconsistent, the viewer will notice. The goal is not to trick people. The goal is to create a heightened version of the scene that supports your artistic vision.
Reflections as Portals
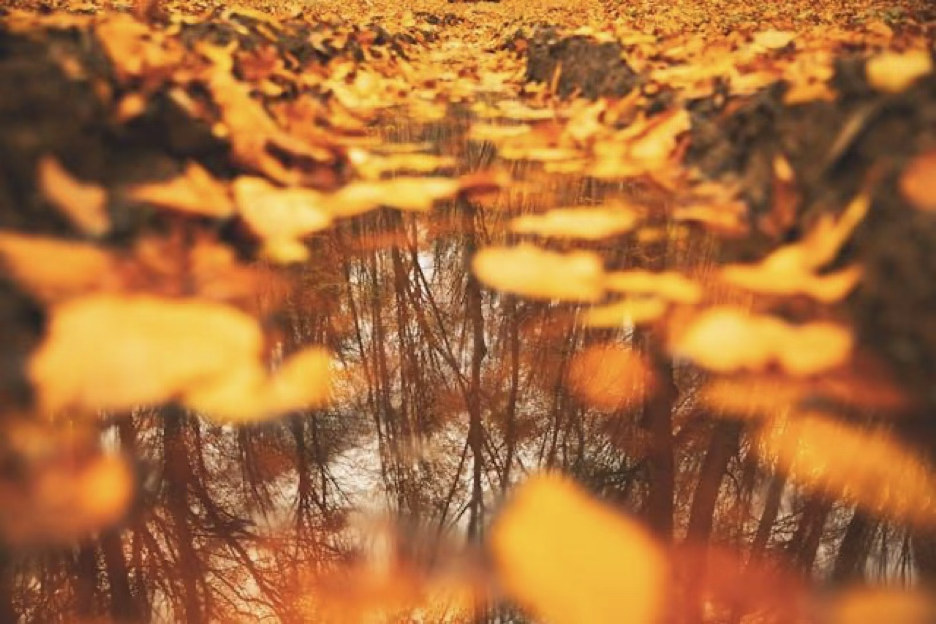
Reflections are another popular tool for surreal composition. Still water, wet sand, black glass, a framed mirror, or even a phone screen can create symmetrical images that feel like portals. Perfect symmetry can make a landscape feel less like a place and more like a symbol.
Look for calm lakes at sunrise, puddles after rain, tidal pools, or flooded salt flats. Place the horizon near the center of the frame for a mirror effect. Yes, this breaks the rules of composition, but in a surreal image, symmetry can be exactly what makes the scene feel strange, intentional, and dreamlike.
Scale Distortion
Scale distortion is another classic approach to surrealism. A tiny person, tree, tent, or animal placed in a vast empty landscape can create a powerful sense of isolation and wonder. The smaller the subject feels, the more emotional weight the environment carries.
Creative Landscape Editing in the Digital Darkroom
Post-processing is where surreal landscapes fully come alive. This doesn’t mean you need to turn every image into a neon fantasy world. Creative landscape editing should guide the viewer into the mood you imagined when you captured the scene. There are several ways to achieve this, including color grading, the Orton Effect, luminosity masking, and compositing, each of which gives you a different way to shape the final image.
Color Grading
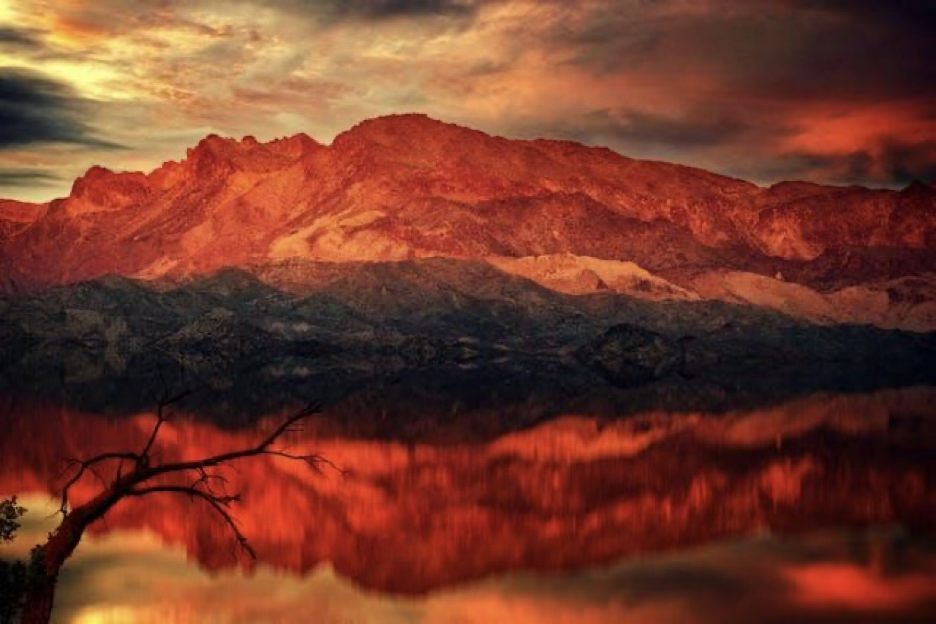
Color grading is one of the biggest tools you have. Natural colors signal reality. Shift those colors carefully, and the image starts to feel dreamlike.
Try turning greens toward teal for a cooler, cinematic mood. Shift blues toward purple for a twilight fantasy feeling. Warm highlights and cool shadows can create emotional contrast. Soft pinks, icy blues, muted golds, and deep violets can all push a landscape into more ethereal territory.
Split toning, or color grading in Lightroom, lets you add different colors to highlights, midtones, and shadows. For example, you might add warm peach tones to highlights and cool blue tones to shadows, creating atmosphere without completely overpowering the image.
Orton Effect & Glow
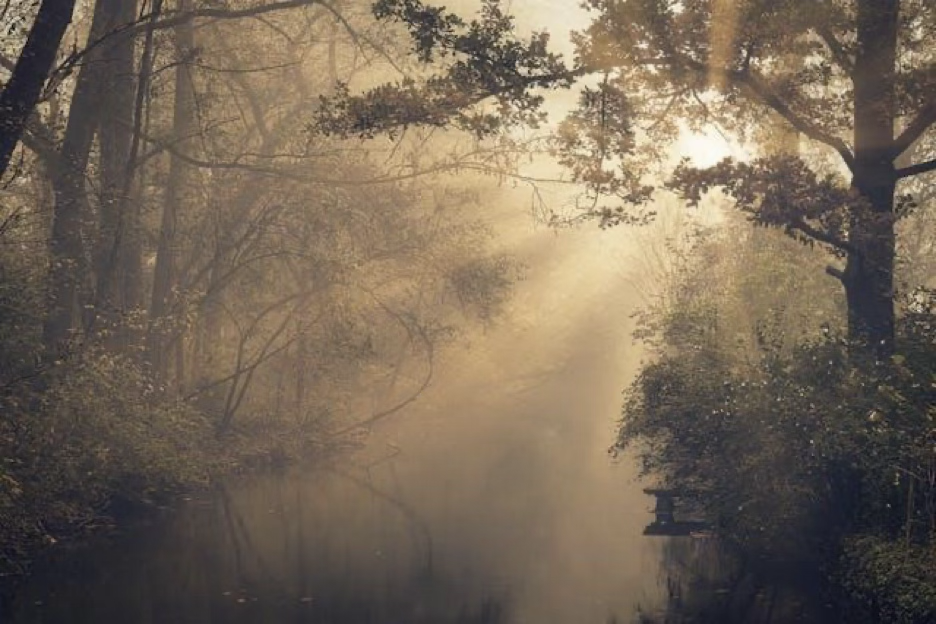
The Orton Effect is another popular technique for surreal and ethereal landscapes. It adds a soft glow to highlights while preserving enough detail to keep the image from looking blurry.
A simple Orton-style workflow in Photoshop:
- Duplicate your image layer.
- Apply Gaussian Blur to the duplicate layer.
- Set the blend mode to Soft Light or Screen.
- Lower the opacity to around 10 to 25 percent.
- Mask the effect into highlights and atmospheric areas only.
The key is subtlety. Too much glow can make an image look muddy or overly processed. You want the light to feel luminous, not smeared.
Luminosity Masking
Luminosity masking is useful when you need precise control over light. These masks allow you to target specific brightness ranges, such as highlights, midtones, or shadows. Use it to darken a dramatic sky without crushing the land, brighten mist without affecting the foreground, or create high-contrast chiaroscuro effects in nature.
Think of luminosity masking as sculpting with light. Instead of applying global adjustments, you’re shaping the image piece by piece.
Composite Techniques
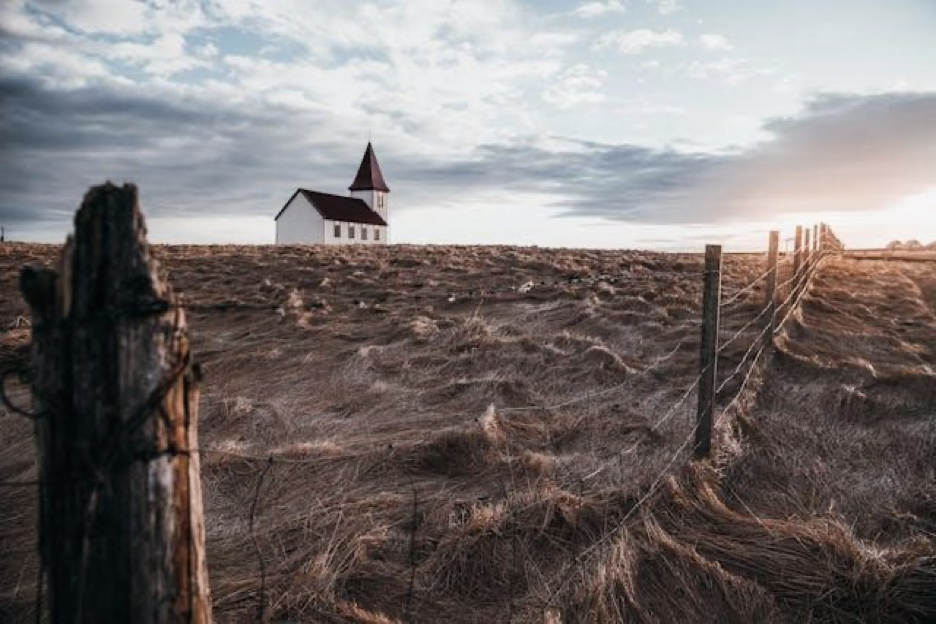
Composite photography can open the door to truly imaginative landscape work. You might add a larger moon, blend in star trails, combine multiple exposures, replace a dull sky, or bring together elements from different moments.
But, believable composites depend on consistency. Light direction needs to match, shadows need to make sense, color temperature should feel unified, and perspective has to be believable. A giant moon added to a landscape can look stunning, but if it’s too sharp, too bright, or lit differently from the rest of the scene, it’ll immediately feel pasted on.
A good composite workflow looks like this:
- Choose images with a similar lighting direction.
- Match white balance and contrast before blending.
- Use soft masks and gradual transitions.
- Add atmospheric haze when needed to help distant elements sit naturally.
- Check shadows and highlights carefully.
- Zoom out often to make sure the whole image still feels cohesive.
Most importantly, keep your original photographic skills strong. A weak composition won’t become powerful just because you added a dramatic sky. The best surreal composites are still built on strong light, balance, subject placement, and visual flow.
Essential Gear for Surreal Landscape Photography
You don’t need the latest and greatest gear, but a few tools make surreal landscape photography much easier.
- Filters: High-quality filters are important. ND filters allow long exposures. Polarizers help manage reflections and deepen skies. Infrared filters open up the invisible world. Cheap filters can cause color casts, softness, and flare, so this is one area where quality glass really does matter.
- Tripod: A rock-solid tripod is non-negotiable for long exposures, focal length blending, exposure blending, and composites. If your tripod shifts between frames, your editing process will be a lot more frustrating. Look for something sturdy enough for wind, water, and uneven terrain.
- Accessories: A remote shutter release is helpful for exposures longer than 30 seconds. It also reduces camera shake. High-quality memory cards with plenty of storage are also important, especially when you’re shooting long exposures, brackets, composites, RAW files, or high-resolution images in the field.
- Software: Adobe Lightroom and Photoshop are still the standard combination for most creative landscape editing. Lightroom is great for global adjustments, color grading, and organization. Photoshop is where you’ll handle masks, composites, focal length blending, Orton effects, and detailed retouching. Topaz Labs can be helpful for noise reduction, sharpening, and upscaling. Nik Collection is also useful for creative color work, contrast, and black and white processing.
Ethical Considerations in Creative Editing
Surreal landscape photography naturally involves interpretation, and often, manipulation. That’s not a bad thing. Editing has always been part of photography. The important thing is transparency.
If an image is a digital composite, say so when context matters. If you added a moon, replaced a sky, blended exposures from different times, or significantly altered the scene, labeling it as a composite helps build trust with your audience.
There’s a difference between in-camera surrealism and digital surrealism. A long exposure of clouds streaking across the sky is an in-camera effect. An infrared image might be heavily processed, but it’s still based on invisible light captured by the camera. A scene built from multiple locations is a composite.
None of these approaches are better or worse. They’re just different forms of visual storytelling. Respecting the craft means understanding the difference and being honest about your process.
It also means remembering that the photograph has to be strong before the editing begins. Light, timing, composition, emotion, and intention are the foundation of a powerful image. Editing can heighten the mood, shape the story, and push the scene into surreal territory, but it can’t rescue an image that doesn’t have a strong visual core.
Final Thoughts
Surreal landscape photography is about more than making a scene look strange. At its best, it’s a way of turning your internal vision into something visible. The landscape gives you the raw material, but your imagination decides what it can become. Light, weather, motion, color, perspective, and editing are all tools that help you shape that vision into an image that feels emotional, unexpected, and just a little otherworldly.
That’s what makes this style of photography so intriguing. You’re not limited to documenting the world exactly as it appears in front of you. A quiet lake can become a portal to an unknown world. A cloudy sky can become a river of motion. A familiar tree line can become a glowing, dreamlike forest. The more you practice looking beyond the obvious, the more surreal potential you’ll start to notice in places you have overlooked time and time again.
Next time you’re out with your camera, don’t just look for what’s there. Look for what could be there. Look for the shape inside the fog, the reflection inside the puddle, and the mystery inside the ordinary scene. Surrealism starts when you give yourself permission to see the landscape not as it is, but as it feels in your imagination.