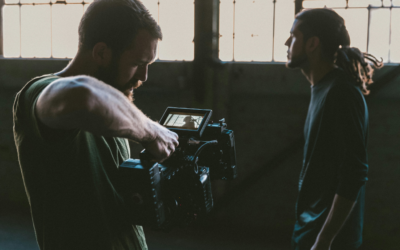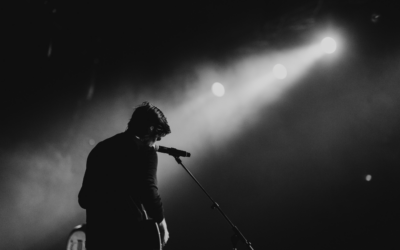
Low-key lighting photography is one of the most effective ways to create mood with intention. Instead of lighting every part of the frame, it relies on deep shadows, controlled highlights, and strong contrast to direct the viewer’s eye. That’s what makes the style so powerful. A low-key image doesn’t reveal everything at once. It gives the viewer just enough to feel the emotion, study the shape, and then imagine the rest.
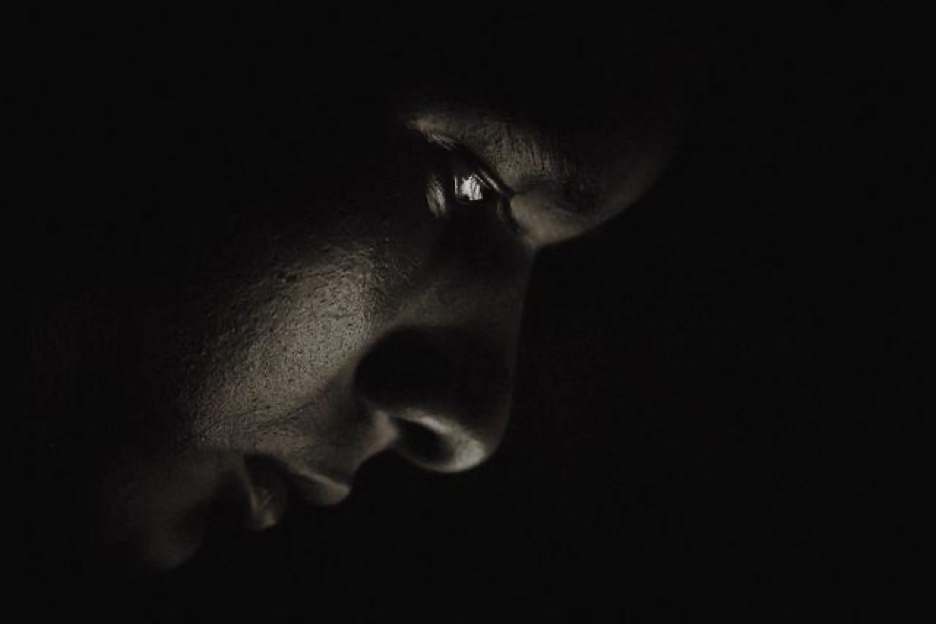
Low-key is not simply underexposure or a mistake in camera settings. This is an important distinction. It’s a deliberate visual choice built around dark tones, selective illumination, and dramatic lighting techniques that create tension, atmosphere, and narrative weight. And that cinematic quality is part of the appeal. When you hide part of the frame, the image becomes more than a record of a subject, it becomes an experience. The eye moves to the brightest detail, while the mind fills in what the shadows conceal.
Whether you are working on portraits, still life, or urban night scenes, mastering shadows in photography can help you create images that feel more focused, more emotional, and more memorable.
The Art of Chiaroscuro: Historical Roots
The foundation of low-key lighting photography reaches back long before the invention of the camera. Painters such as Caravaggio and Rembrandt used light and darkness to shape the subject, control attention, and build emotional depth.
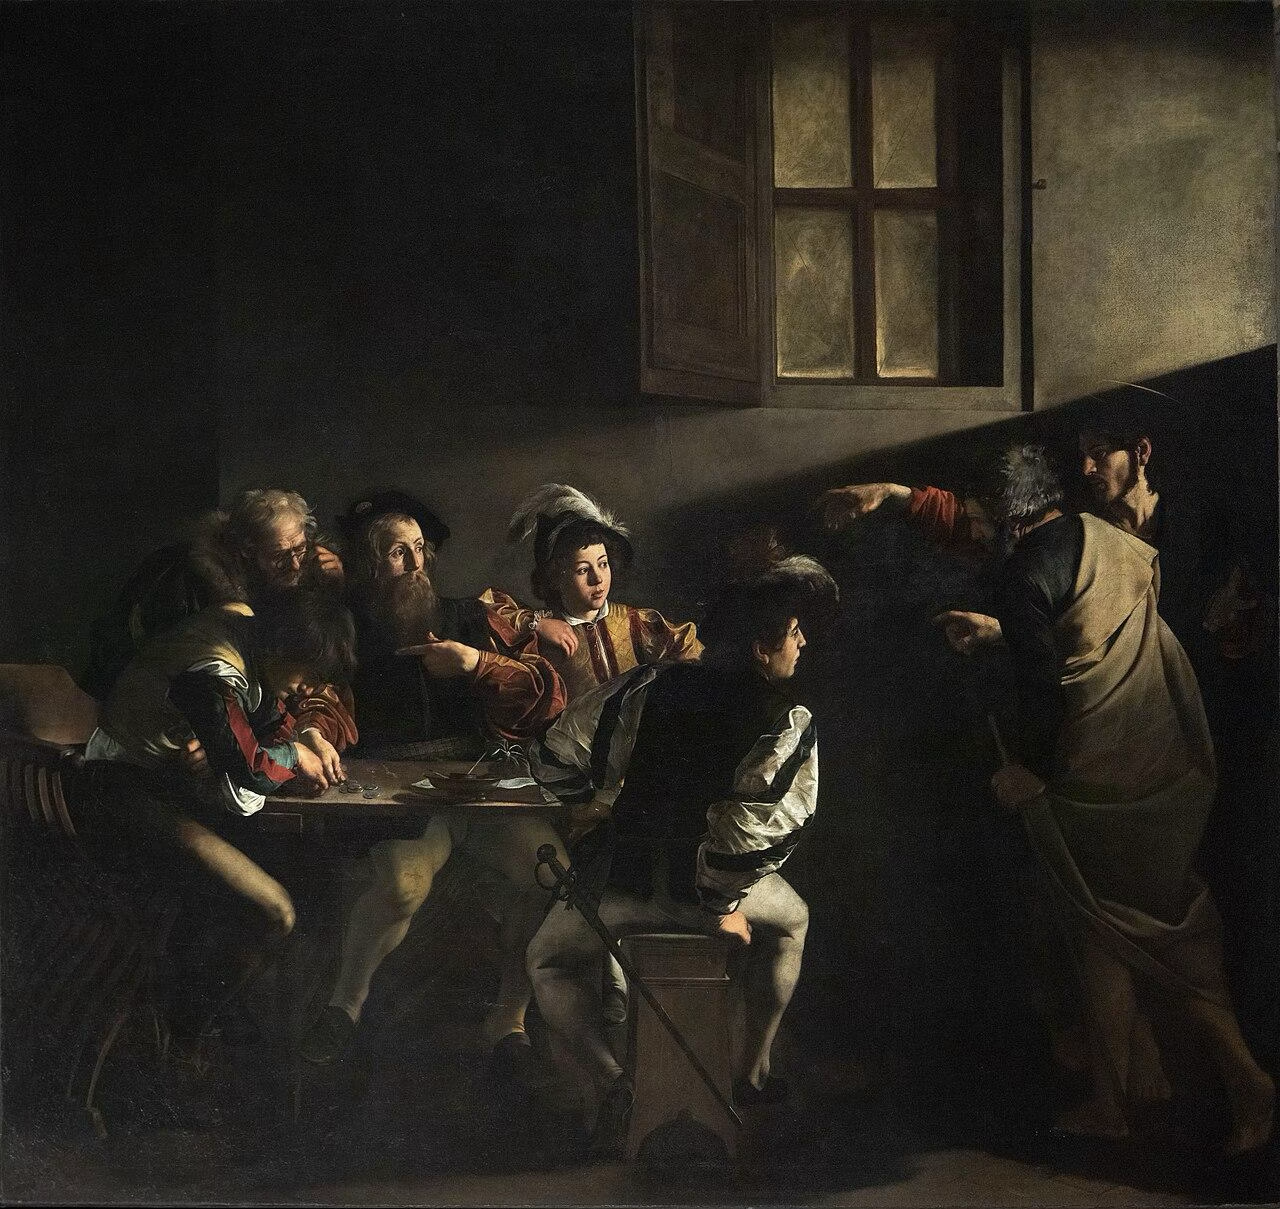
Their work introduced what we now think of as chiaroscuro, the dramatic contrast between light and shadow. That same principle still defines some of the strongest low-key images today.
In photography, chiaroscuro style photos do more than make a scene look dark for the sake of darkness. They use contrast to create presence. Light reveals the most important part of the subject, while shadow gives the image mystery and depth. Deep shadows can suggest intimacy, danger, solitude, melancholy, or quiet strength. The same face can feel approachable in soft, even light and deeply reflective in a low-key setup.
That’s why low-key lighting appears so often in fine-art portraiture, film noir, psychological storytelling, and dramatic editorial photography. It gives visual weight to the frame.
Technical Foundation: Controlling the Exposure
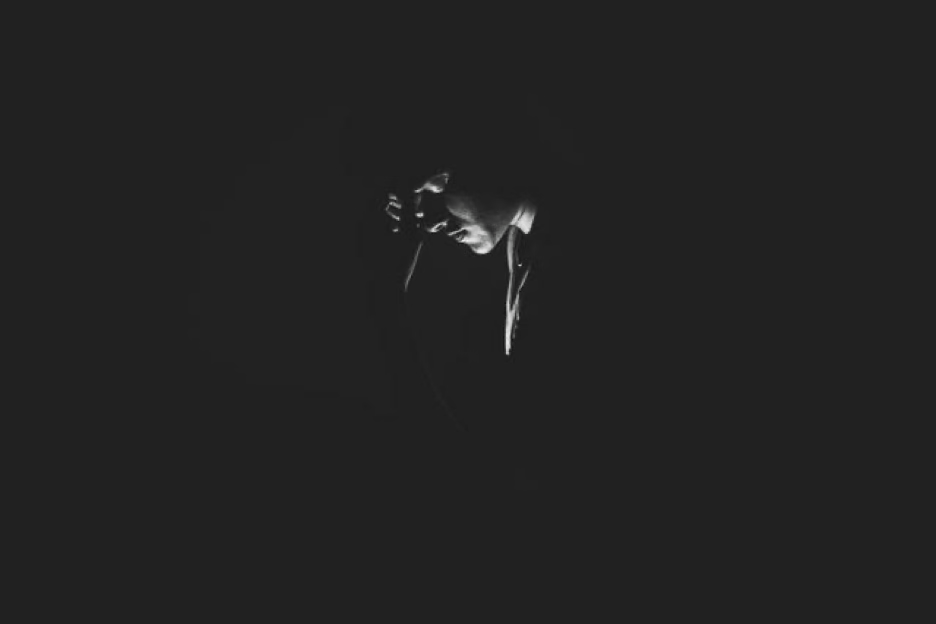
Strong low-key images begin with control. You are not trying to preserve detail everywhere. You decide what deserves light and allow the rest of the frame to fall into shadow.
Reading the Histogram
A low-key image will usually produce a histogram stacked heavily toward the left. That’s normal because most of the scene is made up of dark values. The goal is not to avoid the left side of the histogram, but to make sure you don’t lose important detail in the parts of the subject that still need to be visible.
A completely black background may be perfect. But, if the lit side of the face, the edge of the object, or the key point of focus disappears too, the image will look muddy instead of intentional.
Meter for the Highlights
Spot metering is often the most useful choice in low-key photography. Rather than averaging the whole frame, meter for the brightest important area of the subject. That might be the cheekbone in a portrait, the hand in a dramatic still life, or the rim light outlining an athlete. Once that area is protected, you can let the darker parts of the frame fall where they naturally should.
This is one of the most important mindset shifts in mastering shadows in photography: Don’t try to brighten the entire scene, but preserve the highlight that carries the image and let the shadows fall.
A Simple Camera Settings Blueprint
Your settings will vary depending on the scene, but a few basics make low-key work much easier.
- Keep your ISO low whenever possible. Dark areas are quick to reveal digital noise, especially if you try to recover too much later in editing.
- Choose your aperture based on your subject. A wide aperture can gather more light and help isolate the subject, while a narrower aperture can hold more texture and shape in portraits or still life.
- Use your shutter speed to control ambient contamination. A faster shutter speed can suppress room light and keep the background dark. A slower shutter speed can let in more environmental glow when you want atmosphere in a street or urban image.
These fine-art low-key settings are guided less by a “perfect formula” and more by intention. Every choice should help you decide what the viewer sees first and what remains hidden.
Sculpting with Light: Angles and Ratios
One of the strengths of low-key lighting photography is that it usually works best with very little equipment. In many situations, one carefully placed light source is enough. A single light creates direction, direction creates shadow, and shadow creates drama.
Key Light Positioning
Where you place your key light will shape the mood of the image, the depth of the shadows, and the amount of detail you reveal.
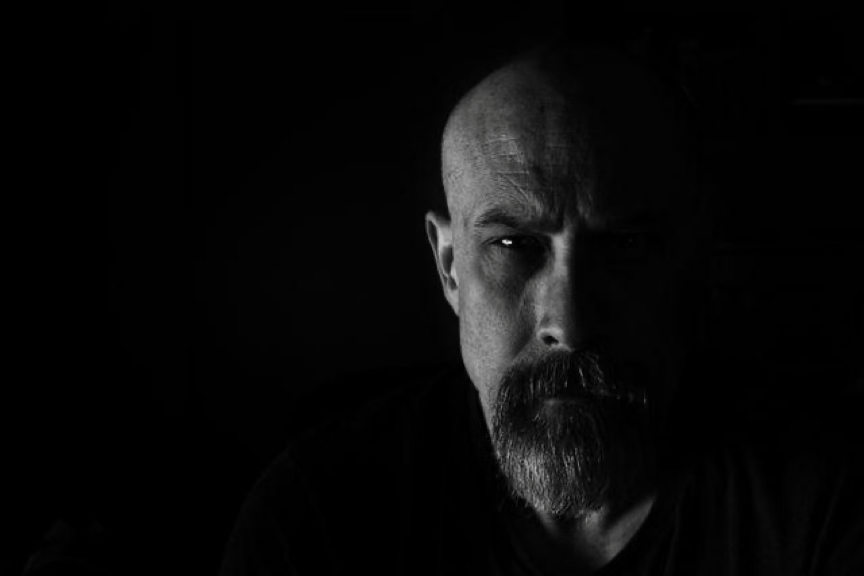
- Side or Split Lighting: Place your light roughly 90 degrees to the side of the subject to illuminate one side while the other falls into shadow. This is one of the boldest dramatic lighting techniques because it emphasizes shape, texture, and structure right away. For portraits, it works especially well when you want a serious or high-impact mood.
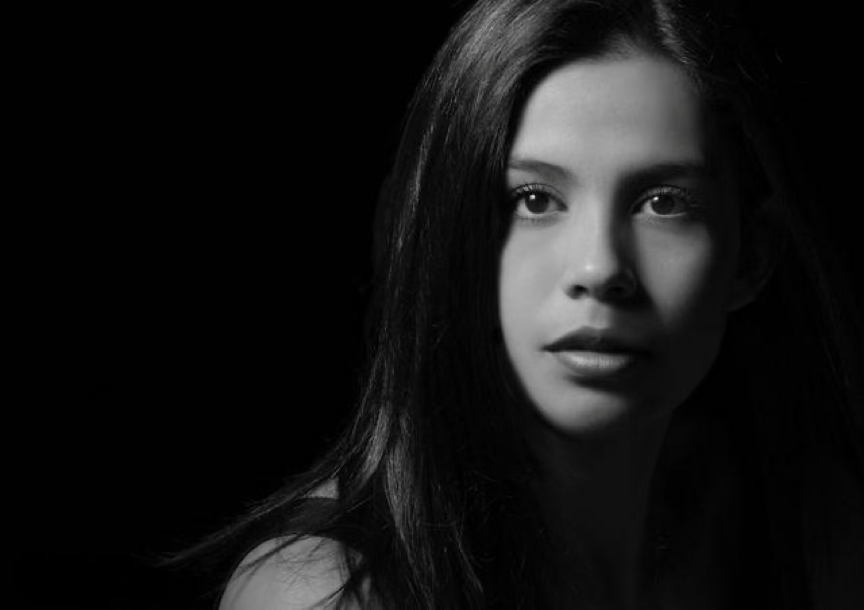
- Rembrandt Lighting: Position the key light about 45 degrees to the side of your subject and slightly above eye level to create the familiar triangle of light on the shadow-side cheek. This setup gives portraits a timeless, moody quality and preserves enough facial detail to feel natural while still keeping the contrast strong.
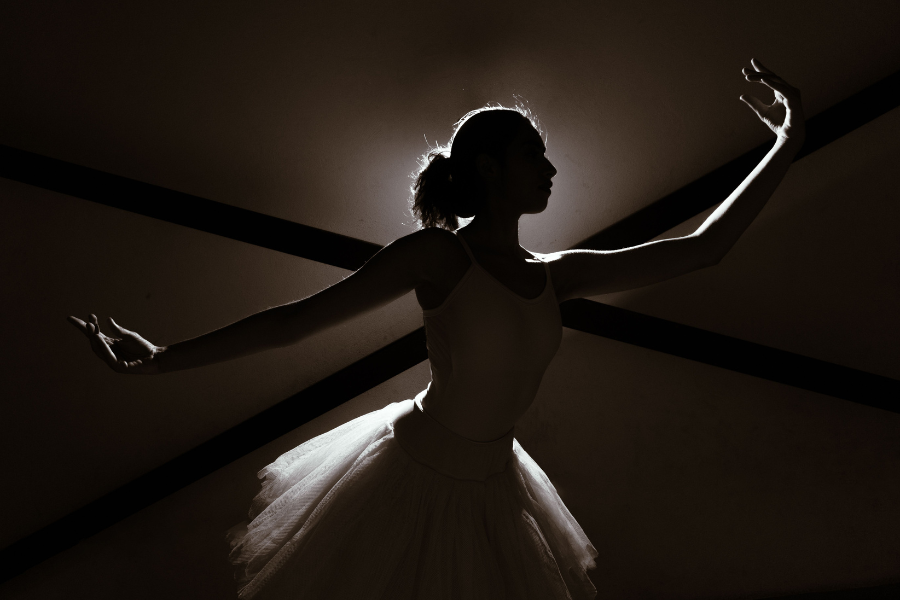
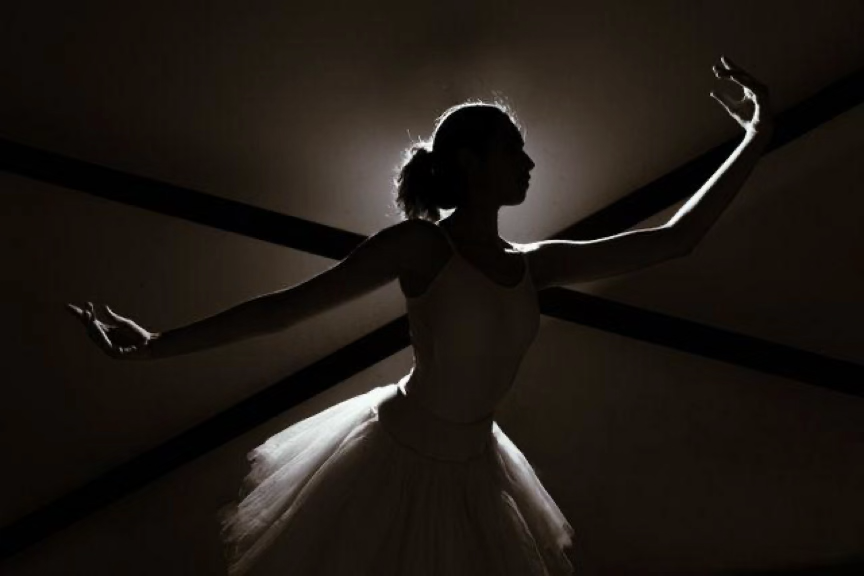
- Rim and Backlighting: Place the light behind or slightly behind the subject to trace the edge of a body, face, or object against darkness. This approach is especially effective for athletic portraits, dancers, products, and fine-art figure studies because it reveals contour without fully explaining the scene.
Keep Fill Light Minimal
The more you fill the shadows, the less dramatic the image becomes. Low-key work depends on a strong light-to-shadow ratio. A little fill can be useful if you need just enough detail in the darker side of the subject, but it should remain subtle. In many cases, no fill at all gives you the cleanest and most dramatic result. When in doubt, start with one light and build only if the subject needs it.
Gear and Modifiers on a Budget
You don’t need an expensive studio to create strong low-key images. What matters most is controlling where the light falls.
Use Directional Modifiers
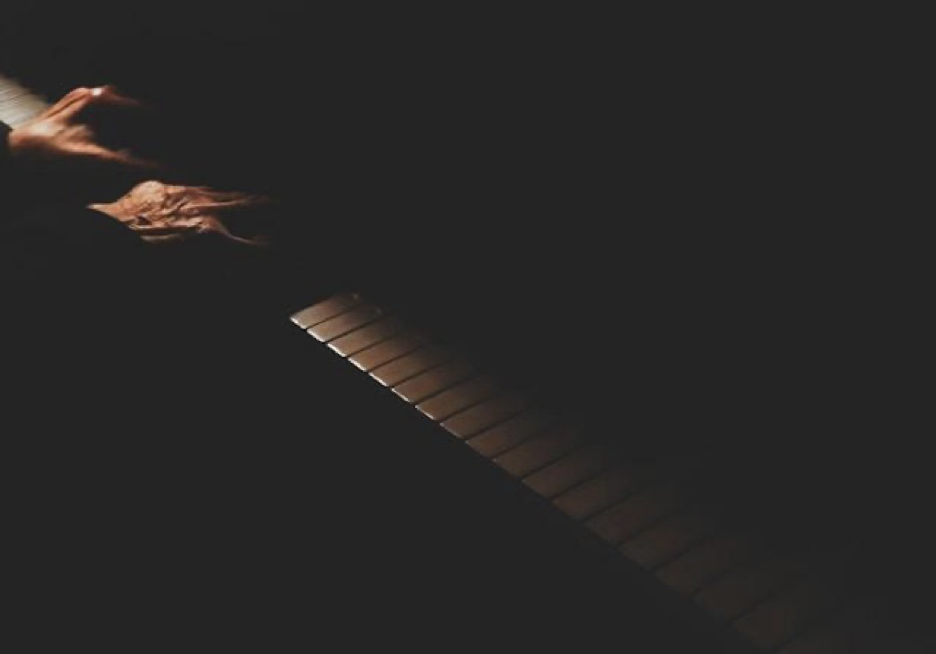
Modifiers such as grids, snoots, and barn doors help you narrow the beam and stop light from spilling onto the background. That kind of control is necessary in low-key work. The tighter your light, the easier it is to keep the shadows rich and the frame uncluttered.
Try DIY Light Shaping
Some of the most useful low-key tools are inexpensive or already in your home. Black foam core can block spill and deepen shadows. Cardboard can narrow a beam of light. Curtains can reduce ambient window light. A doorway or hallway can create a naturally directional source. Low-key photography often comes down to subtraction. Blocking light can be just as important as creating it.
Find Natural Low-Key Light
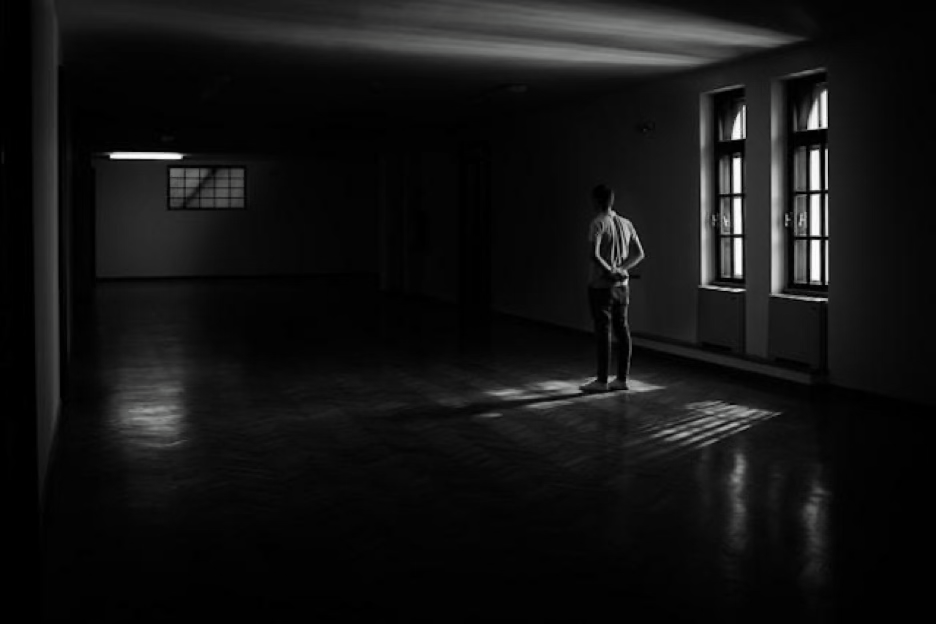
Natural light can be just as effective as a flash or LED panel when it’s controlled. Look for a single window in a darker room, a shaft of light in a garage, an open doorway, or a patch of illumination on an overcast day. These situations naturally separate the subject from the background.
Move your subject closer to the light and farther from the background. That simple adjustment makes a dramatic difference.
Low-Key Across Genres
Low-key lighting is flexible enough to work across multiple types of photography. The core idea stays the same: reveal only what matters most.
The Dramatic Portrait

Portraits are where low-key lighting feels most immediate. A controlled beam of light can turn attention toward the eyes, the cheekbone, the hands, or the expression, while everything else is secondary. This is why low-key portraiture feels so intimate and emotionally focused. The subject has less space to hide, and the viewer has less visual noise competing for attention.
Among the most useful high-contrast portrait tips is this: make sure the lit area is compelling enough to carry the whole image. In a dark frame, that one visible detail has to do a lot of work.
Moody Still Life

Still life is one of the best places to practice low-key technique because it slows the process down. A flower, bottle, cup, or kitchen object can become surprisingly elegant under a narrow, directional light.
This is also where fine-art low-key settings become especially useful. You can work at a lower ISO, use a tripod, refine your aperture choice, and move the light inch by inch until the scene feels balanced. The result can feel almost painterly, especially when the background stays clean and the highlights are carefully controlled.
Street and Urban Low-Key
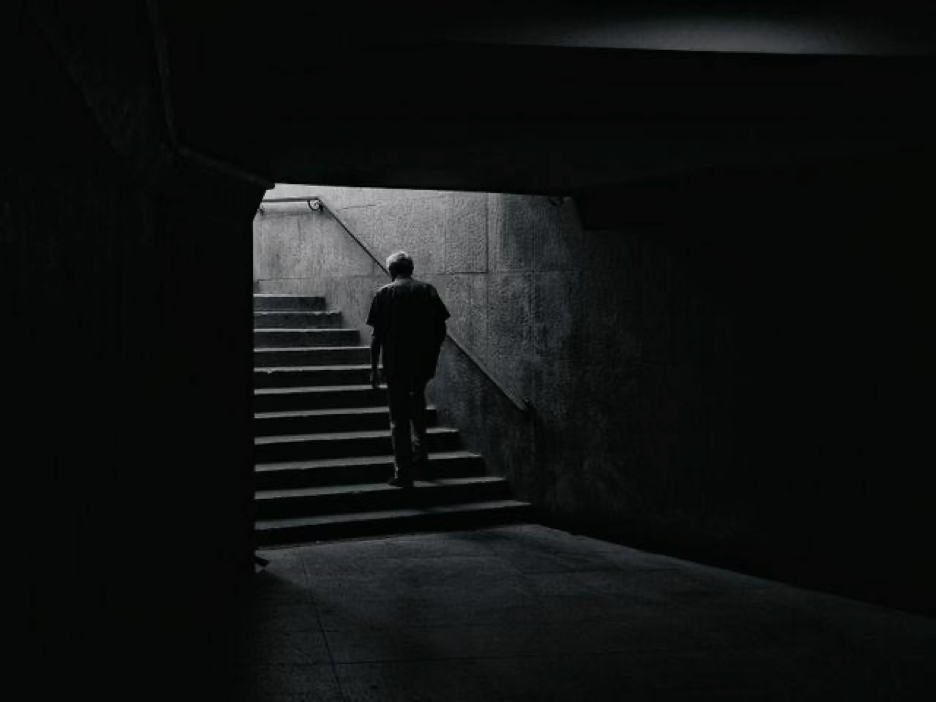
Night streets naturally lend themselves to low-key photography. Streetlamps, storefront windows, headlights, and neon signs can all act as dramatic light sources.
The trick is to simplify the frame. Wait for your subject to move through the light while the surrounding city falls into darkness. This approach works especially well when there is rain, mist, or reflective pavement adding atmosphere to the scene.
The Digital Darkroom: Developing the Mood
Low-key images often benefit from thoughtful post-processing, but the goal is refinement rather than rescue.
Protect the Black Levels
Use the Shadows and Blacks sliders in Lightroom or Camera Raw to deepen the frame and clean up unwanted background spill. Be careful, though. A stronger black point can add drama, but too much adjustment can crush important detail.
Dodge and Burn Selectively
Dodging and burning are some of the most effective editing techniques you can use in dramatic lighting photography. Brighten the highlights that matter most, and darken distractions that pull attention away from the subject. For example, you might dodge the eyes, cheekbone, or edge of a jawline in a portrait, then burn down a bright patch in the background or a distracting highlight on clothing.
Shape the Mood with Color
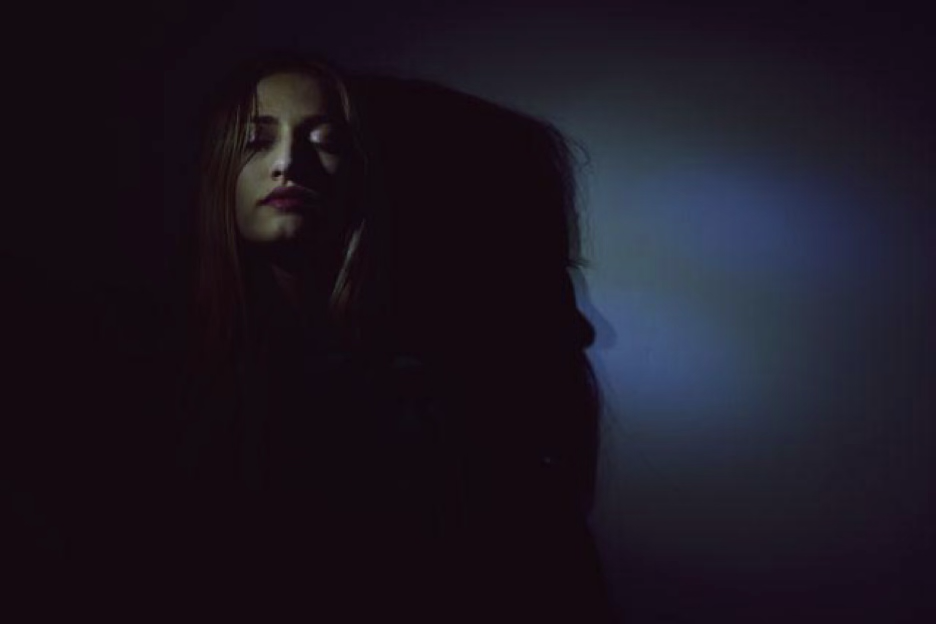
Color grading can shift the emotional tone of the image. Cooler tones in the shadows can create a cinematic look, while monochrome can strip the frame down to texture, shape, and contrast. For example, adding a subtle blue tone to the shadow areas of a low-key portrait can make the image feel more modern and atmospheric. If color is not helping the image, black and white is often a strong choice for low-key work.
Common Pitfalls and How to Overcome Them
Low-key photography is simple in concept, but it rewards precision. Small mistakes can quickly weaken the mood.
The Noise Trap
One of the most common problems is underexposing too much and then trying to recover the file later. That can introduce ugly noise in the shadow areas. To avoid this, expose for the important highlights from the start, keep ISO as low as you can, and never depend on heavy shadow recovery in post.
Losing the Subject
Darkness alone doesn’t make an image dramatic. The visible part of the subject still needs to be sharp, expressive, and compelling enough to hold the viewer’s attention. If the highlighted area isn’t interesting, the image will feel empty or boring rather than mysterious.
Background Contamination
Light-colored walls, reflective surfaces, and uncontrolled spill can brighten the background and weaken the low-key effect. The fix is usually simple: Move the subject farther from the background, narrow the light, and use flags or dark materials to block bounce. In low-key, protecting the darkness is just as important as lighting the subject.
Conclusion
Low-key photography ultimately comes down to control, patience, and visual restraint. It asks you to slow down, shape the light with intention, and decide exactly what deserves the viewer’s attention. Every choice matters, from where you place the light to how much shadow you allow to remain. When those choices are deliberate, low-key lighting photography can turn a simple subject into something powerful, intimate, and visually unforgettable.
That’s what makes the style so rewarding to practice. You don’t need a complicated setup or a studio full of gear to create strong results. You need awareness, careful exposure, and a willingness to let shadow do some of the storytelling. Whether you’re working on portraits, still life, or city scenes after dark, the goal stays the same: reveal only what strengthens the image, and leave out what does not.
Light shows us the world, but shadow shows us the soul. And in low-key photography, learning how to balance the two is where the real drama begins.