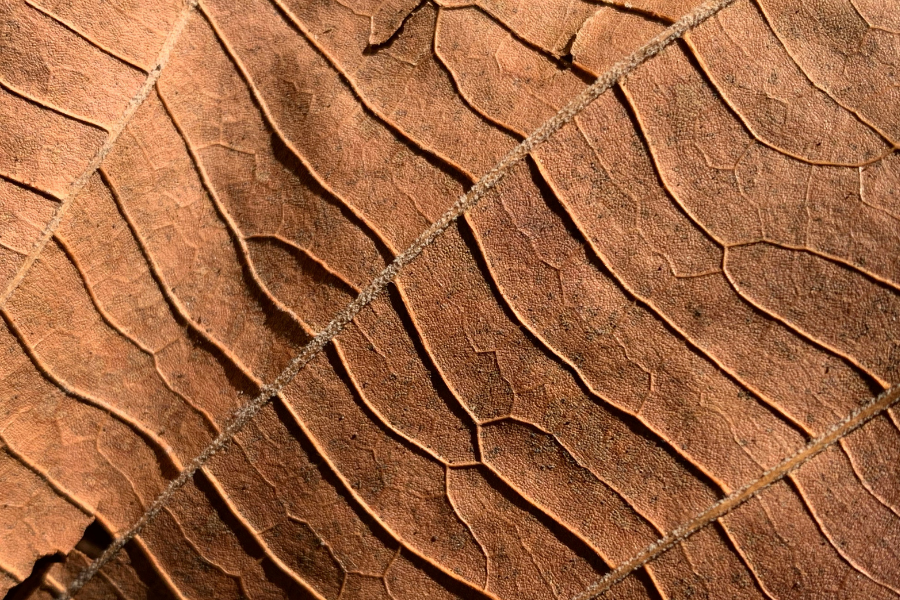
Macro abstract photography lives in that space where the viewer stops wondering what they’re looking at and starts thinking about how it makes them feel. Instead of documenting reality, you’re simplifying it and focusing on line, shape, color, and texture. Once you get in close enough, everyday subjects start to fall apart in the best way. A drop of oil turns into something that looks like planets, fabric starts to feel like a landscape, and rust can pass for an aerial map. That loss of identity is what creates a stronger emotional connection. It gives the viewer room to interpret the image instead of just recognizing it.
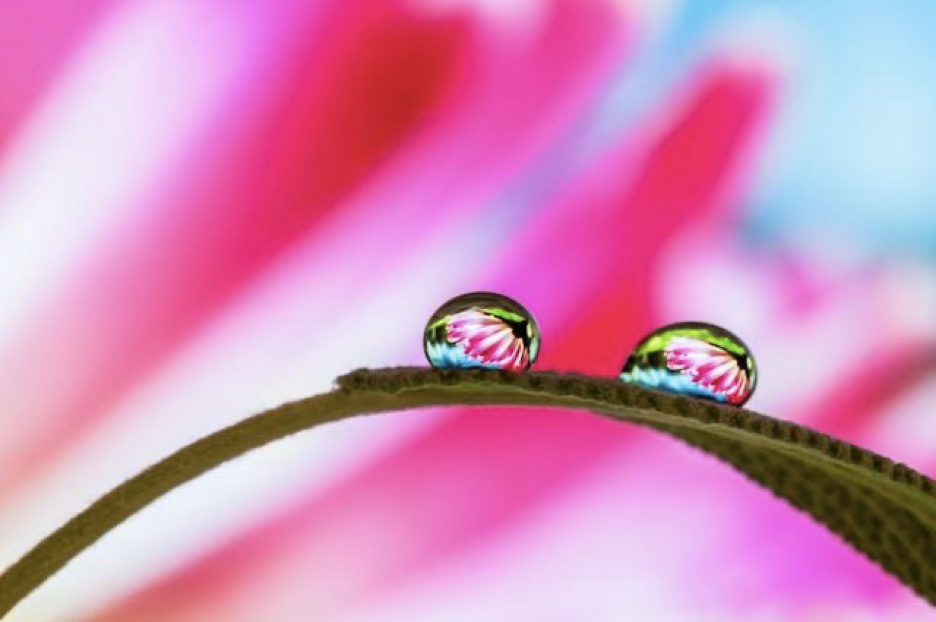
In this guide, you’ll learn how to approach macro abstract photography in a way that balances creativity with control. We’ll talk through how to find subjects, how to build compositions that actually hold attention, and how to use light to completely transform what you’re shooting. You’ll also get into the practical side of things like depth of field, simple at home setups, and post processing. The goal here is simple. Help you start seeing more in less, and give you a repeatable way to turn small details into strong images.
The Core Elements of Abstract Composition
Once you take subject recognition off the table, composition has to do all the heavy lifting. You’re not relying on a face, a subject, or a story anymore. You’re guiding the viewer purely with visual relationships. That means you have to be intentional about what you include, what you leave out, and how everything flows together inside the frame.
The Holy Trinity of Abstraction
At its core, macro abstraction tends to revolve around three key elements you will keep coming back to: 1. Texture, 2. Pattern and Repetition, and 3. Color. Once you start recognizing these in your scene, it becomes much easier to build images that feel intentional instead of random. For example, you might shoot peeling paint on metal where the cracked texture gives you depth, the repeating flakes create rhythm, and a pop of color in one area becomes your focal point.
- Texture is usually where people start, and for good reason. At macro distances, texture becomes the subject whether you planned it or not. The trick is learning how to control it. Side lighting is one of the easiest ways to bring texture to life because it creates small shadows that exaggerate detail. Think about something like cracked paint or aged wood. Flat light makes it look boring. A low angle light suddenly gives it depth and character.
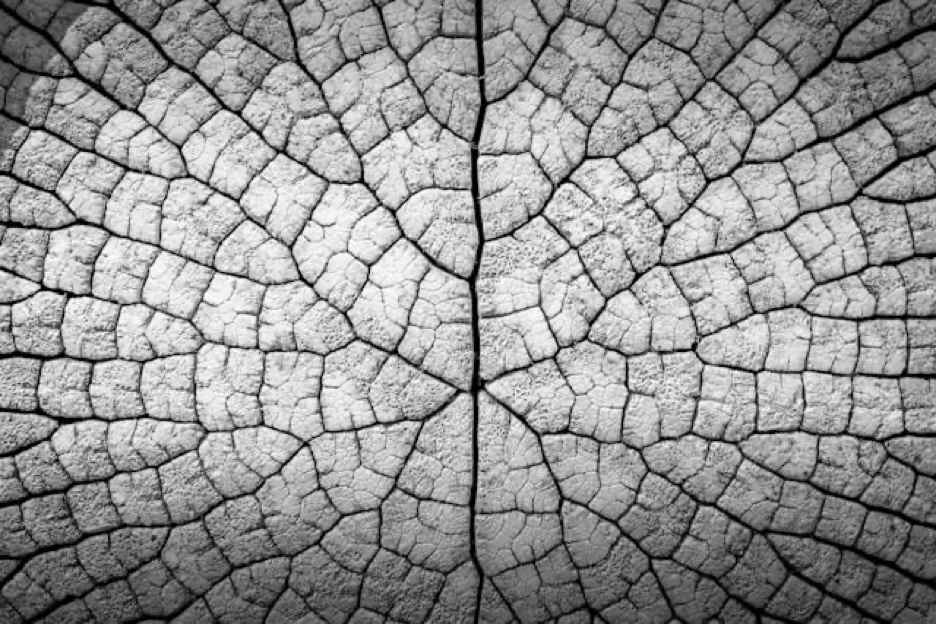
- Pattern and repetition are what keep an abstract image from feeling random. When the eye sees repetition, it naturally starts to move through the frame. That movement is what keeps someone engaged longer than a quick glance. One thing that works really well is breaking the pattern just slightly. Maybe one shape is different, or one area shifts in color. That small disruption gives the eye somewhere to land. Filling the frame with a pattern also helps. It removes distractions and pulls the viewer in.
- Color is where things start to feel more like art than documentation. In a lot of macro abstract work, color becomes the main subject. You’re not thinking about objects anymore, you’re thinking about transitions and relationships. How does one color move into another? Does it feel calm, tense, energetic? A smooth gradient can feel soft and atmospheric, while bold contrast can feel aggressive or high energy. There is no right answer here, but there is always an intentional choice.
Breaking the Rules
This is one of those areas where traditional rules of composition don’t really help much. The Rule of Thirds can sometimes get in your way here. In macro abstract work, centered compositions, symmetry, and full frame coverage tend to feel stronger. If you have a pattern, let it fill the frame. If you have symmetry, lean into it. You’re not composing around a subject, you’re building the entire visual experience from edge to edge.
Negative Space
Negative space is what keeps your image from feeling chaotic. When everything is captured in minute detail, nothing stands out. Areas of softness or simple color give your viewer’s eye a place to rest. They also make the detailed areas feel more intentional. Think of it like pacing. You need moments of intensity and moments of calm, otherwise the whole image just feels noisy.
Essential Gear and Technical Mastery
Macro doesn’t require a ton of gear, but it does require control. Small movements matter a lot more than they do in other types of photography, so your setup needs to support that.
Lenses and Magnification
- True macro lens (1:1 magnification): This is the most straightforward way to get into macro. A dedicated macro lens is designed to focus close while maintaining sharpness across the frame, which makes it easier to control composition and lighting. It also gives you a predictable working distance, so you’re not constantly fighting to find focus. If you want consistency and reliability, this is the easiest starting point.
- Extension tubes: These sit between your camera body and your existing lens, allowing you to focus closer than the lens normally would. They are affordable and lightweight, which makes them a great option if you already have a lens you like and just want to experiment with macro. The tradeoff is that you lose some light and autofocus can become less reliable, so you will often be working manually.
- Reversing rings: This setup flips a standard lens around, turning it into a high magnification macro tool. It is one of the cheapest ways to get incredible close ups, but it comes with more limitations. You lose electronic communication with the camera, so everything is manual, and your working distance becomes very small. That said, it can produce incredibly detailed results and is a fun way to push into more experimental territory.
Each of these options changes how you shoot in subtle ways, from how close you can get to how you handle focus and light. It is worth trying more than one approach so you can figure out what feels natural for your workflow.

The Challenge of Depth of Field (DoF)
Depth of field is where most people struggle when starting out with macro. Once you start getting close, your plane of focus gets razor thin. This happens because as magnification increases, depth of field shrinks dramatically. You are physically closer to the subject, and the lens is projecting a much larger version of a very small area onto the sensor, so only a narrow slice can stay in focus at any given time. Even aperture changes (that might make a huge difference in something like portrait photography) have far less impact than you expect at high magnification. It can be frustrating as you’re learning, but it also opens up creative options.
If you want everything in your image to be sharp, you can stop down your aperture and use focus stacking. At a basic level, you take a series of images while shifting focus slightly from front to back of the subject, then merge them into a single file where the sharp areas from each frame are combined. This works especially well for subjects where detail is the whole point, like crystals, rust, or fabric weaves.
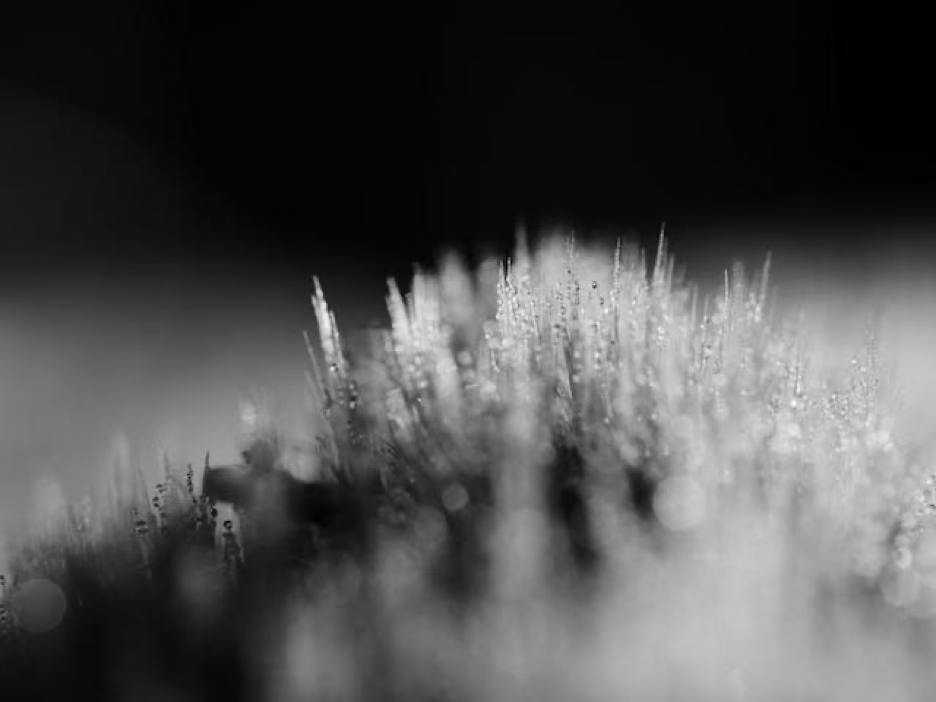
On the flip side, letting parts of the image fall out of focus can look incredible. Soft areas create a painterly feel and add depth in a way that full sharpness never will. A lot of strong fine art macro images rely on that softness.
Stability
Every tiny movement at this scale can shift focus. The closer you get, the more everything is amplified, which means even a breath or heartbeat can throw your focus off completely. Building a stable setup will avoid constant frustration.
- Use a solid tripod: This is not optional. A sturdy tripod eliminates most movement and keeps your composition locked in place so you can focus on fine adjustments instead of fighting drift.
- Add a focusing rail: A rail lets you move the camera forward and backward in very small increments without touching the lens. This is especially helpful when dialing in focus or shooting a focus stack.
- Use a remote trigger: Pressing the shutter can introduce just enough movement to soften your image. A remote removes that variable completely.
- Watch for micro movement: Things like breathing, a shaky surface, or even subtle vibrations in the room can affect your shot. If something looks slightly soft on the back of the camera, assume it is and reshoot it.
Creative Studio Setups Using Everyday Materials
This is where macro abstract photography really opens up. You don’t need a studio full of equipment and props. Some of the best setups come from things you already have around the house.
1. The Oil and Water Method:
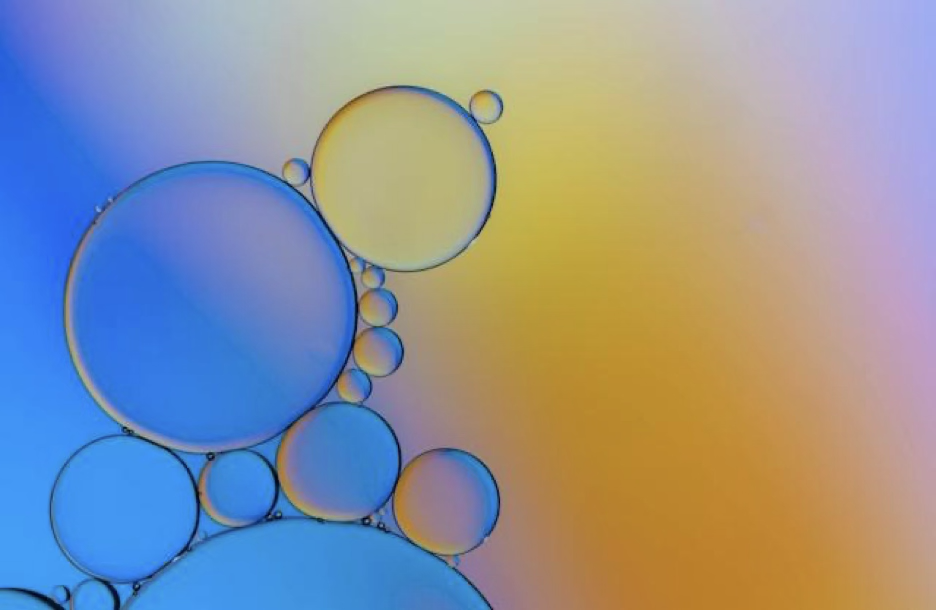
This is one of the easiest ways to create macro abstract images at home. You simply float oil on top of water in a clear dish, then place a colorful background underneath so the light and color show through the droplets. When you shoot it close up, those droplets turn into vibrant, abstract shapes that often look like planets or cells.
A basic setup looks like this:
- Container: A clear glass or plastic dish works best. Something like a 9×13 baking dish gives you enough surface area to spread out your composition and move things around.
- Liquids: Fill the dish with water and add a small amount of oil. Vegetable oil works fine, but baby oil is more clear and will give you cleaner looking results.
- Background and color: Place something colorful underneath the dish. This could be colored paper, a magazine, or even a tablet or phone screen. The colors underneath are what you’ll see inside the droplets, so this is where a lot of your creative control comes from.
- Lighting: Light the setup from behind or slightly to the side. Small LED panels, flashlights, or even window light can work. Backlighting is especially effective because it helps the droplets glow and separates them from the background.
Once everything is in place, small adjustments make a big difference. Changing the distance between the dish and the background affects how the colors render, and shifting your angle changes how the droplets overlap. It is a simple setup, but it gives you a lot of room to experiment.
2. Kitchen Alchemy:
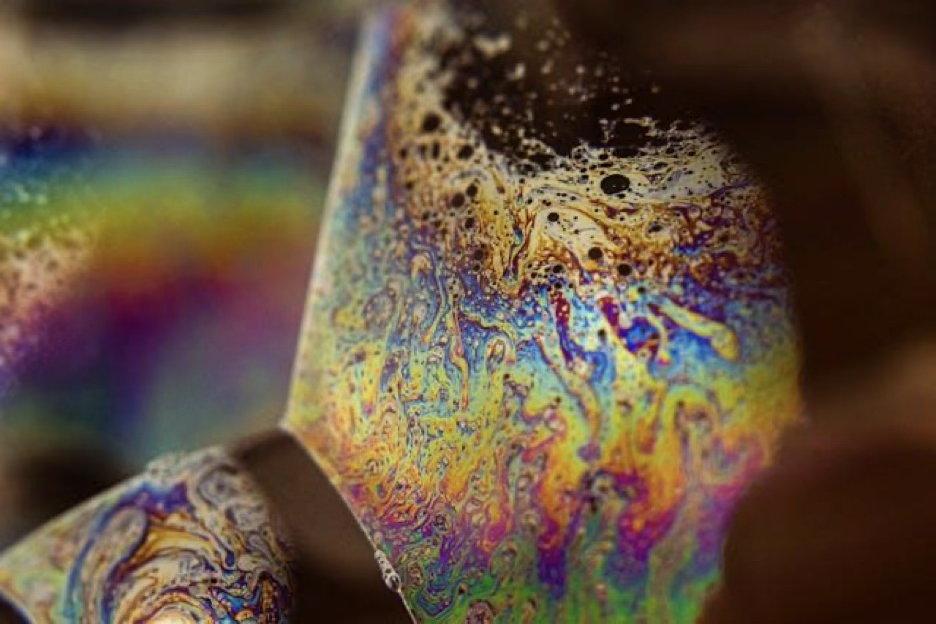
The kitchen is full of good subjects if you start looking at it differently. Soap bubbles have subtle color shifts that look great under macro. Milk and food coloring create an organic movement that feels almost alive. Even something like sugar or salt crystals can turn into a detailed, structured subject if you make the crystals yourself. Dissolve salt or sugar in warm water, pour a thin layer into a dish, and let it sit for a few hours or overnight. As the water evaporates, the dissolved material recrystallizes and forms intricate patterns across the surface. Once it dries, move in close and photograph those naturally formed structures.
3. The Beauty of Decay
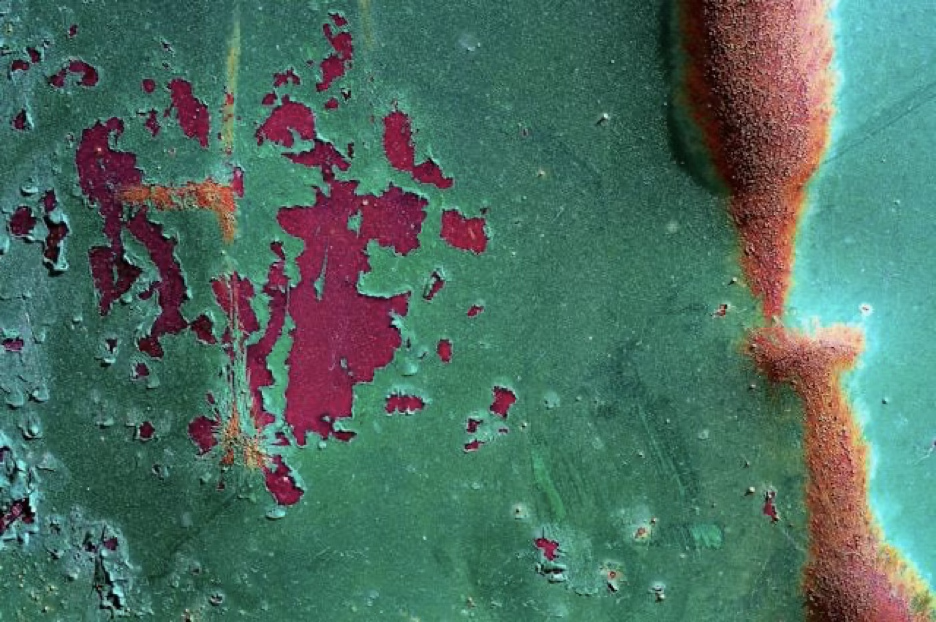
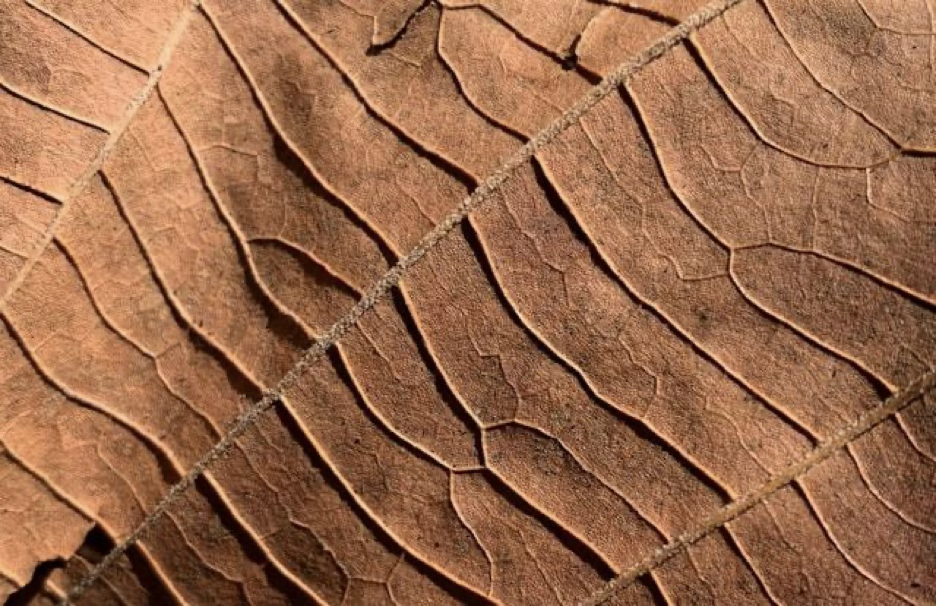
Decay is another area that works really well, and it is one people often overlook at first. Rust, peeling paint, and dying plants all have complex textures and natural patterns that evolve over time, which means you are working with something that already has visual interest built in. For example, rust on metal can create layered color shifts from deep orange to dark brown, with pitted textures that catch side light beautifully. Peeling paint can give you a mix of smooth and rough surfaces, plus repeating shapes where the paint lifts and cracks. With plants, a drying leaf can develop veins that stand out more clearly than when it was fresh, and curled edges create natural leading lines.
What makes these subjects so strong is the variation. You are not working with something uniform or perfect. You are working with contrast, irregularity, and subtle changes in texture and color. That feels more visually engaging than something that is clean and consistent. When you start looking for it, you will find these kinds of surfaces everywhere, from old fences to weathered tools to forgotten corners of your own home.
4. Fabric and Fiber
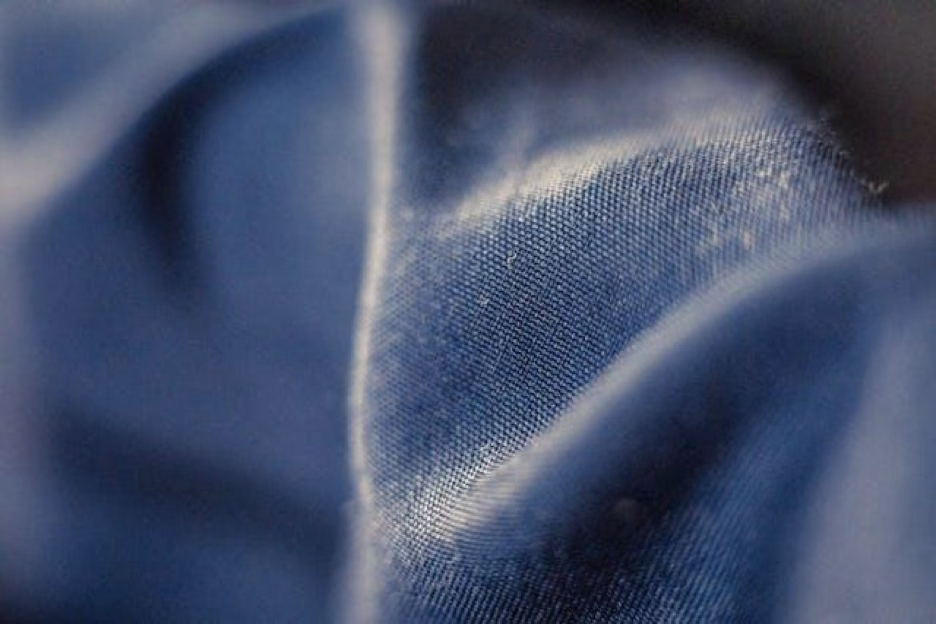
Fabric is worth exploring too. Different materials behave differently under light. Silk gives you smooth transitions, wool gives you texture, and synthetic materials often create repeating patterns. Change your angle or your light and it can look like a completely different subject.
Mastering Light at the Micro Scale
Lighting, like in most genres of photography, can make or break macro abstract work. Because everything is so small, even tiny changes in light show up immediately in your image.
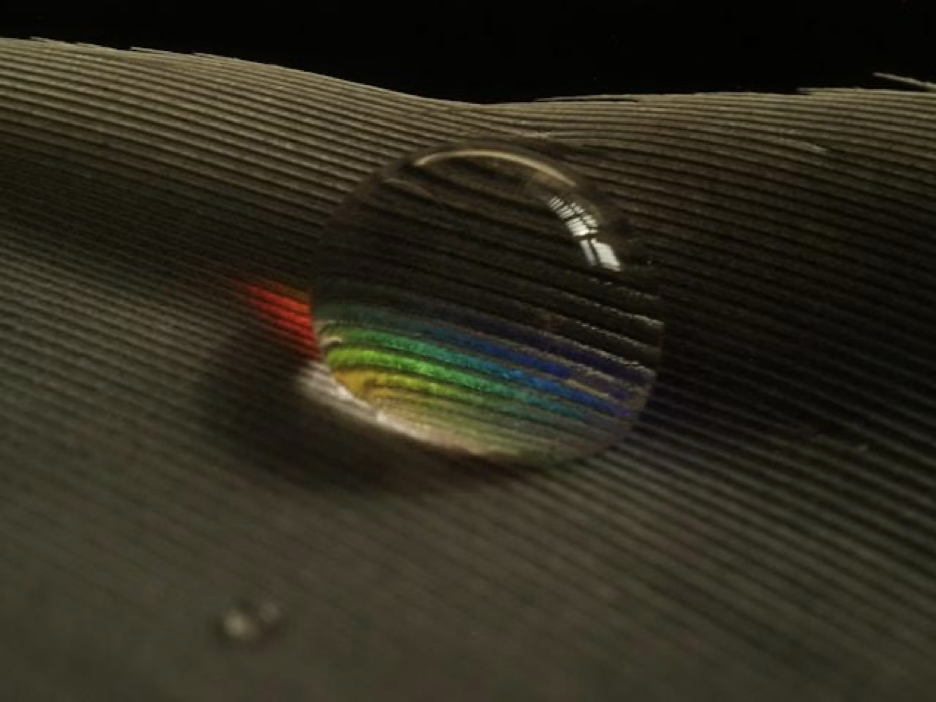
- Backlighting: This works best with translucent subjects like leaves, ice, or liquids. When light passes through, it creates a glow that feels like it is coming from inside the subject, which adds depth and a slightly surreal quality.
- Side lighting: A low angle light creates shadows that bring out texture. This is ideal for surfaces like rust, wood, or fabric. If your image feels flat, this is usually the first adjustment to make.
- Diffused vs. hard light: Soft light smooths everything out and works well for subtle transitions. A mini softbox is a great choice when you want even illumination across the frame, gentle highlights, and clean color transitions, especially for subjects like liquids, fabrics, or gradients. Hard light adds contrast and drama. A direct LED with a snoot lets you focus a tight beam of light onto a specific area, creating bright highlights and deeper shadows that really carve out texture. This is ideal when you want to emphasize surface detail or create a strong focal point. Neither is better, it just depends on the mood you want and how much control you need over where the light falls.
- Color in your light: Using gels or colored backgrounds lets you shift the entire feel of the image. You can keep it natural or push into something even more abstract depending on how far you take it.
Advanced Post-Processing for Fine Art
Editing is part of the photography process, especially with abstract work. This is where you refine what you captured and push it even further if you want. Think of it as finishing the idea you started in camera rather than fixing mistakes. Remember, when it comes to editing, small adjustments tend to go further than heavy handed edits.
Adjusting the Texture and Clarity sliders in Lightroom (or Adobe Raw) will bring out detail in your photo. But, if it starts to feel crunchy or harsh, pull it back. You want to enhance what’s already there, not overpower it. A good habit is to zoom in and out while editing so you can see how the adjustments read at different scales.
Color grading is where you can really shape the mood of your image. Cooler tones can feel calm while warmer tones make it more energetic. You can also push colors further than reality if you want something more alien. Try subtle split toning or shifting just the shadows or highlights to add depth without overwhelming the image.
Inverting an image (creating a ‘negative’ of it) is a simple trick that can give you completely different results. It might reveal patterns you didn’t notice before. This isn’t something you’ll do every time, but it is worth experimenting with. Sometimes an inverted version will suggest a new direction you can bring back into your original edit.
Cleaning up your image is just part of the job. Dust and small imperfections stand out more in macro than anywhere else. Take the time to remove them. A clean frame keeps the viewer focused on your composition instead of getting distracted by tiny flaws.
Common Pitfalls and How to Avoid Them
Even when your ideas are solid, some technical and creative missteps can hold an image back. These are the ones that tend to show up most often in macro abstract work, and they’re easy to avoid once you know what to look for.
- Over-magnification: Getting closer is not always better. At a certain point, the image stops feeling like a texture and starts feeling like noise. Pull back slightly until the eye has something to grab onto.
- Vibration: Small movements can soften your image without you realizing it. Lock down your setup, use a remote or timer, and avoid touching the camera during exposure.
- No clear focal point: Even abstract work needs somewhere for the eye to land. Give it a sharper edge, a brighter highlight, or a color contrast so the viewer knows where to start.
- Flat lighting: If everything looks dull, your light is probably too front-on. Shift to a low angle or add backlight to bring out depth and texture.
- Over-editing: It is easy to push clarity, texture, and color too far. If the image starts to feel crunchy or artificial, dial it back and keep the natural detail doing the work.
Conclusion: The Zen of Seeing Small
Macro abstract photography has a way of slowing you down. It forces you to look closer and pay attention to details that are easy to miss. Over time, you start to see patterns and textures everywhere, not just when you have a camera in your hand.
Gear helps, but it is not what makes the image. The real shift happens when you start noticing how light, texture, and color interact on a small scale. The more you practice, the more natural that becomes.
Set up a small space, grab something simple, and start experimenting. You don’t need anything complicated to get started. Some of the strongest images come from the most ordinary subjects when you take the time to really explore them.