As a photographer, have you ever wondered how some of your peers always manage to bring out the best features of the subject and create depth, dimension, and texture in their images? The secret: understanding lighting ratios. It is crucial for creating stunning images that capture the mood and essence of your subject. Conversely, without complete awareness of lighting ratios, your pictures may appear flat, dull, and uninspired.
In this guide, we’ll break down everything you need to know about lighting ratio in photography, from the basics to advanced techniques. Whether you’re a beginner or a pro, this guide will equip you with the knowledge and skills you need to create captivating images that will leave a lasting impression. So, let’s dive into the electrifying world of contrast and unleash your creative potential!
What is a Lighting Ratio?
In photography, a lighting ratio refers to the relationship between the light intensities of different light sources in an image. Specifically, it is the ratio between the key light, which is the primary source of light in an image, and the fill light, which is used to soften shadows and add detail. The lighting ratio is determined by the amount of light each source provides relative to the other. Sometimes, a third light source, known as a backlight, may also be used to separate the subject from the background.
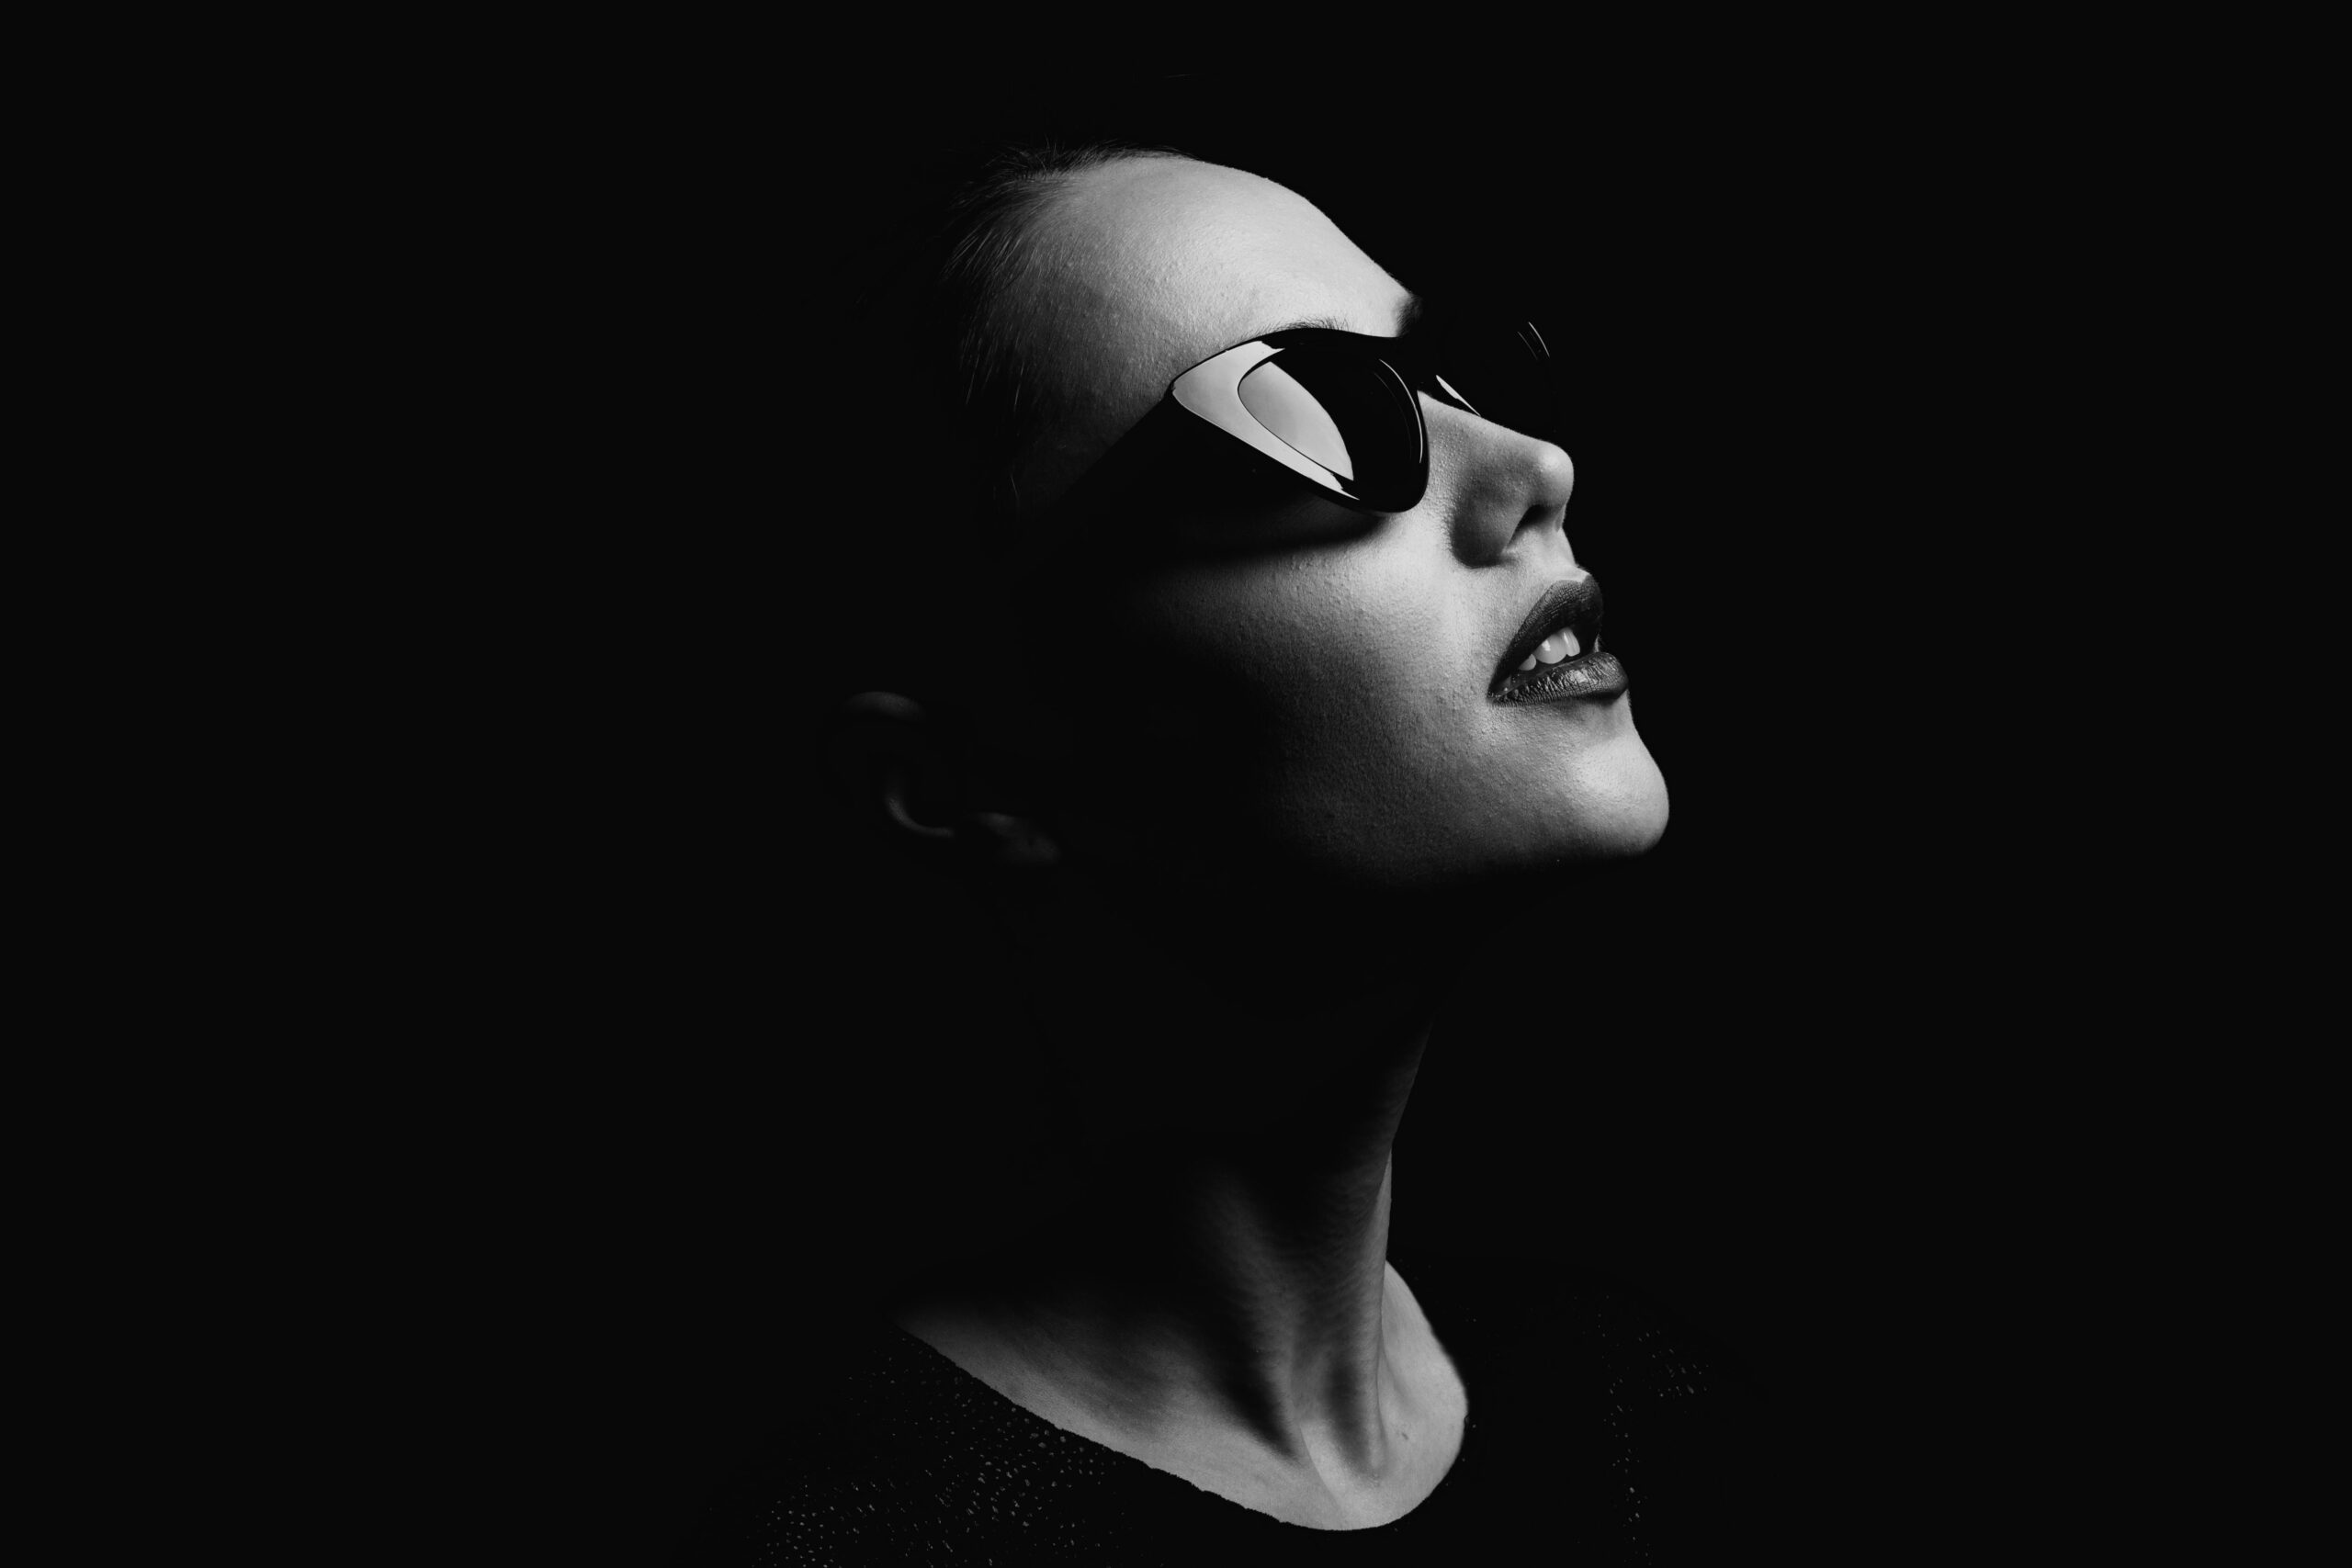
The higher the lighting ratio, the higher the contrast of the image. The lower the lighting ratio, the lower the contrast of the image.
Controlling the lighting ratio allows you to achieve the desired effect, whether you want an image to be bright and cheerful or moody and dramatic.
Understanding the Different Lightning Ratios
Each lighting ratio has its own unique characteristics, creating a distinct impression and atmosphere. Some of the most commonly used lighting ratios include:
- 1:1 (equal lighting) – In photography, a 1:1 lighting ratio, also known as equal lighting, means that the intensity of the key light, fill light, and backlight are all equal. This results in a well-balanced and evenly lit image with minimal contrast between the highlights and shadows. Equal lighting is often used in portrait photography to create a flattering and natural-looking image, as it minimizes harsh shadows and highlights on the subject’s face. However, it may not be suitable for all types of photography and lighting situations, as it can sometimes result in a lack of depth and dimension in the final image.
- 1:2 (soft lighting) – A 1:2 lighting ratio, or soft lighting, means that the intensity of the fill light is twice that of the key light. This results in an image with gentle shadows and smooth transitions between the highlights and shadows. Soft lighting is also often used in portrait photography, as it creates a flattering and low-contrast image that minimizes harsh shadows on the subject’s face while still adding some depth and dimension. It can also be used in other types of photography, such as still life or product photography, to create a soft and delicate look.
- 2:1 (moderate contrast) – A 2:1 lighting ratio means that the intensity of the key light is twice that of the fill light. This results in an image with moderate contrast between the highlights and shadows, providing some depth and dimension to the subject. Moderate contrast lighting is often used in landscape and architecture photography to emphasize the details and textures in the scene. But it is also used for shooting dramatic and moody portraits, as it enhances the shadows and adds some texture to the subject’s face.
- 4:1 (high contrast) – A 4:1 lighting ratio, where the intensity of the key light is four times that of the fill light, creates very dramatic photos. It is ideal for creating a moody and atmospheric feel in an image and is commonly used in fashion photography or film noir-style images.
- 8:1 (very high contrast) – This ratio creates a highly dramatic look by maximizing the contrast between the key light and the fill light. This ratio is ideal for creating a bold and striking image, such as in black and white photography, but may not be suitable for all types of images.
How to Measure Lighting Ratios?
To determine the lighting ratio, you must measure the amount of light falling on the subject from the different light sources. This can be done using a light meter, which measures the light intensity and provides readings in f-stops or exposure values.
To measure the lighting ratio, take a reading of the key light and a reading of the fill light and then compare the two readings. For example, if the key light reads f/8 and the fill light reads f/4, the lighting ratio would be 2:1.
An alternative method is to use the histogram in your camera. That said, the histogram graph will only give you a general sense of the distribution of light and dark areas in your image. It is not a direct measure of the lighting ratio. To accurately measure the lighting ratio, it is necessary to take light intensity readings from each light source separately. However, understanding the histogram graph on your camera will undoubtedly come in handy when the light meter is not available, or you’re shooting in fast-paced settings. So, when using a light meter, also glimpse the histogram graph. That helps to build eye memory. And over time, you develop enough knack to rely on your camera’s histogram to determine the lighting ratios.
Using Lighting Ratios to Enhance Your Photos
Using lighting ratios effectively can greatly enhance your photos and take your photography to the next level. Here are some tips on how to utilize lighting ratios and get them right:
1. Use different ratios to create different moods:
Different lighting ratios can help you create a range of moods in your photographs. For example, while the 4:1 or 8:1 ratio emphasizes the contrast between light and shadow, creating a more sculpted look with deeper shadows and brighter highlights, resulting in a dramatic mood, then the 1:2 ratio creates a gentle look and romantic, idealistic mood.
2. Consider the subject and setting:
The lighting ratio you choose should depend on the subject you photograph and your setting. For example, a high contrast ratio may not be suitable for a soft and delicate subject, and vice versa.
3. Experiment with different lighting setups:
Don’t be afraid to experiment with different lighting setups to find the right ratio for your subject and setting. Try different positions and intensities of light sources to see what works best.
4. Use lighting ratios to add depth and dimension:
Lighting ratios can be used to add depth and dimension to your images. For example, using a backlight to separate the subject from the background can add a sense of depth and make the subject stand out.
5. Don’t forget about post-processing:
While getting the lighting ratio right in-camera is important, don’t forget you can tweak it in the post to complete the desired look and feel. Adjusting the contrast, brightness, and shadows in post-processing helps nail the result you were after when shooting.
Common Mistakes to Avoid When Working with Lightning Ratios
Lighting ratios can be tricky to get right, and there are some common mistakes you should avoid. By avoiding the following 5 mistakes, most commonly made by beginners, you can use lighting ratios more effectively and get stunning images that capture the mood and essence you are after:
1. Overuse of backlight:
Overusing backlight is a common mistake photographers make when working with lighting ratios. While backlight can add depth and separation to your subject, too much of it can create too much contrast and blow out the highlights in your image. This can result in overexposed or washed-out images with little detail or interest.
To avoid this mistake, it’s important to use backlight sparingly and balance it with the key and fill lights to ensure the image is well-lit and balanced.
2. Underexposed fill light:
Underexposed fill light is another common mistake photographers make when working with lighting ratios. Fill light is used to soften shadows and add detail to the image, but if it is underexposed, it can result in dark and flat images. This can leave your subject dull and uninteresting, with little contrast or visual appeal.
To avoid this mistake, it’s essential to ensure that your fill light is adequately exposed and balanced with the key and backlight.
3. Not considering the environment:
Not considering the setting is a mistake that can significantly impact the success of your lighting ratios. The natural lighting in the environment can substantially affect the look and feel of your images, so it’s essential to consider it when setting your ratios. Failing to do so can result in images that are overexposed, underexposed, or simply don’t look natural.
To avoid this mistake, take some time to assess the lighting in the environment before you start shooting. Consider factors such as the time of day, the direction and quality of the light, and any other light sources that may be present. With this information in mind, you can adjust your lighting ratios to create well-balanced and visually appealing images.
4. Having no understanding of the position, intensity, and temperature of the light:
Nailing the desired lighting ratio is much more than just the brightness of each light source. In other words, it’s not just about how much light from each lighting source you capture in a photograph but how exactly this light is captured. Luckily, there are only three aspects to understand – position, intensity, and temperature of the light – and we have an in-depth article walking you through each of them: Master Photography Lighting: Secret to Creating Astonishing Images
5. Not shooting in Raw:
RAW files give you more information to work with in the post and are much more forgiving when it comes to fixing contrast issues or adjusting the light values in your image.
Using Lighting Ratios in Photography: Final Words
Mastering lighting ratios is an essential skill for any photographer. By understanding how different ratios can be used to create stunning and visually appealing photographs, you for sure take your photography to the next level and capture the essence of your subjects in more powerful ways. Remember, lighting is an art, and mastering it is a journey, so keep practicing and experimenting to find your own unique style. Happy shooting!
Best Memory Cards for Shooting High-Quality Images
RAW files are much larger than JPEGs and require memory cards that have larger capacities and can sustain higher data write speeds. ProGrade Digital memory cards are all designed with these specific needs in mind. So be sure to check them out! Browse ProGrade Digital memory cards >


