Photography is not just about capturing a moment; it’s about doing so with precision and style. Yet, even the most skilled photographers face a common challenge—lens distortion. Whether you’re a professional or a passionate amateur, understanding and correcting lens distortion can significantly elevate your work. This comprehensive guide will help you identify and correct various types of lens distortion, ensuring your photos are both accurate and visually stunning.
What is Lens Distortion?
Lens distortion occurs when a lens produces images that deviate from the straight lines of the scene. It’s a common occurrence that can affect any photography, from landscapes to portraits. Understanding lens distortion and how to correct it is important for photographers who aim to produce high-quality images.
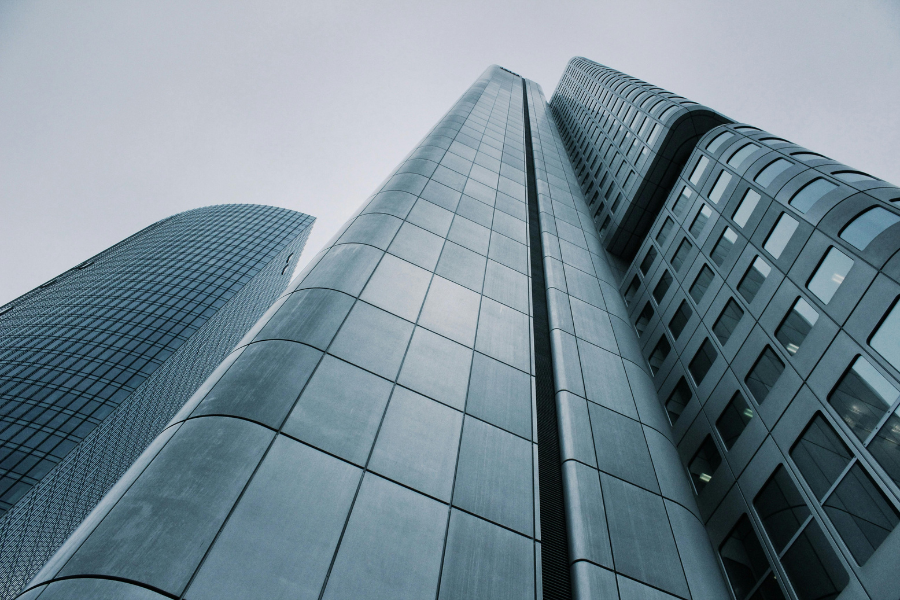
Correcting lens distortion ensures subjects appear as they should, without exaggerated curves or pinched centers. Whether photographing a towering skyscraper or a serene landscape, accurate representation adds professionalism and credibility to your work.
Types of Lens Distortion and How to Identify Them
Understanding the different types of lens distortion is important for any photographer aiming to produce precise and high-quality images. Each type of distortion affects photos in unique ways, and recognizing these variations can greatly enhance your ability to correct them. In this section, we’ll explore the most common types of lens distortion—barrel, pincushion, and mustache.
Barrel Distortion
Barrel distortion is where images bulge outward from the center, resembling the shape of a barrel. This type of distortion is typically seen in wide-angle lenses.
Imagine photographing a flat wall. With barrel distortion, the lines of the wall would curve outward, making the center appear more pronounced.
Barrel distortion can be particularly problematic in architectural photography, where straight lines are critical. It can make buildings look bloated and unnatural, distracting from the intended visual effect.
Pincushion Distortion
Pincushion distortion causes images to appear pinched at the center, common in telephoto lenses. This effect makes the edges of the image bend inward.
Consider photographing a grid pattern. With pincushion distortion, the grid lines would bend inward at the edges, creating a pinched appearance in the center.
This distortion is often an issue in portrait and product photography, where accurate representation is key. It can make faces appear elongated and objects distorted, detracting from the image’s quality.
Mustache Distortion
Mustache distortion, also known as complex distortion, is a combination of barrel and pincushion effects. It often occurs in complex zoom lenses.
Imagine a wave-like pattern in your photograph, where the center bulges out while the edges pinch inward. This creates a complex distortion that can be challenging to correct.
Mustache distortion can affect various photography genres, adding an unwanted artistic flair that might not align with your creative vision.
Correcting Lens Distortion
Correcting lens distortion is critical for maintaining the integrity of your images. Various methods and tools are available to help you rectify these distortions and achieve the highest quality results.
In-Camera Corrections
Some modern digital cameras come with built-in lens correction features. Enable these settings to automatically correct lens distortion as you shoot. For example, Canon’s Digital Lens Optimizer (DLO) and Nikon’s Auto Distortion Control can correct distortion in-camera.
Use in-camera corrections during shoots to minimize distortion, especially when shooting with wide-angle or telephoto lenses.
Post-Processing Software
Adobe Photoshop
Photoshop offers tools like the Lens Correction filter, allowing you to adjust distortion manually. Follow these steps:
- Open your image in Photoshop.
- Go to Filter > Lens Correction.
- Use the sliders to adjust barrel or pincushion distortion.
Adobe Lightroom
Lightroom’s Develop module includes lens correction profiles that can automatically correct distortion. Here’s how:
- Import your image.
- Go to the Edit/Develop module, and scroll down to Optics.
- Check the “Enable Lens Corrections” box. Lightroom will determine the type of lens used and apply the appropriate corrections.
- If you want to make manual adjustments, scroll further to the Geometry panel and adjust the sliders there.
Choosing the Right Lens
Different lenses inherently produce varying amounts of distortion, and understanding these differences is important when both shopping for a lens and planning a shoot. Wide-angle lenses, for example, are more prone to barrel distortion, which can cause straight lines to appear curved outward. This characteristic might be acceptable or even desirable in certain creative contexts, such as emphasizing a sense of space in landscape photography. Conversely, telephoto lenses often exhibit pincushion distortion, where the image appears squeezed toward the center, making them less suitable for architectural or product photography where precise, straight lines are imperative.
When selecting a lens, consider the specific requirements of your photography genre. If accurate representation and minimal distortion are critical, such as in architectural photography, you may want to opt for lenses specifically designed with low distortion characteristics. Additionally, prime lenses tend to have less distortion compared to zoom lenses because they are designed for a fixed focal length, providing sharper and more accurate images. Lastly, always review sample images and, if possible, test the lens before purchasing to ensure it meets your quality standards. Taking these factors into account can significantly improve the professionalism and visual appeal of your work.
Practical Tips and Considerations
When dealing with correcting lens distortion in photography, there are a few things to consider.
Balancing Correction with Image Quality
Correcting distortion can have its drawbacks, including image cropping and quality loss. When you apply corrections, especially heavy ones, the software often needs to trim the edges of the image to maintain a straightened effect, which can result in a smaller final photo. Additionally, pushing the limits of distortion correction may introduce artifacts or reduce the overall sharpness of your image. To avoid these issues, be mindful of how much correction you apply and always strive to maintain high image quality.
Balancing correction with the overall composition and quality of your image is important. Sometimes, a slight amount of distortion can even be aesthetically pleasing, adding character or a unique perspective to your photograph. Before making adjustments, consider whether the distortion detracts from the image or if it contributes to the artistic intent.
Creative Uses of Distortion
Use lens distortion to your advantage to add an artistic touch to your photos, transforming potential flaws into unique visual statements. Barrel distortion, with its outward-bulging effect, can inject a dynamic, energetic feel into your images, making subjects appear larger than life. This can be especially effective in action shots or to emphasize a bustling scene. On the other hand, pincushion distortion, which causes the edges to squeeze inward, can subtly emphasize the central subject and create a unique focus point. By strategically incorporating these distortions, you can craft images with a distinctive style.
Distortion doesn’t always have to be a flaw; in fact, it can be a powerful tool for artistic expression. Try shooting familiar subjects with different lenses to observe how various distortions alter perception and impact the image. Play around with wide-angle lenses to explore the exaggerated spaces created by barrel distortion or employ telephoto lenses to examine the compressed effects of pincushion distortion. Through experimentation, you can develop a personalized approach to distortion that enhances your creative vision.
Conclusion
Take your photography to the next level by mastering lens distortion correction. Whether in-camera or through post-processing, these skills will enhance both the technical and aesthetic quality of your work.
By understanding and using lens distortion correction techniques, you’ll not only improve your photography but also open new creative possibilities. Keep experimenting, stay curious, and most importantly, enjoy the process of capturing the perfect shot.


