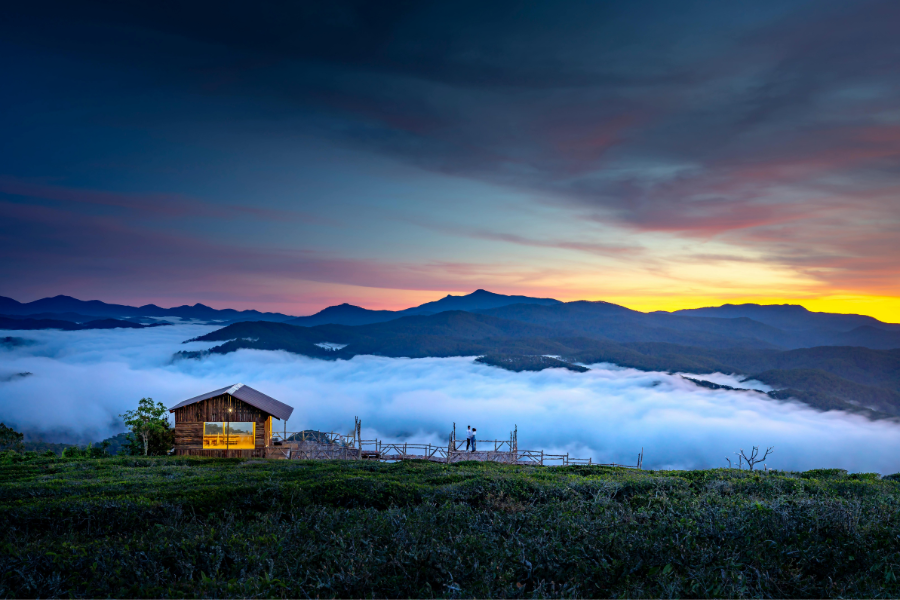
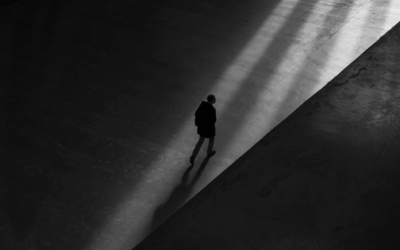
Color is one of the most powerful tools in a photographer’s arsenal, influencing the mood, atmosphere, and perception of any image. At the heart of color lies the concept of color temperature, a fundamental element that can dramatically shape the look and feel of your photographs.
Understanding color temperature is essential for professional photographers who aim to achieve color accuracy or create distinctive artistic effects. It plays a key role in portrait, landscape, and architectural photography, impacting everything from skin tones to the vibrancy of a sunset or the sterile feel of an office interior.
In this guide, we’ll delve deeper into the concept of color temperature and its effects on photography. You will learn how to control it using the Kelvin scale and white balance settings, as well as discover practical tips for adjusting color temperature both in-camera and during post-processing. By the end of this guide, you’ll be equipped to harness the power of color temperature to enhance the accuracy and mood of your photos. So, let’s get started!
What is Color Temperature?
Color temperature is a way to describe the color of light emitted by a light source, measured in degrees Kelvin (K). It defines the warmth or coolness of light and directly influences the overall tone of an image.
The concept originates from physics, where the temperature of an “ideal” black-body radiator is used to predict the hue of light it emits. For photographers, understanding the Kelvin scale and how it correlates to different lighting conditions is vital for achieving accurate color balance in photos or intentionally creating specific visual effects.
The Kelvin Scale
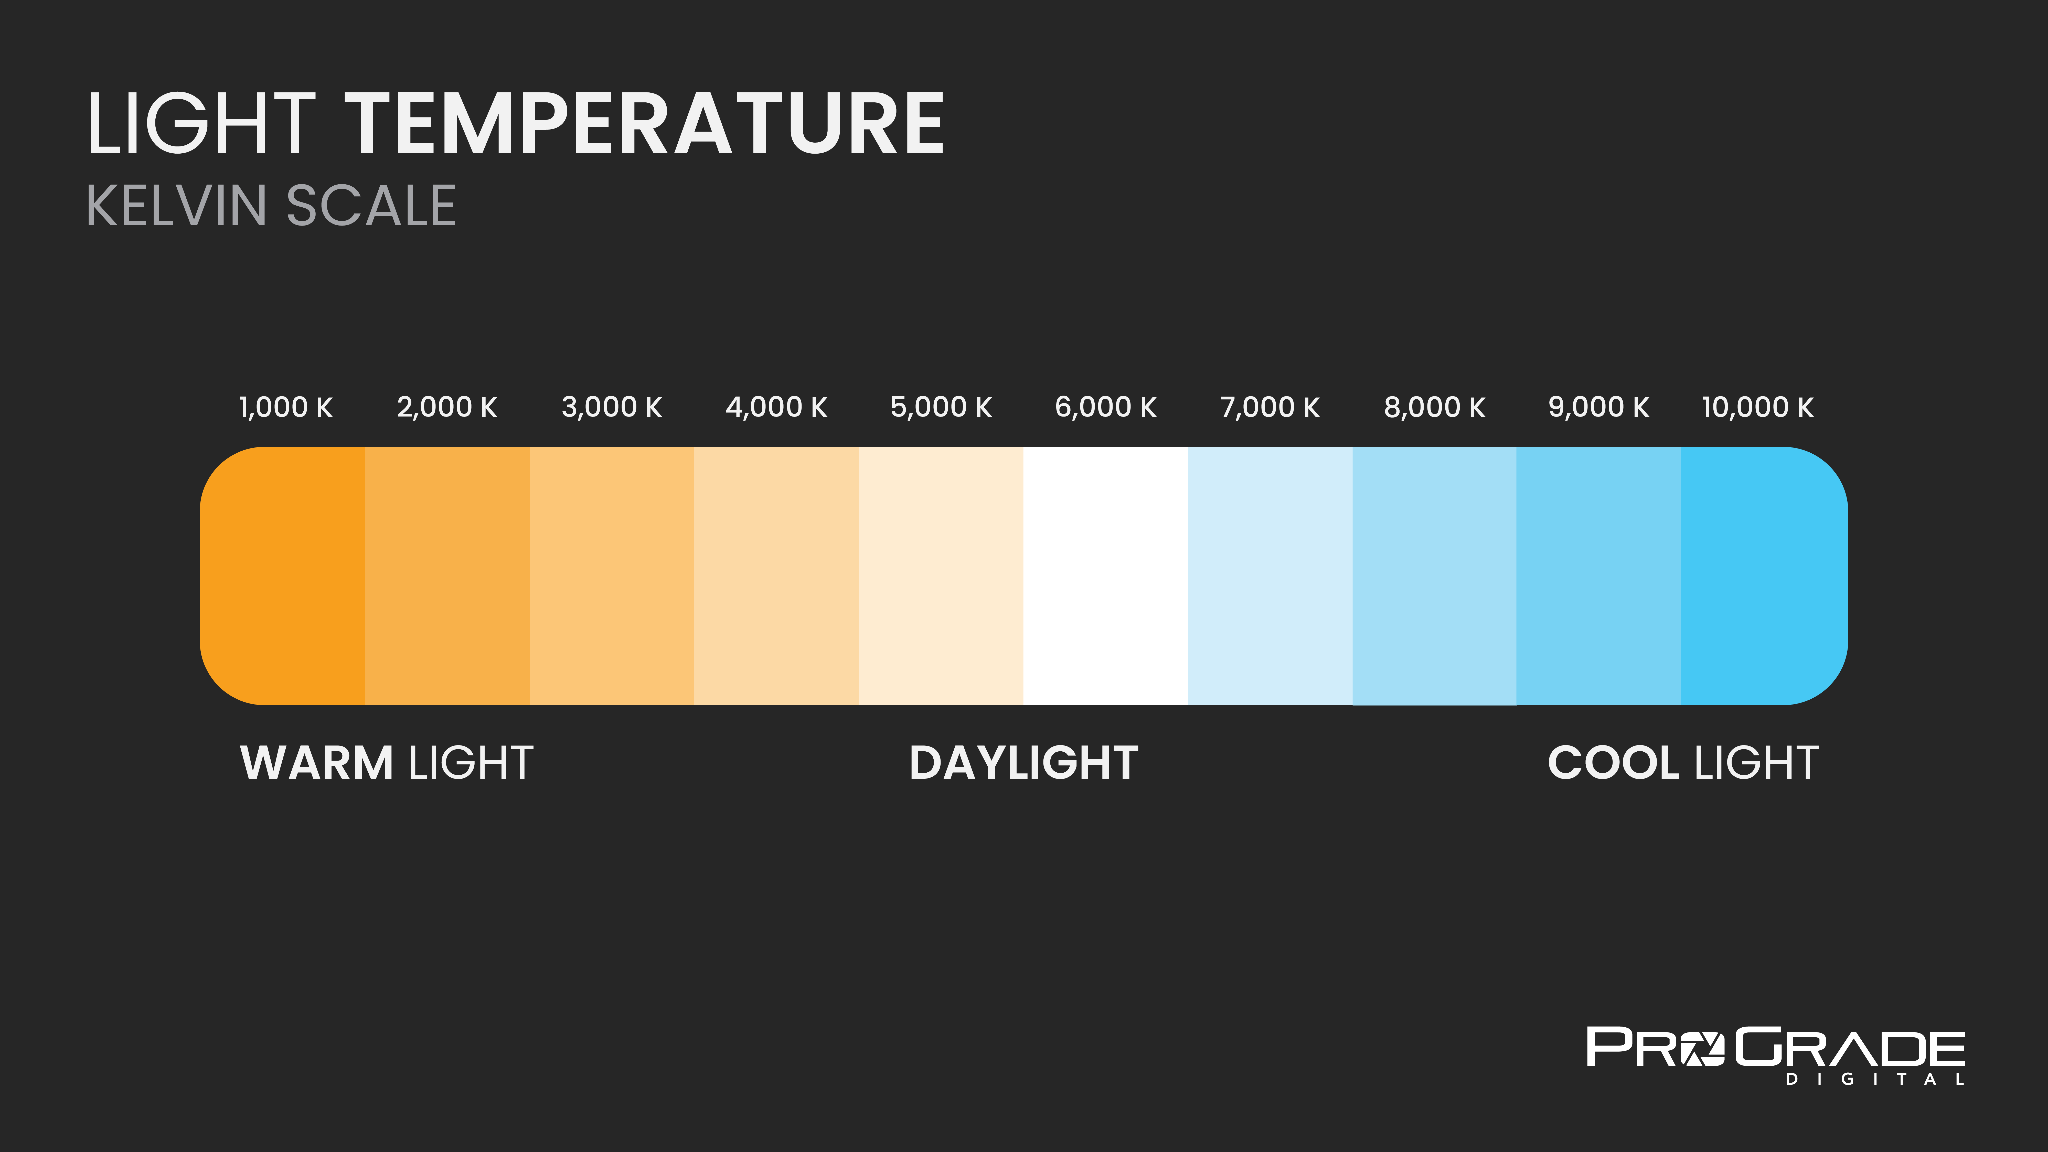
The Kelvin scale in photography classifies light sources by their temperature, ranging from warm orange hues to cool bluish tones. Here’s how different Kelvin values affect the color of light:
- 1,800 K (Candlelight): Warm, intimate, and cozy.
- 2,500 – 3,000 K (Sunset or Incandescent Bulbs): Warm, inviting, and yellowish.
- 4,000 – 5,000 K (Fluorescent Bulbs): Cool, bluish-white light.
- 5,500 – 6,000 K (Midday Sunlight): Neutral and balanced, bright white.
- 7,000 – 9,000 K (Shade or Overcast Sky): Cool and slightly bluish.
- 10,000 K (Clear Blue Sky): Very cool, bluish tones.
Color Temperature and Mood
Different color temperatures evoke specific moods and feelings in photographs. By understanding and controlling the color temperature, you can create compelling and emotionally resonant images.
Warm Tones (1,000 – 3,500 K) – Evoke feelings of warmth, intimacy, and comfort. Ideal for cozy indoor scenes, sunsets, and candlelit portraits.
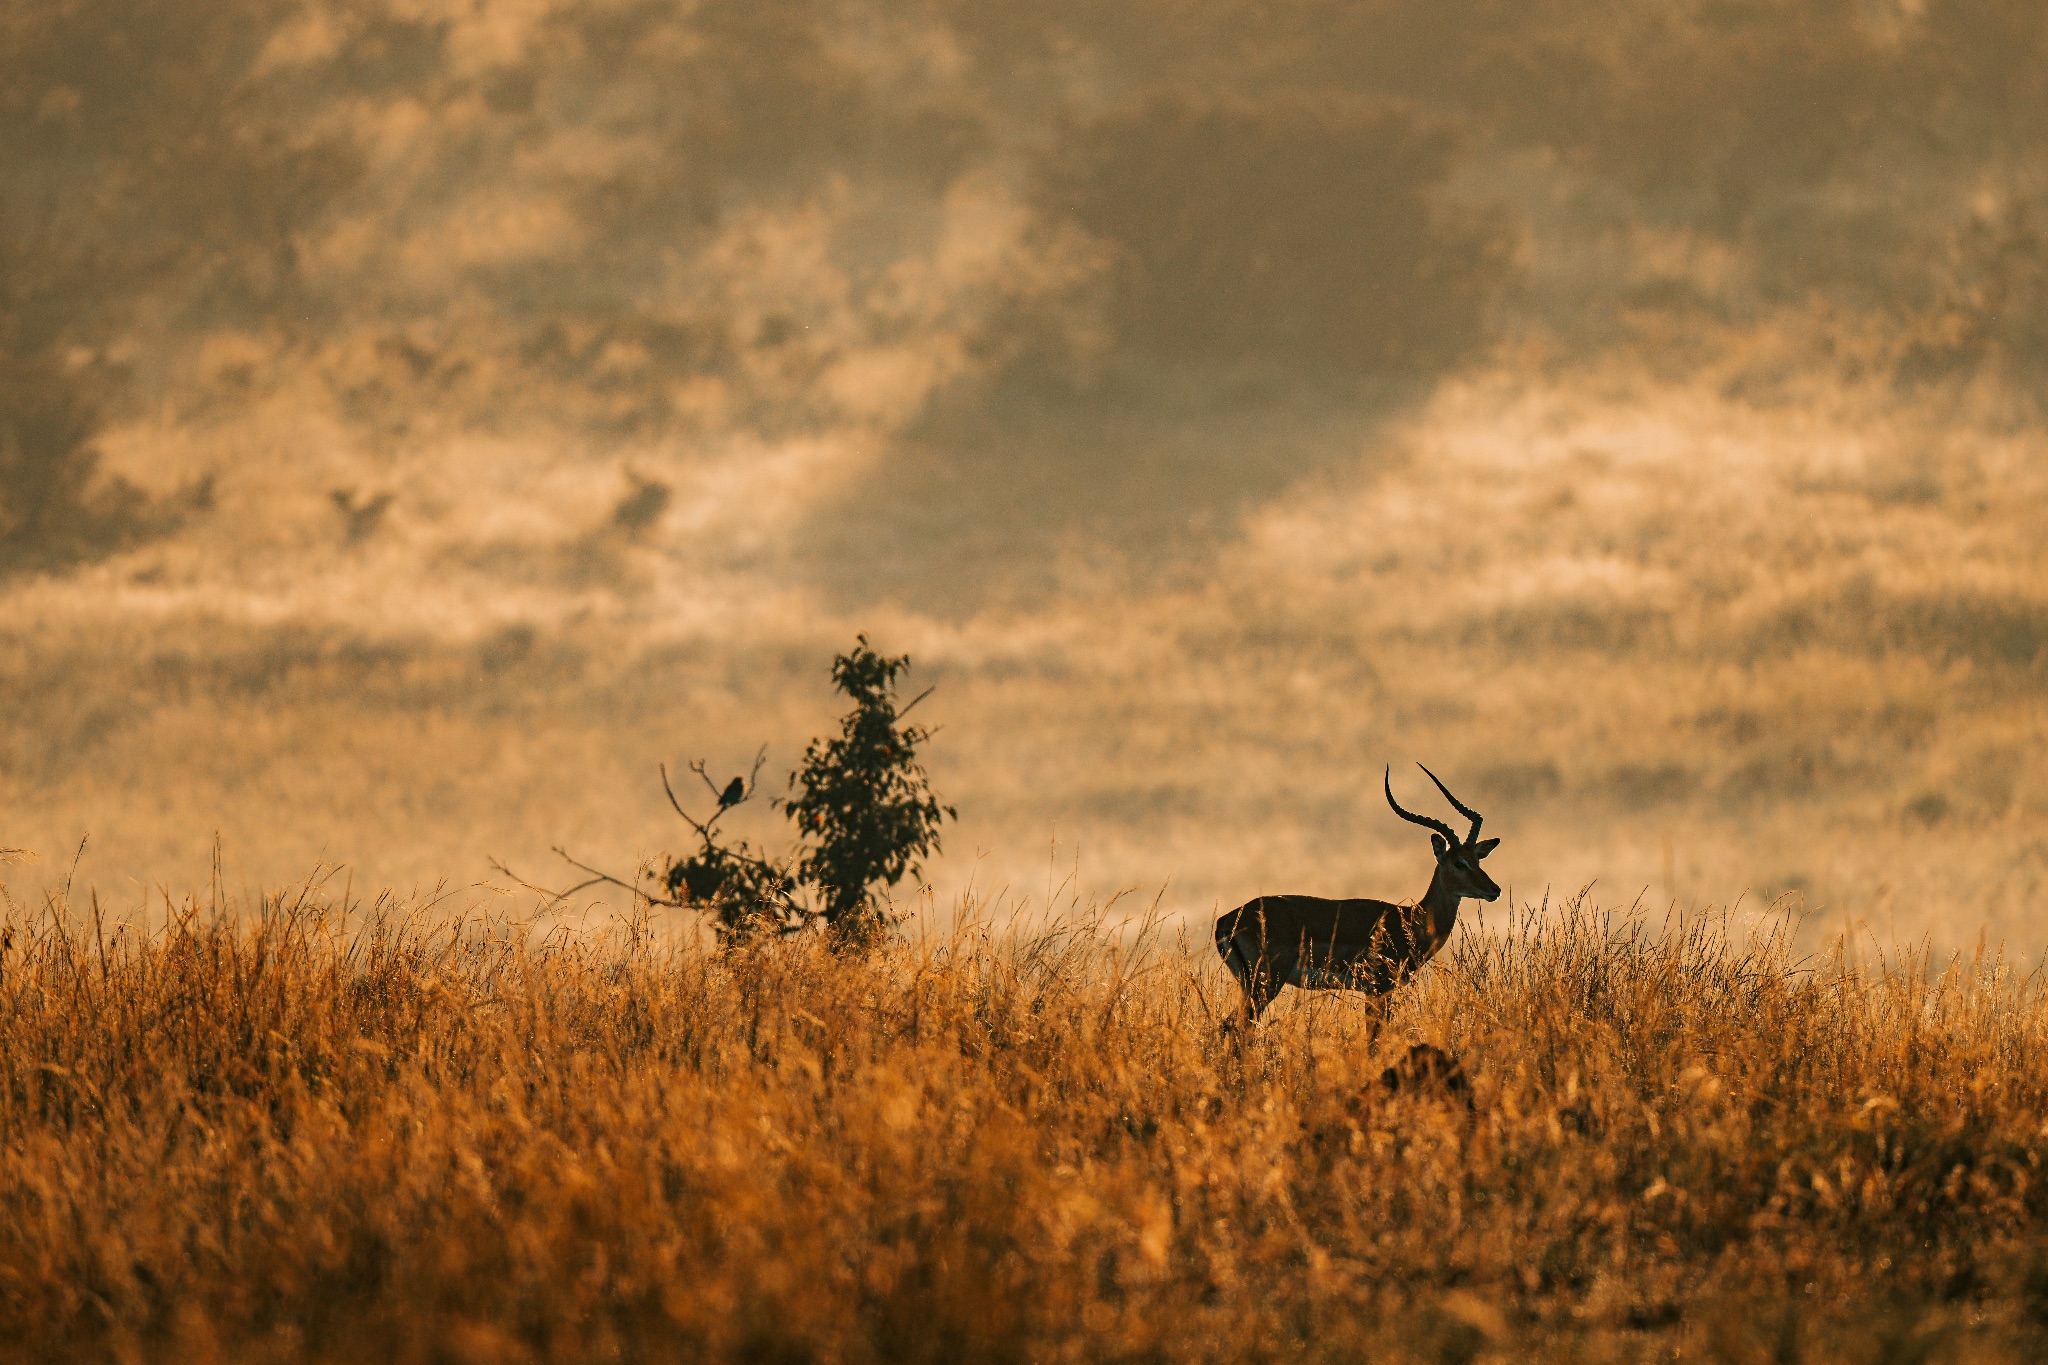
An example image of warm tones, an impala basking in the golden light of a sunset, creating a dreamy atmosphere.
Neutral Tones (4,000 – 6,500 K) – Convey realism and naturalness. Perfect for everyday scenes, midday landscapes, or documentary-style photography.
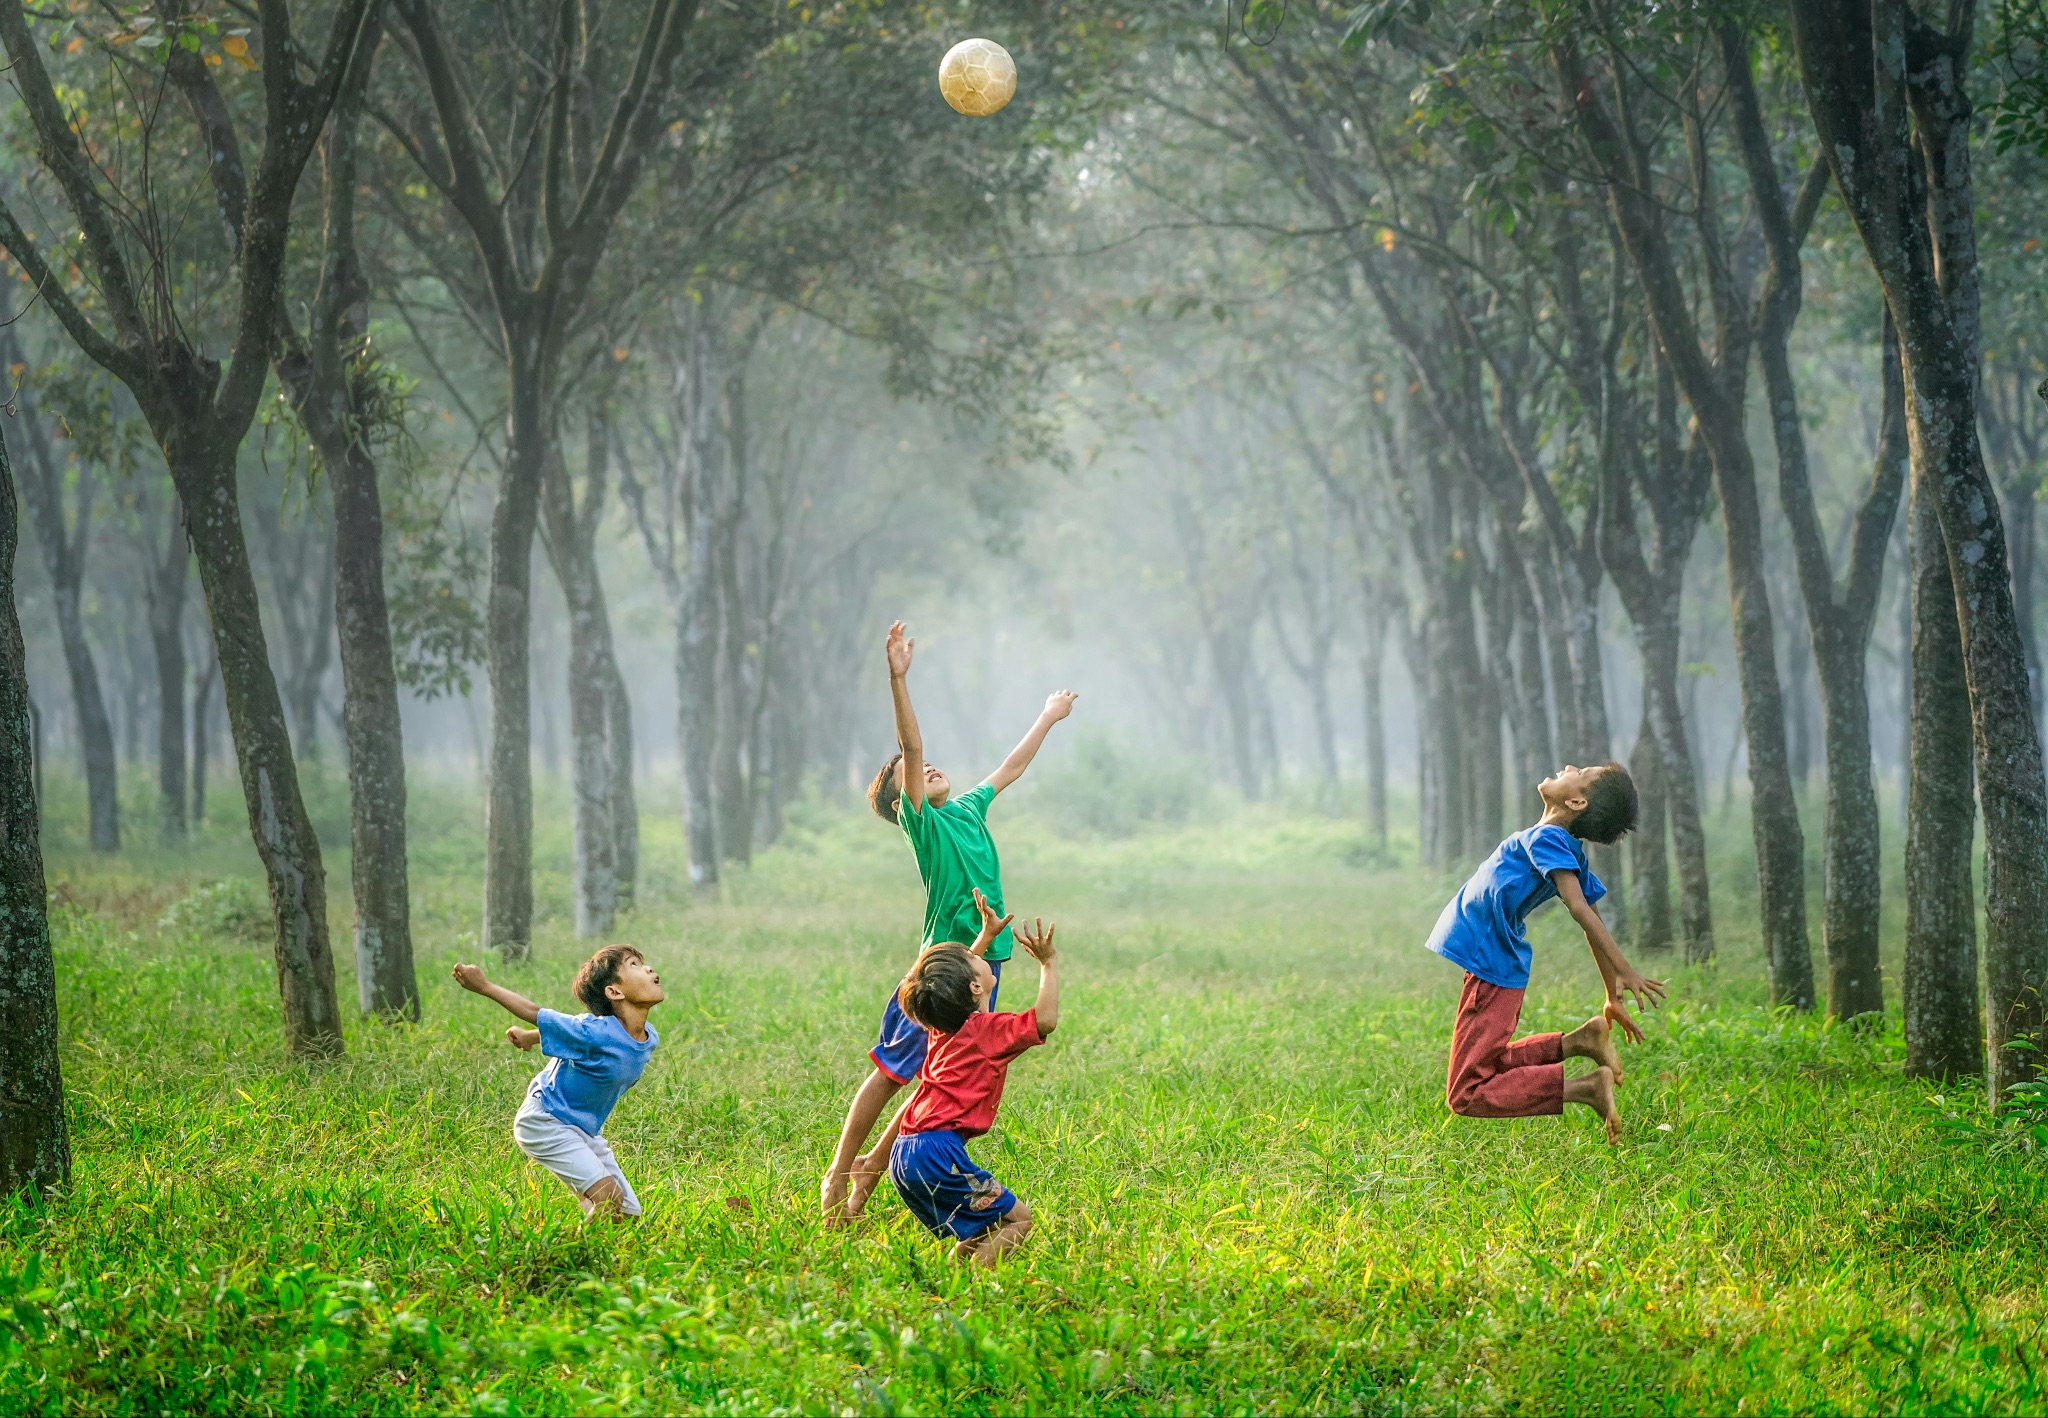
An example image of neutral tones, a group of children playing under the midday sun, creating a balanced and joyful image.
Cool Tones (6,500 – 10,000 K) – Suggest calmness, serenity, or even melancholy. Best suited for early morning or late afternoon landscapes, moody portraits, or architectural photos.
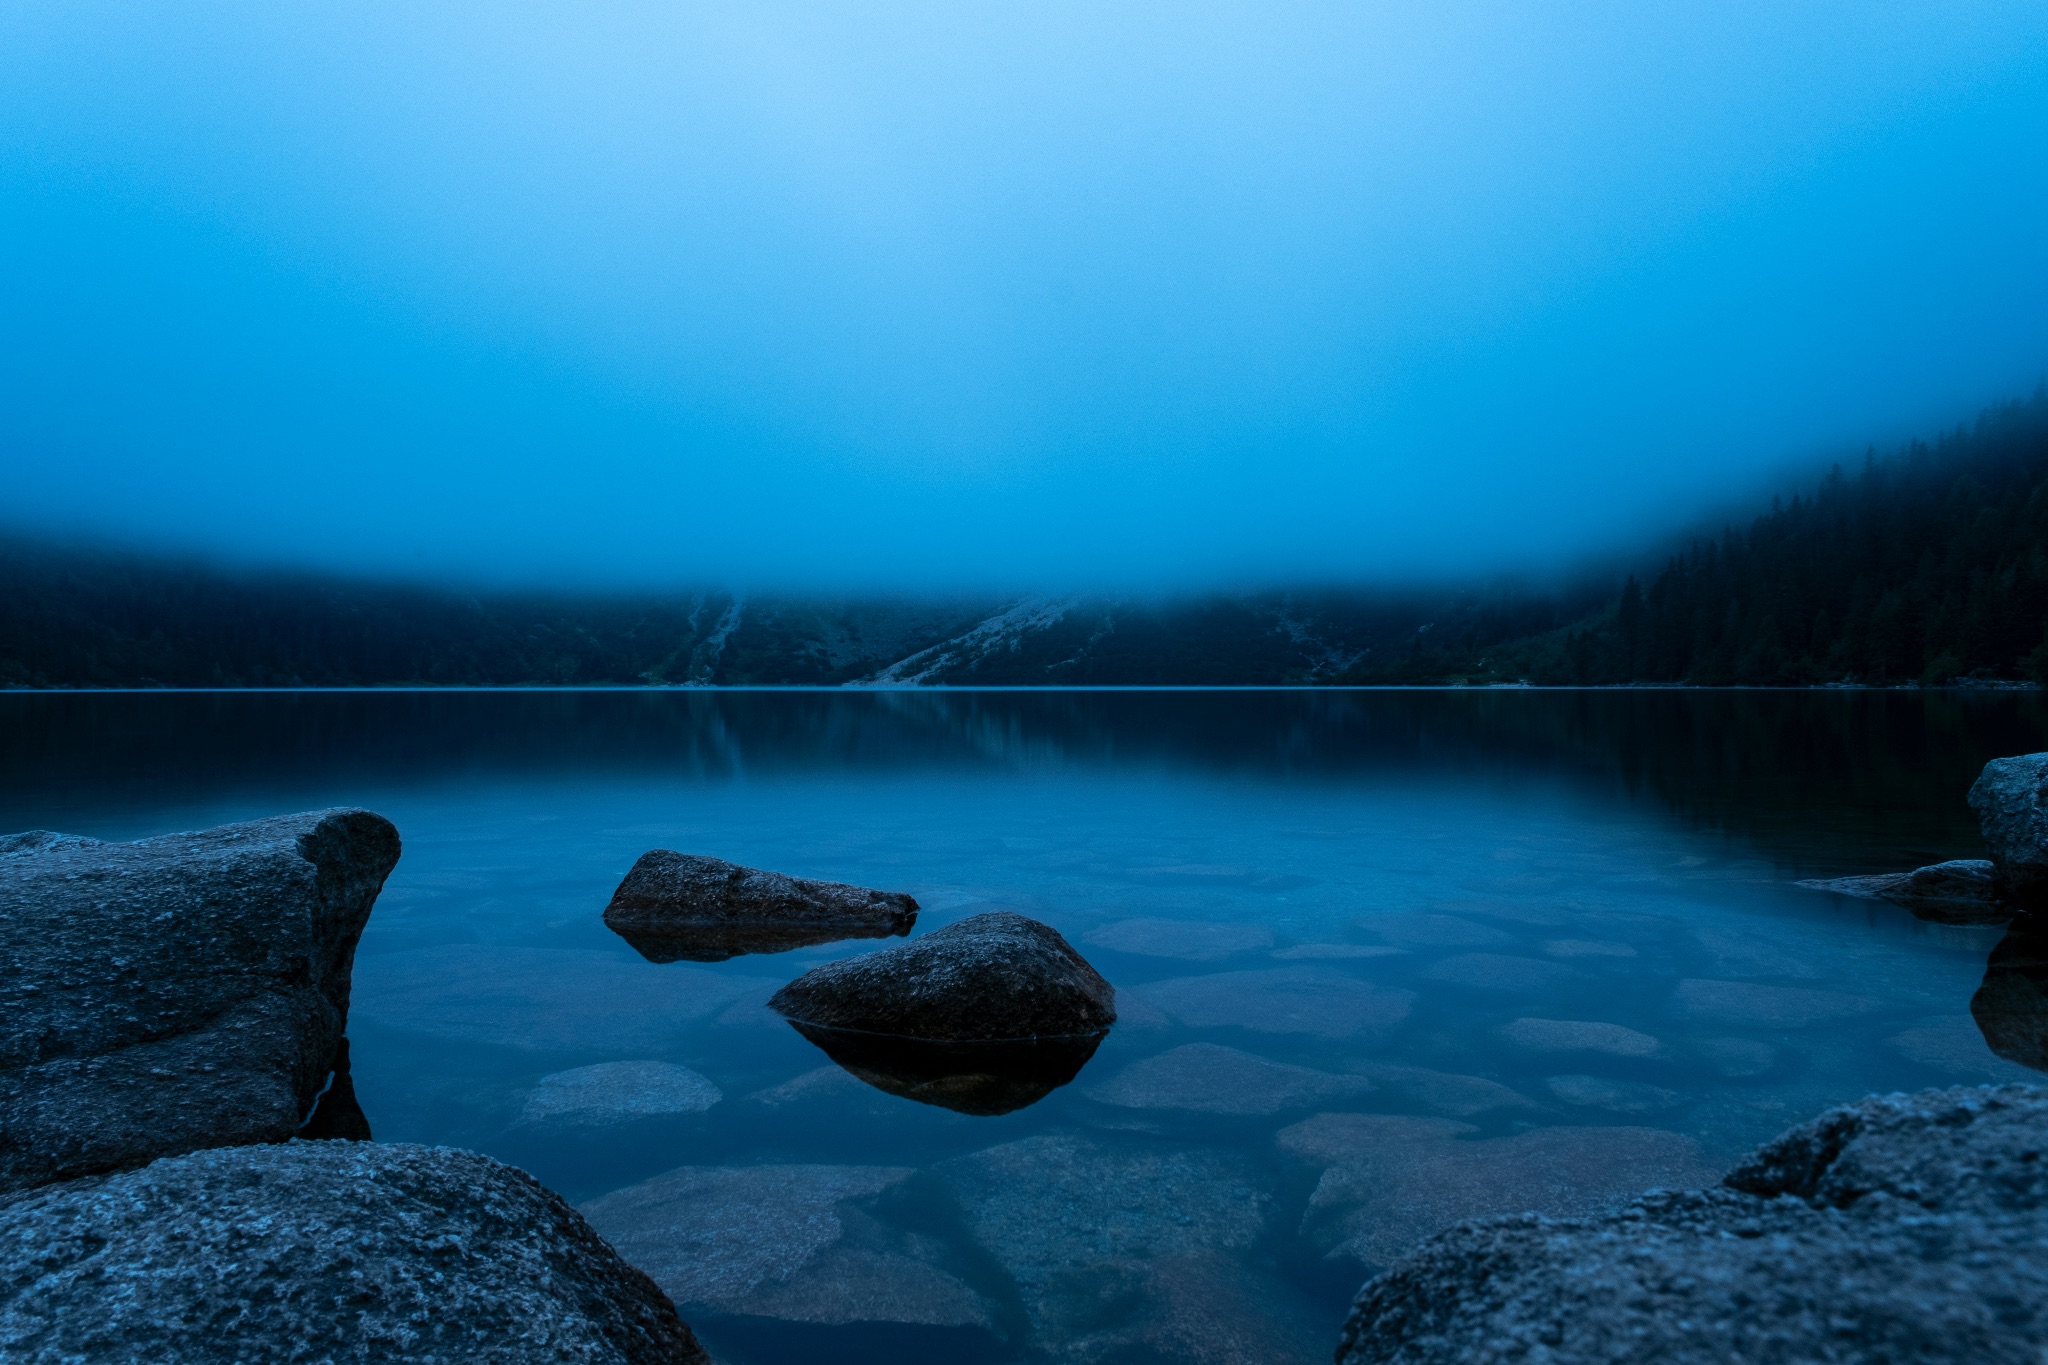
An example image of cool tones, an isolated misty lake at dusk, creating a tranquil and contemplative scene.
How to Measure Color Temperature?
To effectively use color temperature in photography, you need to measure it accurately. One of the most precise ways to do this is by using a color meter. These specialized devices measure the color temperature of a light source in degrees Kelvin.
By simply pointing the meter at your light source, you can obtain an accurate reading and adjust your camera settings or lighting setup accordingly. Modern color meters, like the Sekonic C-800, go beyond providing Kelvin values. They also offer measurements for green/magenta shifts, ensuring complete color accuracy.
However, professional color meters can be expensive. Luckily, there are budget-friendly alternatives, such as the Lumu Light Meter, which plugs into your smartphone, or apps like Kelvin Meter, which uses your phone’s camera to estimate a scene’s color temperature.
Understanding White Balance
White balance is a camera setting that adjusts the color balance in your images to compensate for the light source’s color temperature.
Each type of light source has a different color temperature, which can cast a warm (orange/yellow) or cool (blue) tint over your photos.
White balance aims to neutralize these tints so that whites appear white and other colors are rendered accurately.
There are three main ways to set the white balance. Using auto white balance (AWB), camera presets, or manual adjustment. Manual adjustments vary significantly between camera models, with professional-grade cameras offering more precise fine-tuning.
Auto White Balance (AWB)
In this case, the camera acts like a built-in light meter, automatically analyzing the scene to identify the dominant light source and determine the appropriate white balance. While convenient, AWB can struggle in mixed lighting conditions or scenes with unusual color casts.
Preset White Balance Settings
Most cameras offer preset white balance settings tailored to common lighting situations. These settings are usually the following:
- Incandescent/Tungsten (3,200 K): Corrects tungsten bulbs’ warm, yellowish tones.
- Fluorescent (4,000 – 5,000 K): Adjusts the greenish hue of some fluorescent lights.
- Daylight (5,500 K): Suitable for bright sunlight.
- Shade (7,000 K): Neutralizes the cool tones in shaded outdoor areas.
- Cloudy (6,000 K): Adds warmth to counteract the blue tones of overcast skies.
Custom White Balance
This feature allows you to set the white balance manually by photographing a neutral reference under the same lighting conditions. A gray card or white paper can be used as a reference, giving you a tailored white balance setting for accurate colors.
Kelvin Adjustment (K)
Some cameras offer direct Kelvin adjustment, letting you manually set a specific color temperature. Lower Kelvin values (e.g., 3,200 K) introduce warmer tones, while higher values (e.g., 7,000 K) add cooler tones.
White Balance Shift
This feature allows you to fine-tune white balance further by shifting the balance to correct for green/magenta tints. It is particularly useful in mixed lighting conditions.
Adjusting Color Temperature in Post-Processing
Even if you didn’t get the color temperature perfect in-camera, you can fine-tune it during post-processing. The best way to adjust color temperature in any post-processing software (like Adobe Lightroom or Photoshop) is to use a gray card.
Using a Gray Card for White Balance Adjustment
A gray card is valuable for achieving accurate white balance in your photos. Here’s how to use it effectively:
STEP 1 – Include the Gray Card in a Reference Shot:
-
- Place the gray card in your scene, ensuring it is lit by the same light source as your subject.
- Take a reference shot with the gray card visible. Make sure it is large enough in the frame for accurate sampling later.
STEP 2 – Adjust White Balance in Your Post-Processing Software:
Adobe Lightroom:
-
- Import your photos into Lightroom.
- In the Develop module, locate the “White Balance” section.
- Click on the eyedropper tool next to the “Temp” slider.
- Move the eyedropper to the gray card in the reference shot and click on it.
- Lightroom will interpret this sample as neutral gray and adjust the white balance accordingly to neutralize color casts across the image.
- If necessary, fine-tune the “Temp” and “Tint” sliders to achieve the desired color balance.
Adobe Photoshop:
-
- Open your photo in Photoshop.
- Go to Filter > Camera Raw Filter.
- Click on the eyedropper tool next to the “White Balance” drop-down.
- Click on the gray card in the reference shot to set the white balance.
- You can further refine the color temperature using the “Temp” and “Tint” sliders.
STEP 3 – Fine-Tune with Curves and Levels:
-
- Both Lightroom and Photoshop offer Curves and Levels adjustments to further refine color temperature.
- Use the Red, Green, and Blue channels individually to balance out color casts and achieve the desired tone.
3 Additional Tips for Getting The White Balance Right:
- Use a Consistent Gray Card – Always use the same gray card for accurate color consistency across your photos.
- Review Light Source Temperature – Check the specs of your lighting equipment, as professional gear usually indicates exact Kelvin values. This allows you to set your white balance more precisely.
- Check the Histogram – Review your camera’s histogram graph to ensure the color balance is appropriate for the scene.
Adjusting White Balance Without Gray Card
If you didn’t include a gray card in your reference shot, you can still use the eyedropper tool to set a neutral white balance by selecting a neutral area within the image itself. Simply click on the neutral white or gray area to sample it, and both Lightroom and Photoshop will adjust the white balance accordingly.
Clouds, particularly in overcast conditions, can serve as a good neutral gray reference, while fresh, undisturbed snow under even lighting conditions can work as a neutral white point.
You can also rely on everyday objects like clothing and walls. Shirts, sweaters, or other garments in gray or white shades can work well, and light-colored walls, fences, or building exteriors often offer suitable neutral gray points. Books, printed pages, or posters with white or gray backgrounds can also be useful.
By identifying these neutral white or gray areas in your scene, you can use them for white balance adjustment with the eyedropper tool in Adobe Lightroom or Photoshop, even if you don’t have a gray card available.
Practical Applications and Tips
1. Match Ambient Light:
When working with ambient light, it’s critical to match the color temperature of your lighting conditions to avoid unwanted color casts. Consider using tungsten or fluorescent presets to match artificial lighting for indoor settings, while daylight, shade, or cloudy presets can help maintain natural color accuracy for outdoor scenes. A custom white balance or Kelvin adjustment in mixed lighting conditions can help neutralize color discrepancies.
The following image illustrates how a well-set white balance maintains accurate skin tones despite the challenging combination of warm interior lighting and cooler outdoor light coming through the windows. The neutral and natural color rendering showcases the importance of properly adjusting the white balance to achieve true-to-life colors in mixed lighting conditions.

2. Be Creative and Experiment:
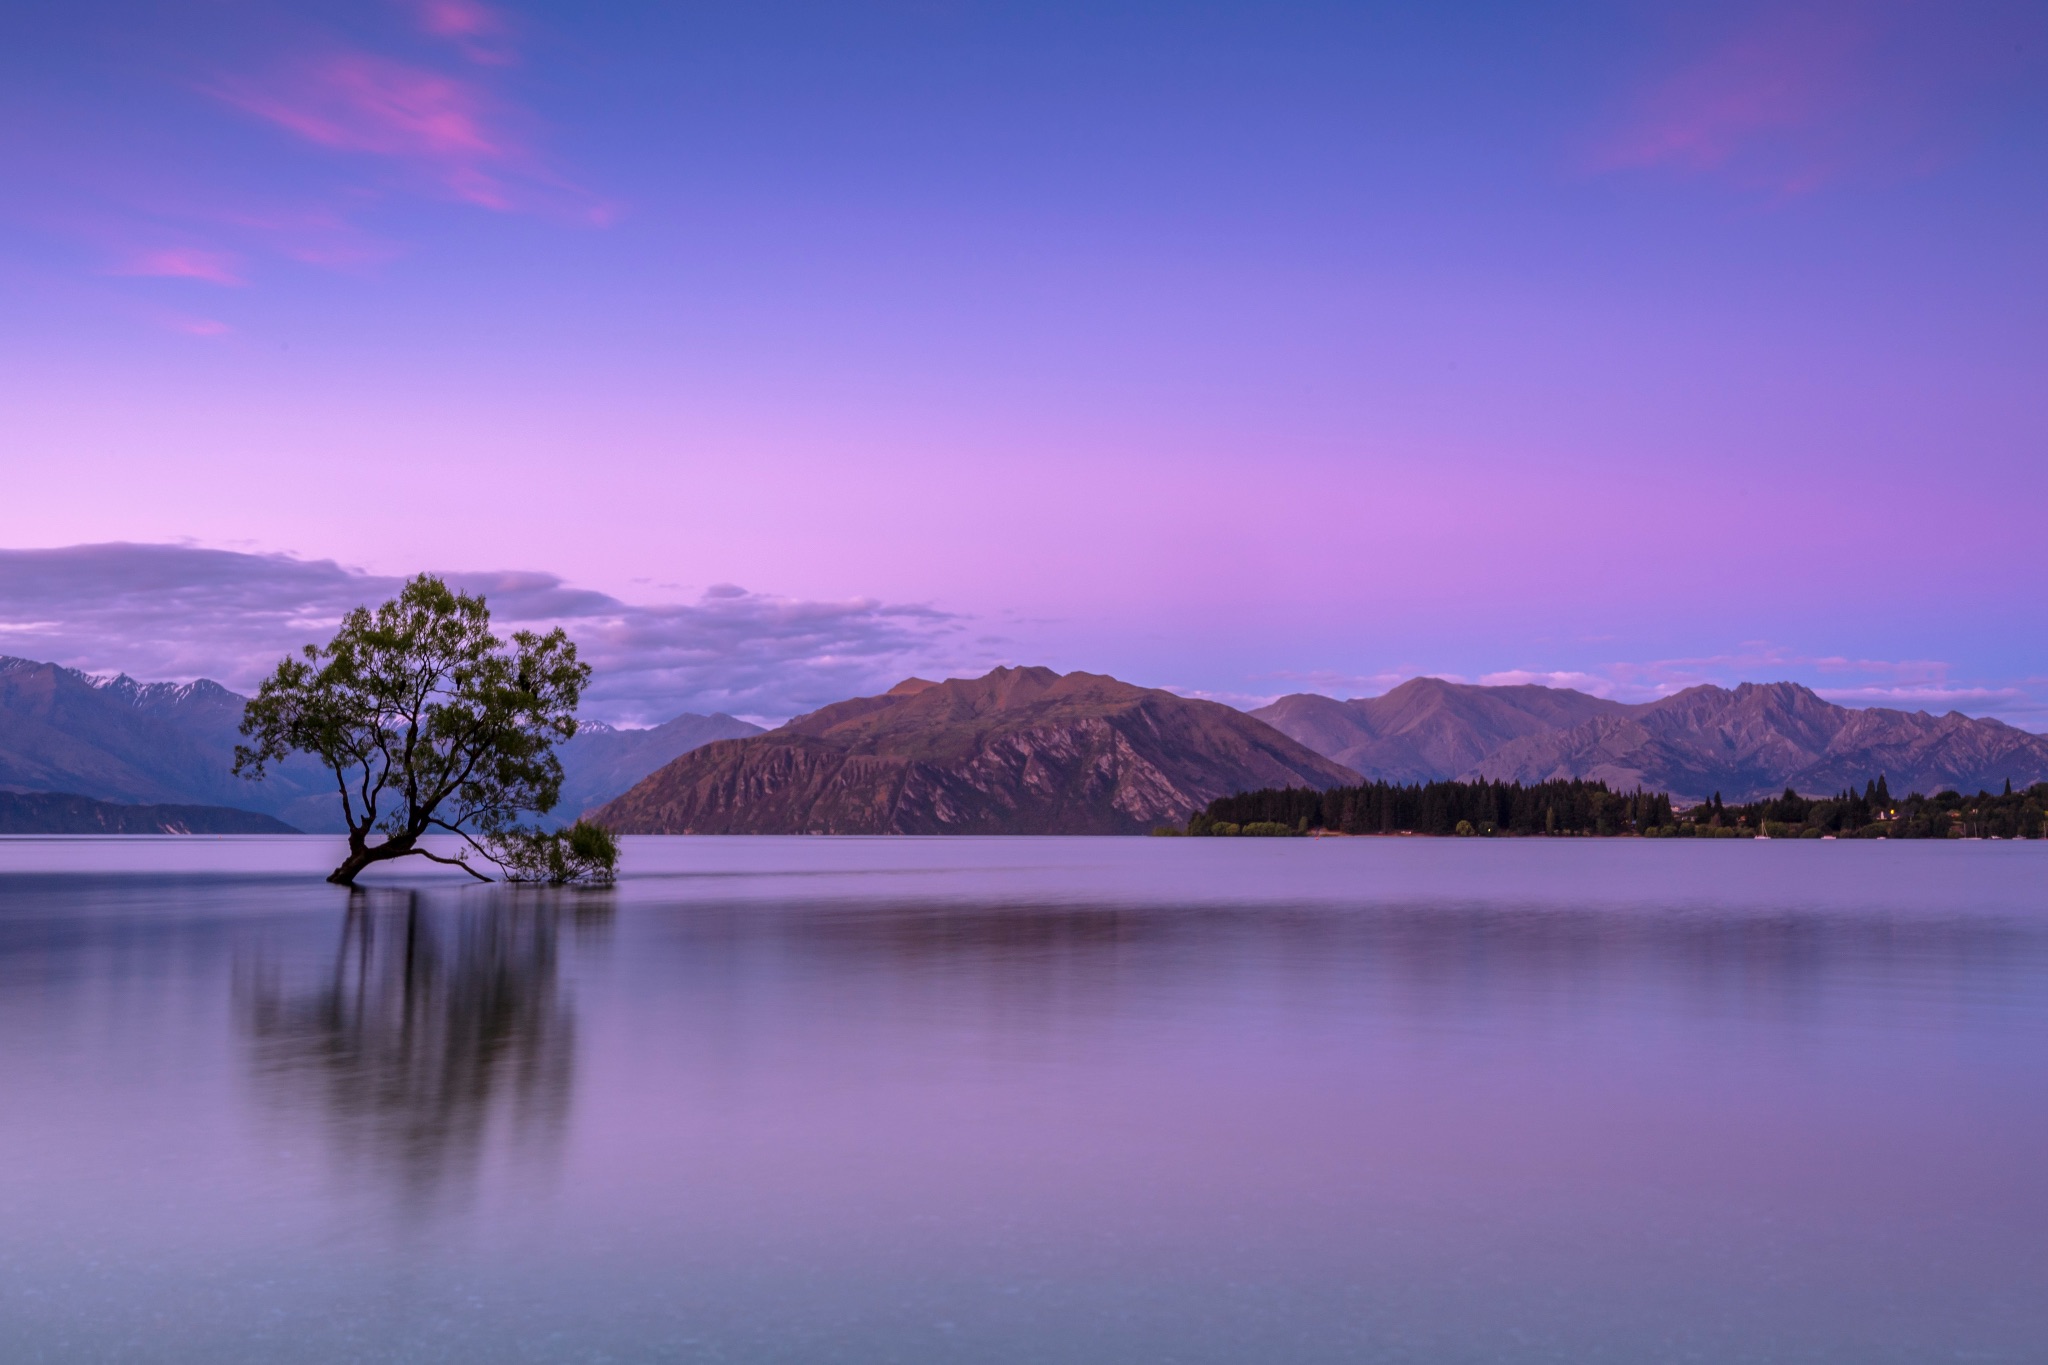
Feel free to experiment with color temperature for creative effect. Deliberately shifting the white balance towards cooler (blue) or warmer (yellow/orange) tones can convey distinct moods or artistic styles. For example, setting a lower Kelvin value can evoke the cozy warmth of candlelight, while a higher value can emphasize the calm tranquility of a misty morning.
The image below showcases the creative use of color temperature to infuse a subtle purple tint into the landscape, adding an ethereal and dreamy atmosphere to the scene. The carefully adjusted white balance emphasizes the tranquil mood, demonstrating how shifting the color temperature can create a unique artistic effect that elevates the beauty of the natural environment.
3. Avoid Common Pitfalls:
- Neglecting to Adjust White Balance in Mixed Lighting – Mixed lighting conditions, like tungsten and daylight, can result in uneven color casts. Avoid this by using a custom white balance or manually adjusting the Kelvin setting.
- Over-Reliance on Auto White Balance (AWB) – AWB may struggle in scenes with unusual color casts. Instead, experiment with presets or custom settings to ensure accurate color reproduction.
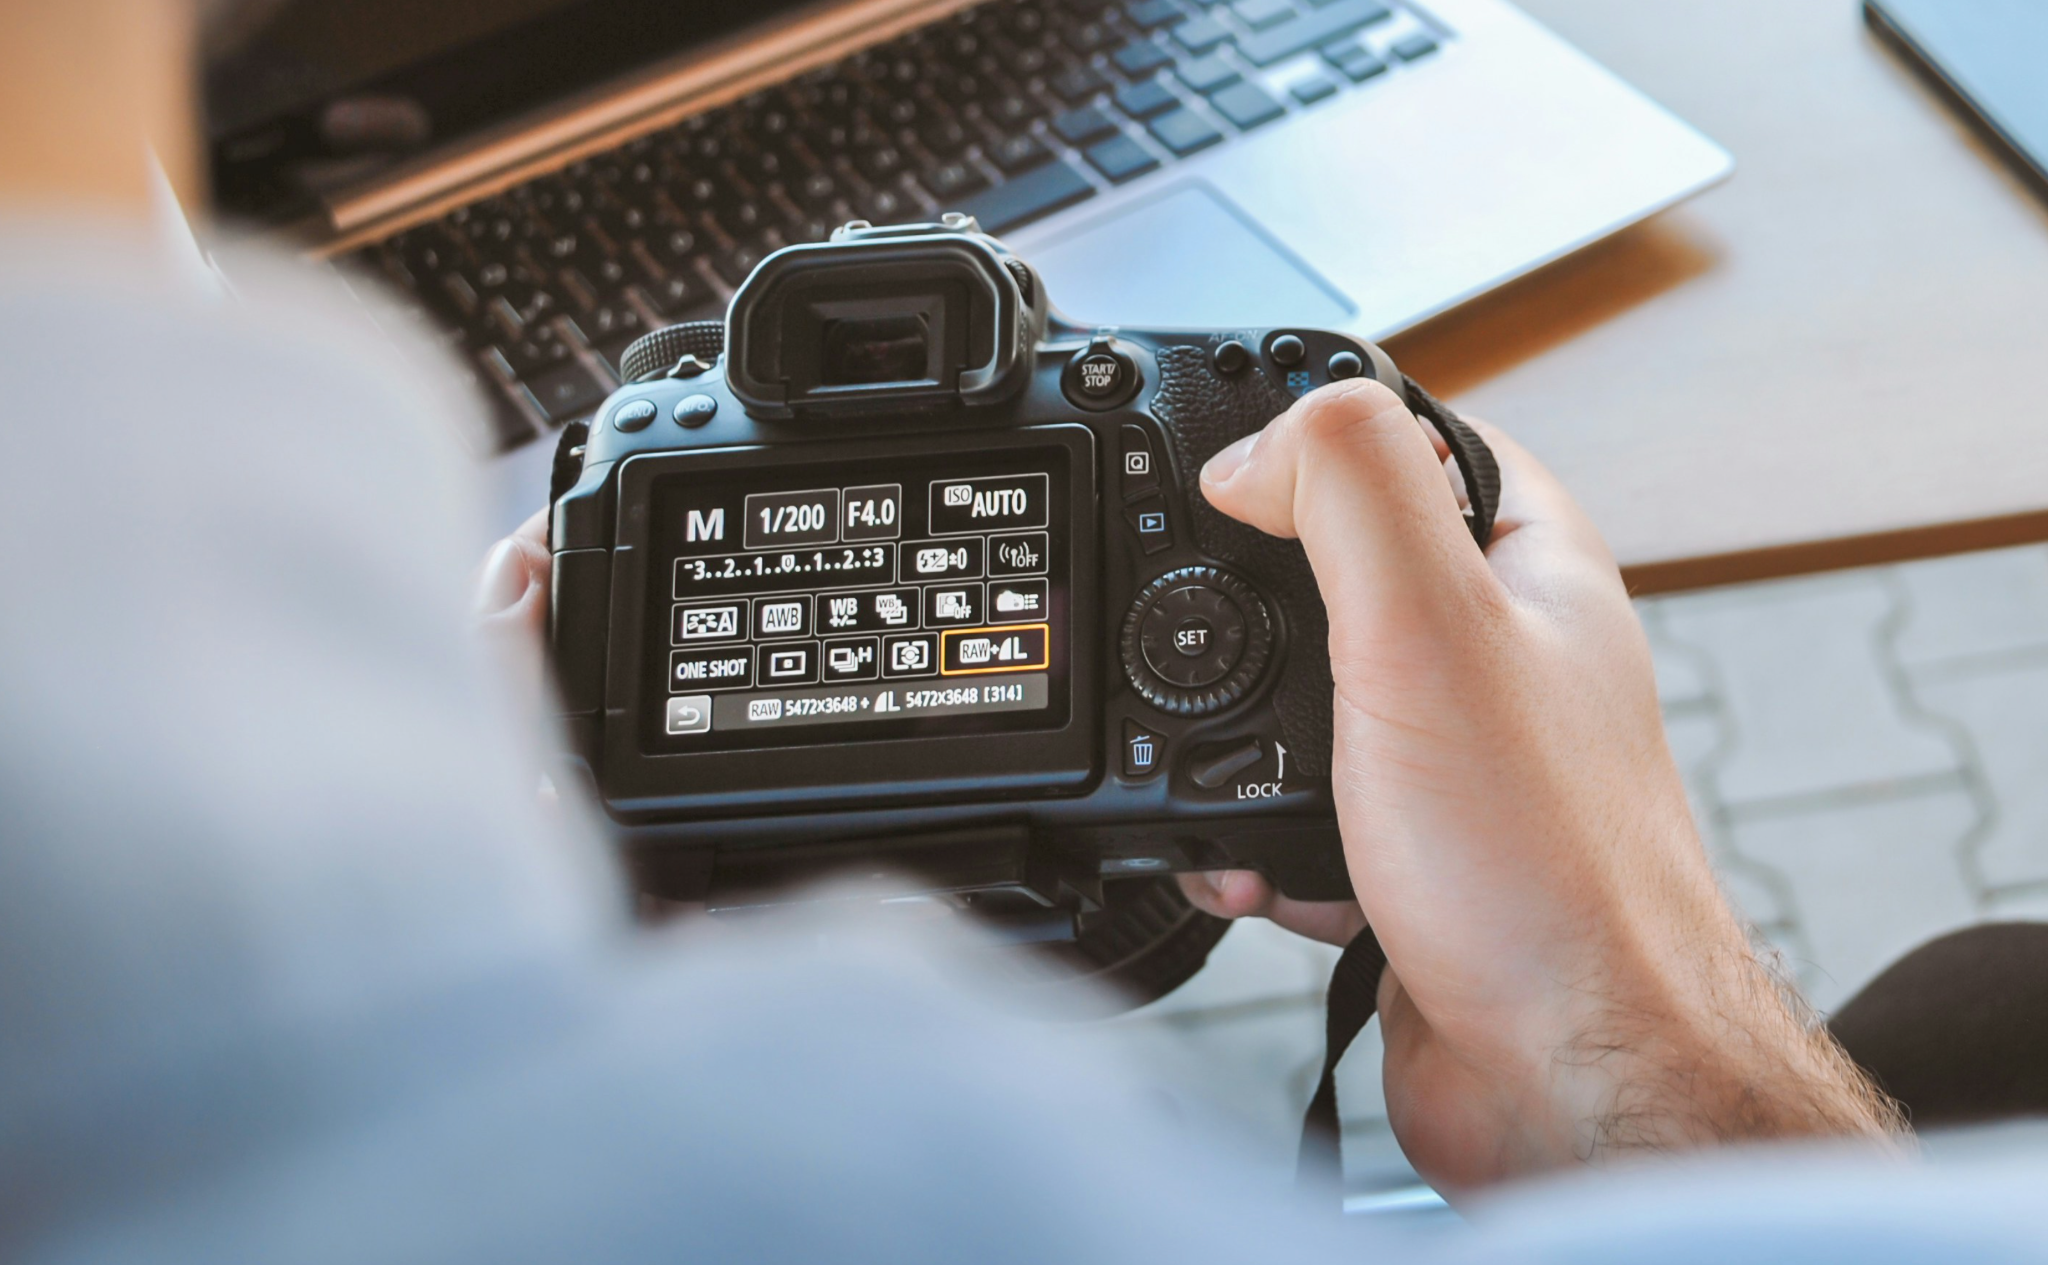
- Forgetting to Shoot in RAW – Shooting in JPEG limits your ability to correct color temperature in post-processing. Always shoot in RAW to retain maximum flexibility.
Conclusion: Mastering Color Temperature for Impactful Photography
Mastering color temperature is the key to unlocking the full potential of your photography. Whether you’re capturing the warm glow of a sunset or the cool tranquility of a misty morning, each image becomes an opportunity to evoke powerful emotions and create compelling stories.
With an understanding of white balance, creative adjustments, and the right tools, you can confidently embrace the challenge of controlling color temperature to elevate your work. Let your mastery of this subtle yet powerful element of light take your photography to new heights.
Discover New Perspectives with ProGrade Digital
As you master the art of controlling color temperature, ensure your creative vision is fully realized with reliable tools. ProGrade Digital’s high-performance memory cards and workflow readers are designed to help photographers like you capture every subtle shift of light and color. Our range of innovative solutions ensures your gear keeps pace with your creative vision, giving you the confidence to explore new photographic horizons.
