It was that bitter, the Alaskan cold that comes in fall with its overcast skies penetrating right into your bones that greeted us smack in the face as we stepped out the door into the dark. It did not come as a surprise over the twentieth time I had ventured up for Alaskan Moose, but it still takes your breath away. The heated seats in the truck felt good as we made the drive up the hill. Then, in even colder temperatures from going up in altitude, we donned our camera gear and started for what would end up being six miles of hiking up and down valleys for our quarry. After five days of this, the last day presented us with the reward of making this journey worth the price for the previous two decades. That is because, in wildlife photography, our passion is often the wildest subject of all!
What is it about wildlife photographers or photography in general that gets us out before sunrise or in extreme weather (which includes the worst, bald skies) with our gear to photograph our wild heritage? There is, of course, the sense of the hunt, the desire to put all our talents, skills, and gear into action to come back with the photograph. There is, in some cases, the need to tell a story of our adventures, which is a good thing. These are all good and powerful motivations that must keep us going. But how many go out for the shot with the sheer intent of coming back and grabbing heartstrings with their photographs? Going out in service of the subject and not the ego?
The passion we put into our wildlife photography must come screaming through our images! This is more important than ever! That is so easy to write and much harder to put into pixels. But it can be done when we use the tools, techniques, and skills married to our hearts. It is harder, much more challenging, and often leads to a greater amount of photographic failure, but that is what makes us better photographers in the end. Where do you start? How do you move forward? What is the end game?
We Start with Our First Lesson in Storytelling
It probably will seems like a long time ago, but when we were kids, one of our first writing assignments our teacher gave us came with advice that applies to our wildlife photography. “To write about a subject, you have to know that subject.” This simplistic statement tormented some of our earliest writing assignments and might still challenge you when you are behind the camera. “To photograph wildlife, you have to know wildlife.” When working with wildlife, knowing our subject is much easier said than done but does not require a Ph.D. and is the key to our success.
To make this age-old adage work in my own photography, I simply work with knowing basic biology. We can never truly “know” our subject since wildlife will do whatever they want (as we all know all too well). But there are some aspects of their daily and annual habits that we can learn and predict. A very general one is that many bird species migrate, going north to lay eggs and start the next generation in the spring. A very specific one is the Bull Moose in Denali National Park will have shed their velvet by mid-August. Nearly everyone knows that birds of prey defecate just before they take flight, but that does not always occur. These are examples of knowing and understanding basic biology.
There are many ways you can acquire this “biological” knowledge. Reading is a great way, especially if you are looking at biological journals where the information you are learning from has gone through peer review. Obviously, there are classes like those I have posted on KelbyOne training. Just keep in mind these are antidotal observations, individual accounts seen once, and do not necessarily mean they will occur all the time for all critters. Being a wildlife detective is truly the best methodology to employ in your wildlife photography. This is where you combine knowledge acquired and apply it to what you see in the field. And “seeing” a lot on a continual basis is key here!
Using basic biology improves your wildlife photography in many ways. First, it protects the wildlife because no photograph is worth sacrificing the welfare of any critter! Next, it puts you in the field where you have the best possibility of success. It is not a guarantee but does give you the best odds. It also permits us to predict what the subject might do next as best as possible, and that is when the heart-grabbing photographs are born. Engaging the subject on their terms and photographing their daily struggle for life is where the storytelling begins.
The Stage for Our Subjects
There are many options for telling our subject’s story in our own voice. In trying to tell their story, including the world in which they live and depend on, is one of the biggest challenges! Using basic biology, we understand a bit of what the critter depends on, giving us the luxury to sculpt the photograph a little. By including that world in the photograph, the subject becomes smaller in the frame. You might be thinking, “smaller subject means needing less glass, and I do not have to get as close physically.” Actually, the opposite is more accurate. You need longer glass, and you need to get closer.
The key is to take your subject and smack the viewer right between the eyes with it! We have thousands of options in doing this; this is one of the great joys of photography and why we can all participate and still be unique. I sum this all up as doing the dance. When you put your eye to the viewfinder, you must exclude those elements that take the eye away from the subject. And at the same time, include those elements that tell the story.
Our dancing partner in this dance is the lens we use. With the lens we attach, we set the stage for our subject to perform. Or, thinking of it in simpler terms, the stage is the background. We use the background to tell our subject’s story. We manipulate the background with the lens we use. And we make the subject visually pop by using the universal tools all photographers use. We do all of this at times in the blink of an eye!
Get close physically and use optics to isolate is a mantra I’ve had from the very beginning. We get close physically to make the most of the lens we have. We use the lens at hand to tell the story. For example, the Red Fox foraging in a snowy field during a snowstorm. How do you communicate that it is out in the open while braving the elements? How do you, at the same time, engage the viewer of your photograph and grab their heartstrings?
After using basic biology, we apply how the mind’s eye works. Visually first, we latch onto bright light and sharpness second. In the photo of the Black-Capped Chickadee hidden on its perch in a moss-covered pine, the chickadee fills up maybe 1% of the frame, yet you cannot help but see it. This is because it is white and it is sharp. By using a 180-400mm lens, moving laterally to exclude some elements while including others, and with white/bright and sharpness, the story is communicated. This not only begins and continues the tugging of heartstrings but also sets us up for the most important tool in this process.
Exposure = Emotion
Like a surgical strike, we head toward the viewer’s heart with our image based on our knowledge and tools. We then make the final strike by tapping their emotions. Jay Maisel has a simple phrase that sums this up nicely: “Light, Gesture, and Color.” We bring the gesture into the image with the first two elements we have talked about and tie this up in a bow with light and color, and that is where exposure comes into play.
What we’re after is not a technically perfect photograph, but one that is filled with passion. I like to sum it up in this way verbally. We have a blustery day with clouds dancing in the heavens. If we overexpose, we have bright clouds and can say visually the storm is on its way out. If we expose normally, we can simply say it is a gorgeous day. And if we underexpose this same scene, we can say in our photograph the heavens are about to open up on us. Same scene, but we change the story with simple exposure.
Let us say you have a Coyote in a landscape doing what coyotes do so well, being curious. It lopes across a snow-covered slope, its ears forward as it listens intently to small critter activity under the cover of snow. Underexposure gives the feeling of coolness and blues, which the mind’s eye interprets as being up to no good. Overexposure brightens the scene, and the coyote is now playful. Warm tones, cold tones, white balance, and exposure compensation all tap into color psychology and are tools we have for grabbing heartstrings.
But here is the most important part of using exposure to express emotion. You, the photographer, have to commit! When you take that photo, you must make a personal statement by placing your passion into that click. That is not easy, not by any stretch. But until you make the emotional commitment to that photograph, that subject will make your photographs reach out and grab heartstrings.
Why Is This Important?
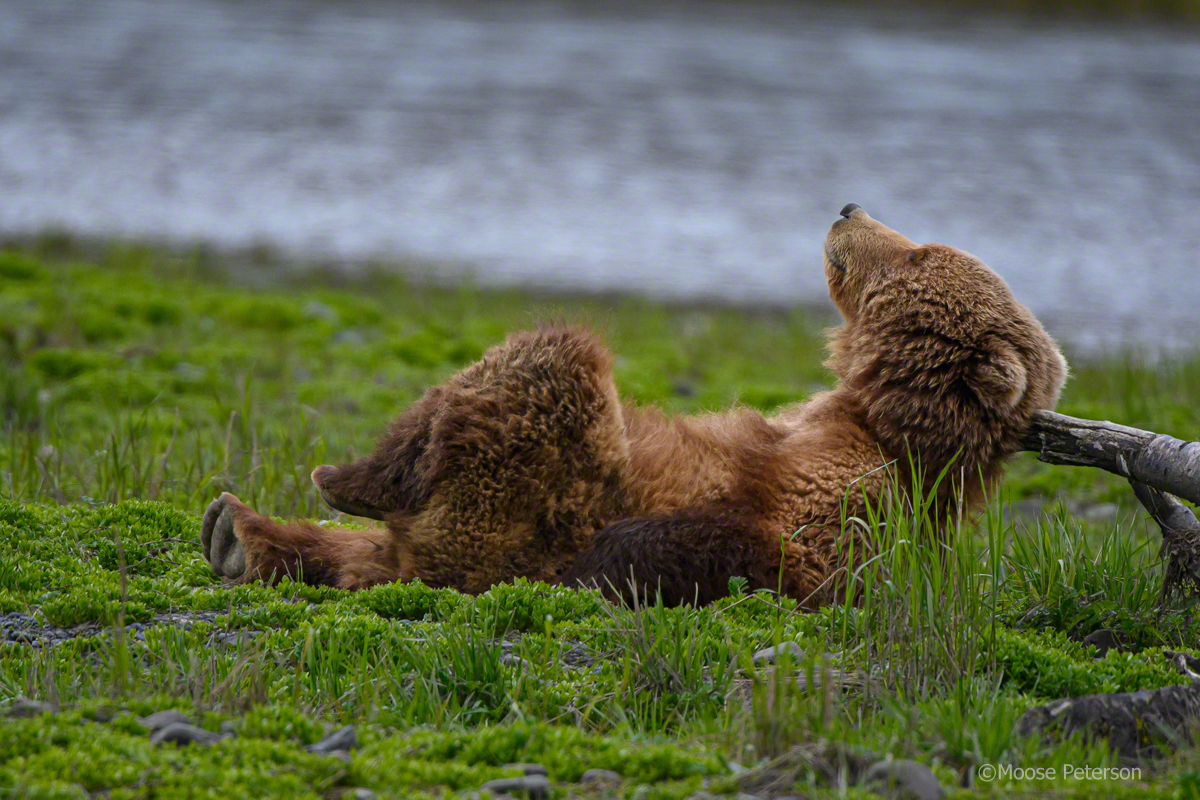
The glance of a sea otter, the head tilt of a sandpiper, and the apparent total disregard to our existence by a grizzly bear, are why grabbing heartstrings is so important. At the beginning of my career, I was blessed and cursed when I was told a photograph of mine had saved a species from extinction. Blessed because I knew from the start that photography could make a difference. Cursed because I knew photography could make a difference. I am passing this blessing and curse on to you now, with the answer to both, grabbing heartstrings!
We inherited an extraordinary wild heritage to enjoy, witness, observe and tell stories about. As wildlife photographers who are so fortunate to spend time in the wilds of this planet, it is part of our responsibility to share this good fortune with others through our photographs. The greater responsibility is to those critters we are so blessed to spend time in our viewfinders. It is upon us to help them so that the next generation is fortunate enough to go out with a camera and experience the same simple pleasures as wildlife photographers. If John Muir did not have the foresight to preserve Yosemite, we would not have it to enjoy today. The question is, do we have the foresight to preserve what we have today and for our future generations? You have the power in your photography to make a difference. It is all about grabbing heartstrings!
Moose’s Wildlife Photography Gear List:
- Nikon Z 9
- Nikon 800f5.6 AFS
- Nikon 180-400VR
- Nikon Z70-200f2.8
- Nikon Z24-20f2.8
- Nikon Z14-24f2.8
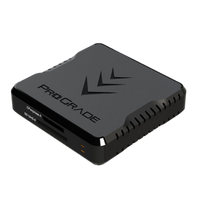
- ProGrade Cobalt 650 & 325GB CFexpress Cards
What Moose Recommends to the Beginner Wildlife Photographer:
- Nikon Z 6II
- Nikon Z100-400
Do You Have To Get Close Physically To Be Successful?
“I am not an eyeball shooter.” This statement of mine often confuses photographers since I am so well known as an 800mm wielding photographer. Filling the frame with the critter is not required for great wildlife photography. Reflecting on how I first slanted my wildlife photography in this direction, it has its roots in the first lens I had to shoot wildlife. I started with a Vivitar 400f5.6 on an old Minolta that was soon replaced with a Nikon 400f5.6 on a Nikon F2. That 400mm was my main lens for a long time, and it taught me more lessons about wildlife photography that I still depend on to this day than just about anything else!
Surviving those first years as a wildlife photographer is a challenge for many. It sure was for me! John Shaw’s book, The Nature Photographer’s Complete Guide to Professional Field Techniques, had just been released when I started out, and when I looked at his images and then mine, I wondered how my images would ever measure up. I did not have the gear, and I did not have the knowledge, only the desire and passion. Since the release of my book, Captured, I’ve had a lot of correspondence from wildlife photographers having the same thoughts after looking at my book as I did John’s so long ago. Obviously, I did survive, so can you, and here is how you can do it!
You Don’t Need a Giant Lens, for Starters
This is probably a funny statement coming from me. I firmly believe that if you want to make the big times, you must have a big lens. An old axiom says, “Go out with your biggest lens, or you will come back short!” But when it comes to starting out, you can work wonders and create great images with just a DSLR (with a crop factor) and a 70-300mm or 100-400mm lens! However you do it, this combination puts you in the 400mm range and in range of photographing any critter on this planet. You can take this one piece of advice and run with it, and you will get good results. But I would like you to do better and to get great results by pushing that gear, so it teaches you.
The first thing you will have to learn while you have that telephoto to your eye is getting a sharp image. As you increase the focal length, any movement of the camera is magnified, which makes getting a sharp image even more challenging. One of the beautiful things about these “shorter” telephotos is their portability, being able to shoot handheld. Taking sharp images then requires a solid handholding technique. This is what you need to repeatedly practice for proper handholding and getting that sharp photograph. Cup your left hand and rest the lens barrel in it. Bring your elbows into your sides and suck that camera up into your face by using a rubber eyecup (it acts like a shock absorber). Grasp the camera body with your right hand, rest your index finger on the shutter release, and roll your finger to fire the camera.
You want to practice this over and over and over again! How do you practice? If you cannot squeeze off just one frame with the camera set to continuous, sit at night with the camera in your lap until you can. If you cannot handhold the rig and get a sharp image of an object with a shutter speed of 1/30, practice this until you can. Why worry about shooting at such a slow shutter speed when you can increase the ISO? This is a very valid question, and the only answer I can honestly provide is my peers, and I shoot at ISOs in the basement to maintain the quality level we do. If you like our results, this is one of the things you will need to learn to obtain them as well. These fundamentals are essential to the wildlife photographer (any photographer for that matter) and, once mastered, will last you throughout your entire career.
If the Subject Is Small, How Will Anyone See It in My Photograph?
Now we are talking about the $64-million-dollar question, are we not? Shooting with a 400mm focal length, we have a very narrow angle of view. It is like looking through a straw; you only see a little bit of the world. This gives you the ability when you move just inches left or right, up or down, to radically change the background. This is one of the greatest lessons the 400mm will teach you, working with backgrounds. Most think about backgrounds and worry about the twig sticking out of the cranium of our subject. I want you to push yourself and your photography further than that. Use the background to not only make your subject visually pop but also to tell the story. We are visual communicators, so think of the background as the stage and the critter as the main character in the play.
What does the main character on a stage have working for them besides props? Light and color, of course! Incorporate these same elements in your viewfinder, and your photographs will take off. Light is an obvious important ingredient for many reasons. The quantity and quality of light is a major storyteller. It provides visual depth, texture, shape, and especially mood. Add in color, be it monochrome or excellent color contrast, and that small critter flies off the page.
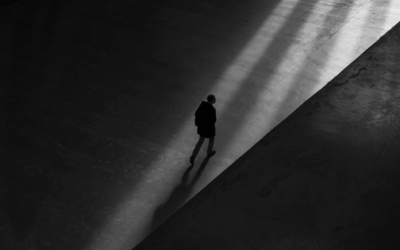
The one element in all this that tends to get overlooked by wildlife photographers is the very simple color, black. Black, be it a color or shadow, leads the mind’s eye to wonderful things for your photography. It gives shape, definition, and texture, plus in the form of shadows, lets the imagination go wild. By simply underexposing 1/3 to 1/2 stop, you make the blacks come to life. This not only improves what I just mentioned but your color and sharpness as well. Black is a color the mind latches onto and then refers to when determining the shade of green or brown. At the same time, underexposing those shadows make elements look sharper, tricking the eye into seeing something that is not actually there. And in part, is that not what photography is all about?
The other important aspect of photography the telephoto can teach you when working on a small subject is about depth of field. In the process of making the subject pop from that background is the compromise with the storytelling. Here is one of the beautiful things about photography, there is no right or wrong answer, except for what you think. It is your story, so what do you want to say with that click? You open up the lens, and you can say this is a squirrel, and it is cute, period. Same squirrel and the same moment, but you want to say, here is a cute squirrel, and it lives on this slope, you close down the lens. Take it a step further and say that squirrel lives on a slope on a big mountain, and you get down low and let the magic of the telephoto do it all for you. It is your story. You tell it the way you want to!
What if You Decide You Want More in Your Viewfinder, Then What?
There will come the day when you want more in your viewfinder; you want that eyeball. The short lens will teach you the best way possible. A subject at 60 feet with an 800mm lens will be the same size in the viewfinder as a 400mm lens at 30 feet. But getting those 30 feet closer is the real challenge for most photographers, and that is the lesson the 400mm will teach you!
Getting close physically and isolating myself with optics has been the hallmark of my photography from the beginning. And that came from shooting with a 400mm lens. When you start to learn basic biology, you learn how to get close. When you learn how to get close, you learn to know where to walk, when to walk and when to click to capture that great image. I make it sound simple, and it is simple when you get out and do it! If you want a bigger subject, simply move, and make it bigger!
What Is the One Ingredient You Cannot Buy but Must Have?
I hinted at this at the beginning, time. For many years, I shot with a 400mm and then added a 1.4x; six years into the game, I finally got the big gun. Funny, some of my favorite images, my most iconic and biggest moneymakers, were made with the 400mm lens. While the 800mm is still my principal bird lens, the 180-400mm is still my principal big game lens, as well as the aviation lens. All those lessons I learned 40 years ago at the base of my first 400mm lens I still use to this day. So even though I say you need an 800mm lens to play with the big boys, you can have one helluva a lot of success and fun “starting out” with the 70-300mm or 100-400mm. It is all up to you, the photographer behind the camera, to make the small have a significant impact!


