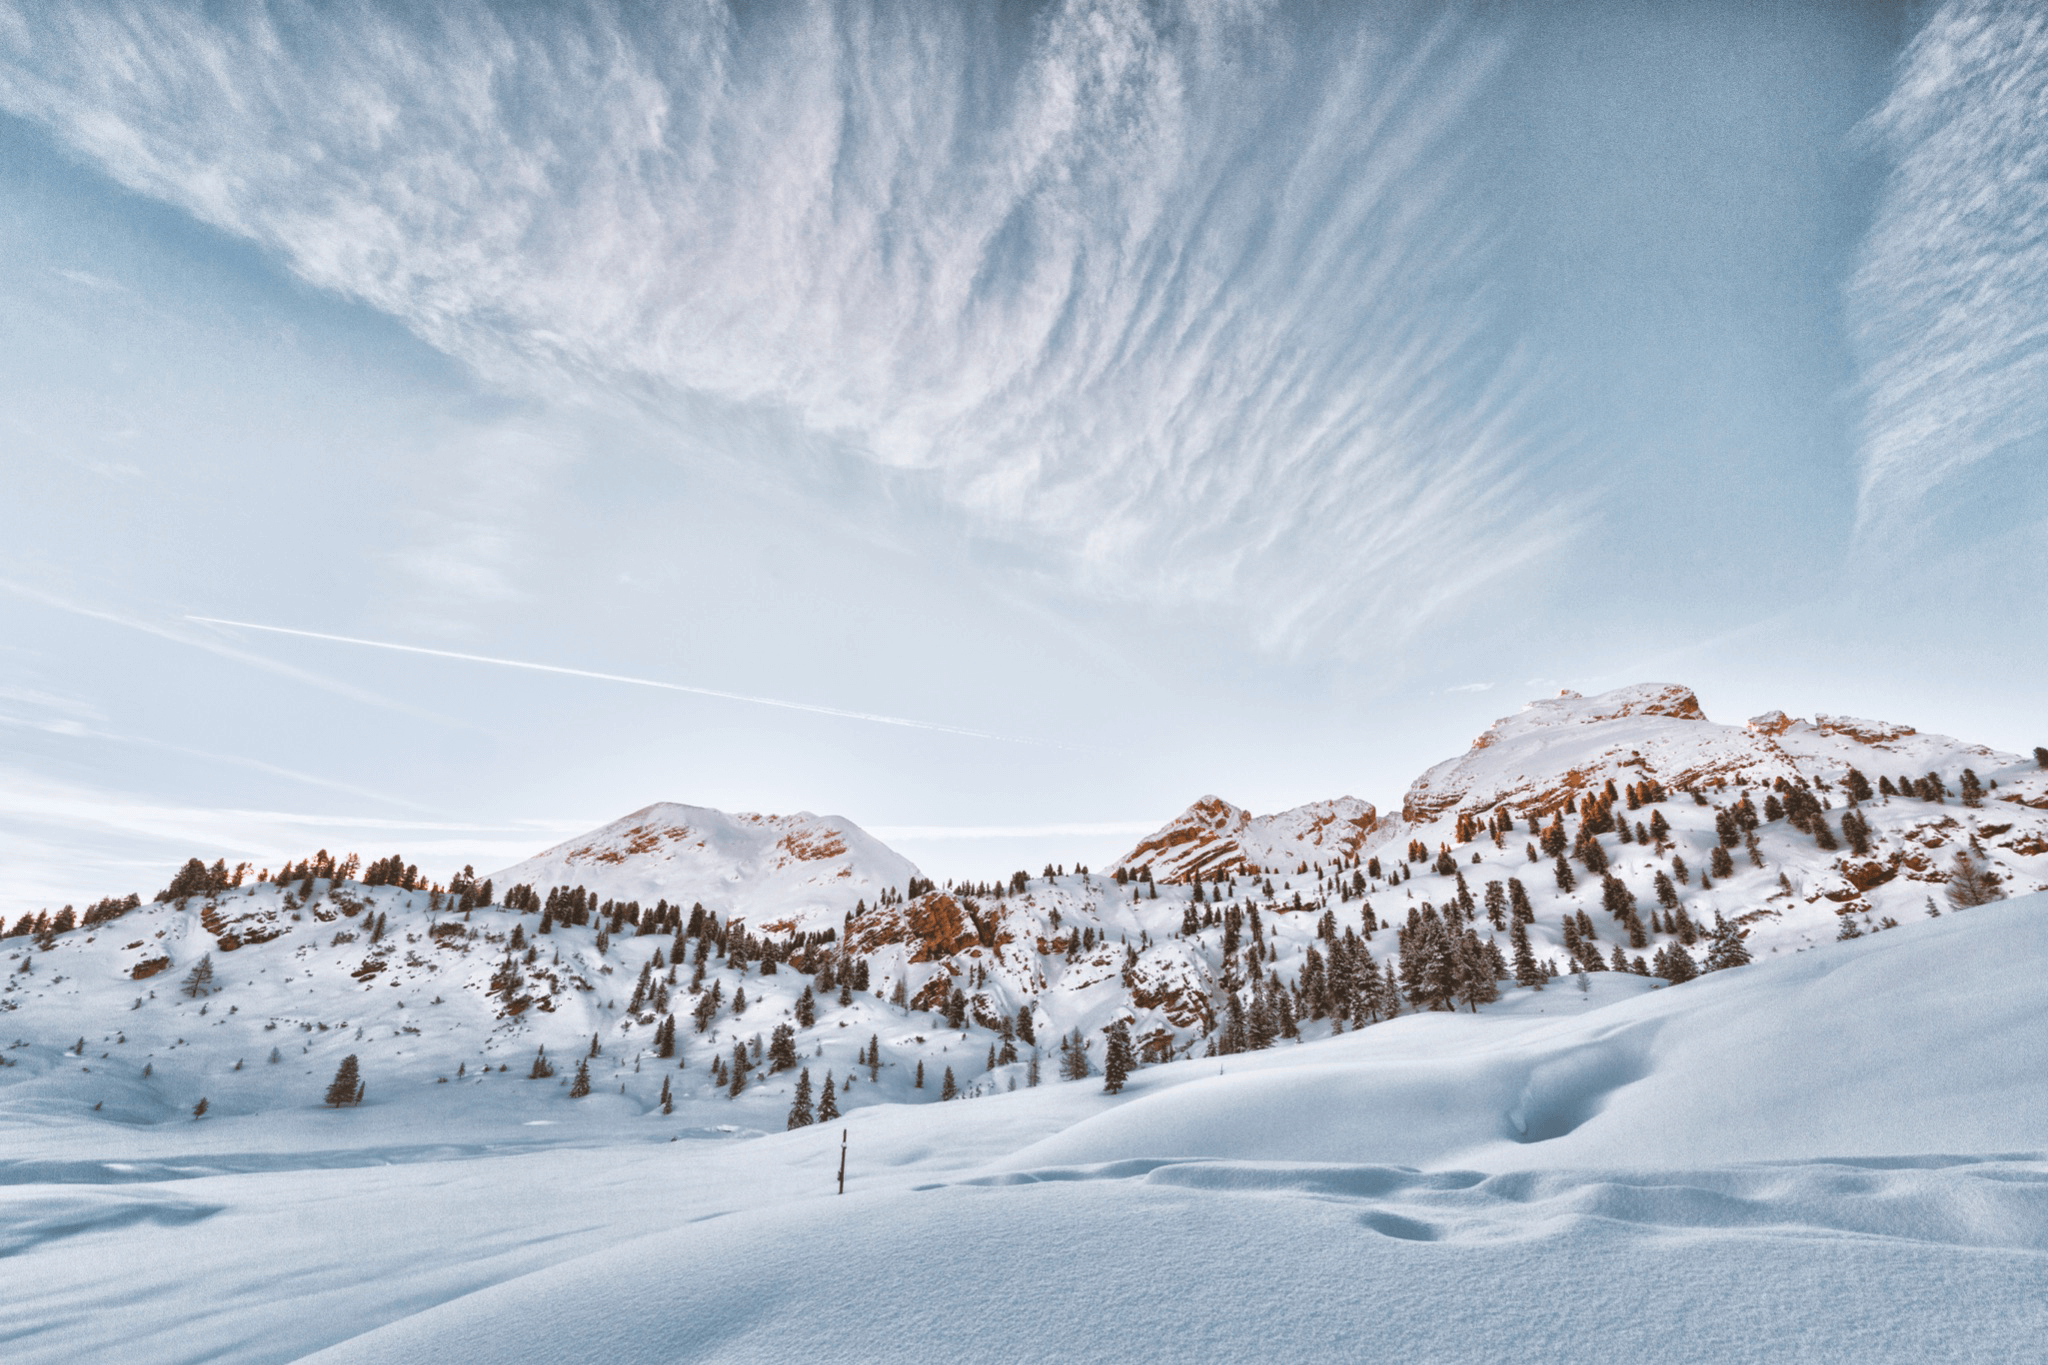
The unique visual beauty of winter scenes is eye-catching and worth capturing. However, it’s not always easy. Shooting in a bright white environment raises many unique challenges. We hope the following six tips help you overcome these challenges and take your winter photography skills to a whole new level.
1. Go manual.
Winter is challenging not only for you but also for your digital companion. The pristine blanket of white snow and lack of contrast often create problems for digital cameras. To bring home the image that best reflects your vision and makes the viewer feel the way you want, make sure you know the limitations of your camera’s automatic settings and learn how to set shots up manually.
2. Use ‘Highlight Peeking,’ ‘Histogram,’ ‘Center-Weighted Average Metering Mode,’ and the ‘Exposure Lock’ to get the exposure right.
Snow is white and reflects the light. It often requires you to adjust the aperture and shutter speed to counter that.
- It’s easy to overexpose snowy scenes and lose information because of it. To avoid that, turn on highlight peeking. It indicates blown highlights on your camera’s preview screen.
- Modern digital cameras allow you to choose between different light metering modes. These are evaluative metering, spot metering, and center-weighted average metering. The first two tend to fall short in bright white conditions. Center-weighted average metering usually gives you the most accurate results when exposing snowy scenes manually. After metering, lock the exposure by pressing the exposure lock button.
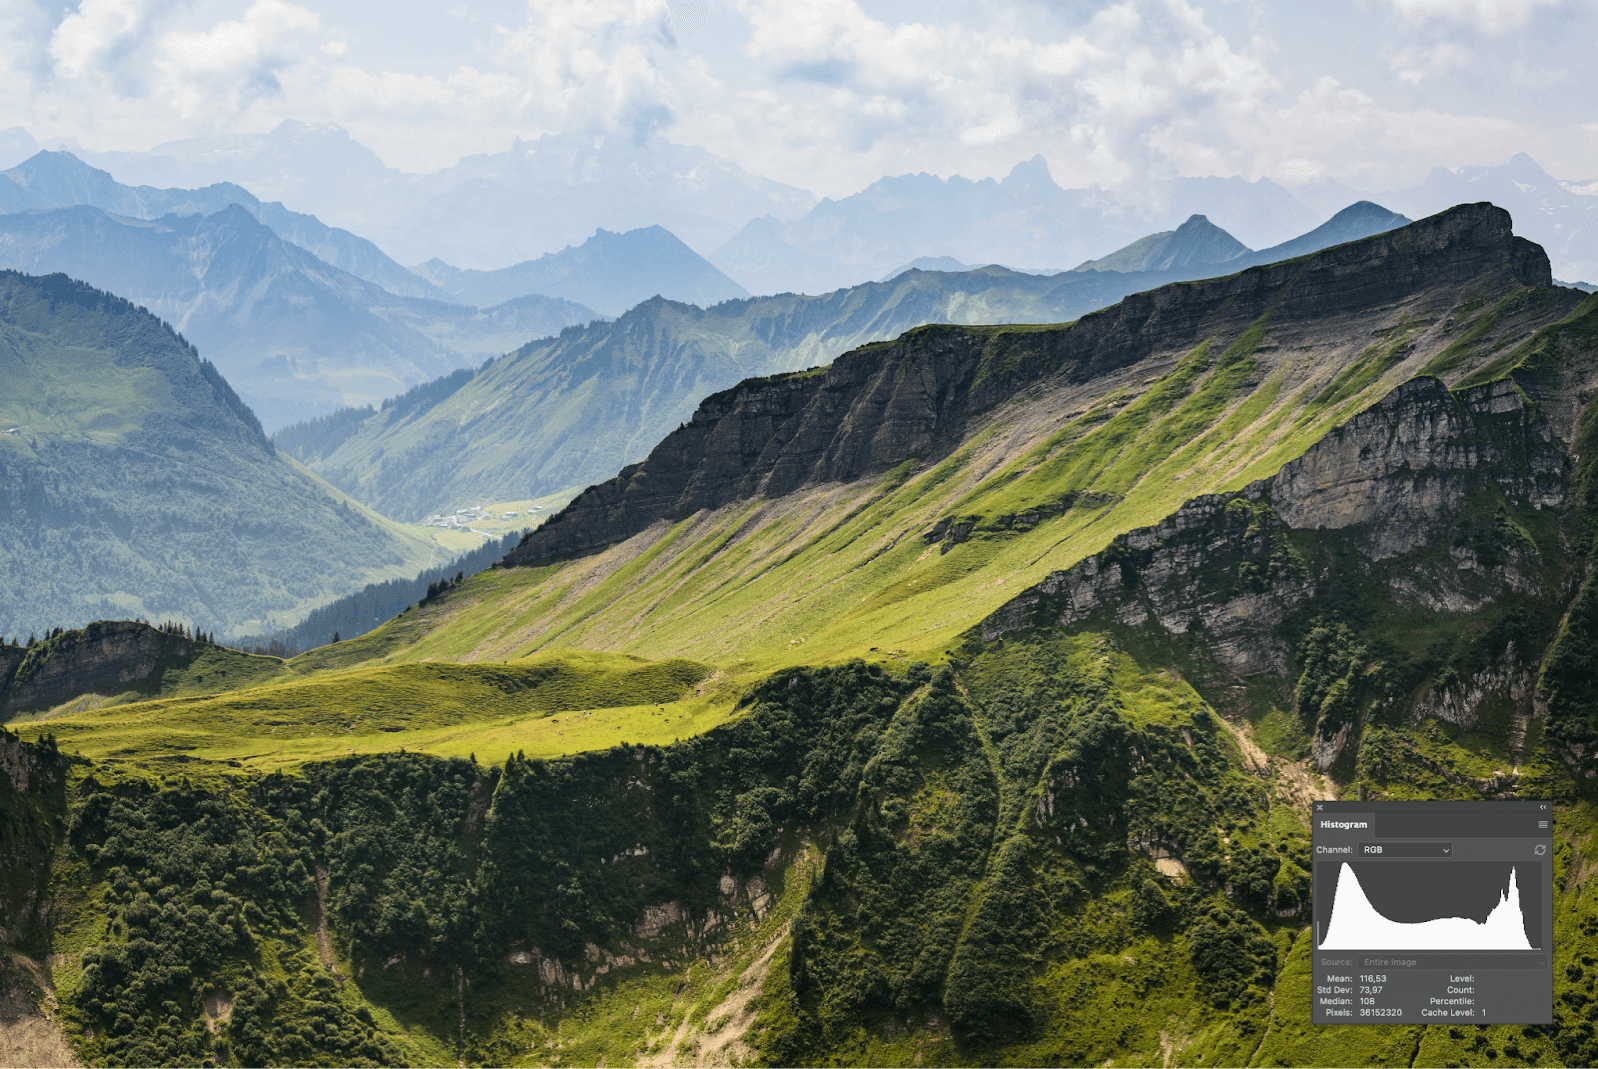
- In most cases, you can ignore the histogram and look only at the image when evaluating the exposure. However, shooting snow-covered meadows, frozen riverbeds, and frosty trees are not those ‘most cases.’ The histogram is one of your best friends in abnormal light conditions. It shows you precisely how the light is distributed and makes exposing your shots a lot easier.
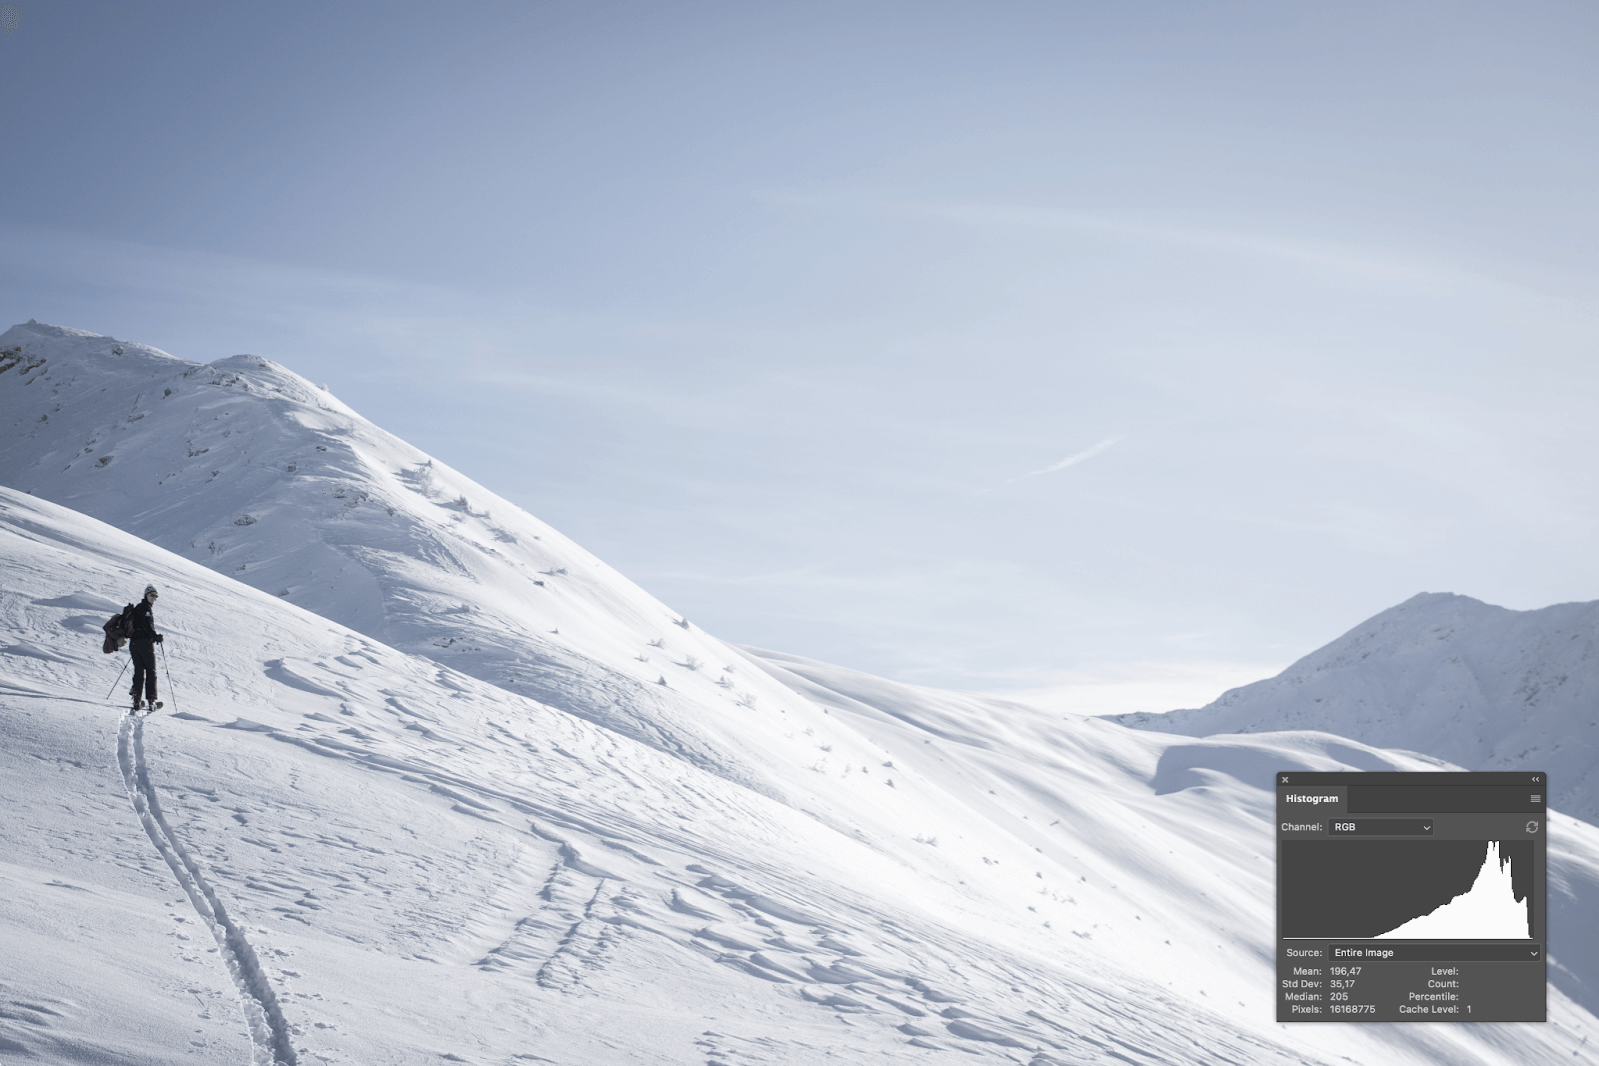
It’s a good practice to slightly overexpose your winter photos. It helps make sure your snow stays white and not gray. Adding a stop or so to your exposure is usually all it takes. Just keep one eye on the histogram as you do it. That way, you know exactly how much you can push the exposure. You don’t want to clip the highlights.
3. Consider an external light meter.
External light meters help you ace exposure faster. Not a bad thing when in cold and harsh weather conditions. External light meters are also much more accurate. Your camera measures the light that reflects off the subject. Meanwhile, an external meter measures the light that falls directly on the subject. Handheld meters can give you correct light values for the shadows, mid-tones, as well as highlights and make tweaking the camera’s exposure settings a breeze.
For snowy landscapes, just hold the meter out in front of the camera and make sure the same light that falls on the scene lands on your meter as well.
4. Use a gray card for correct white balance.
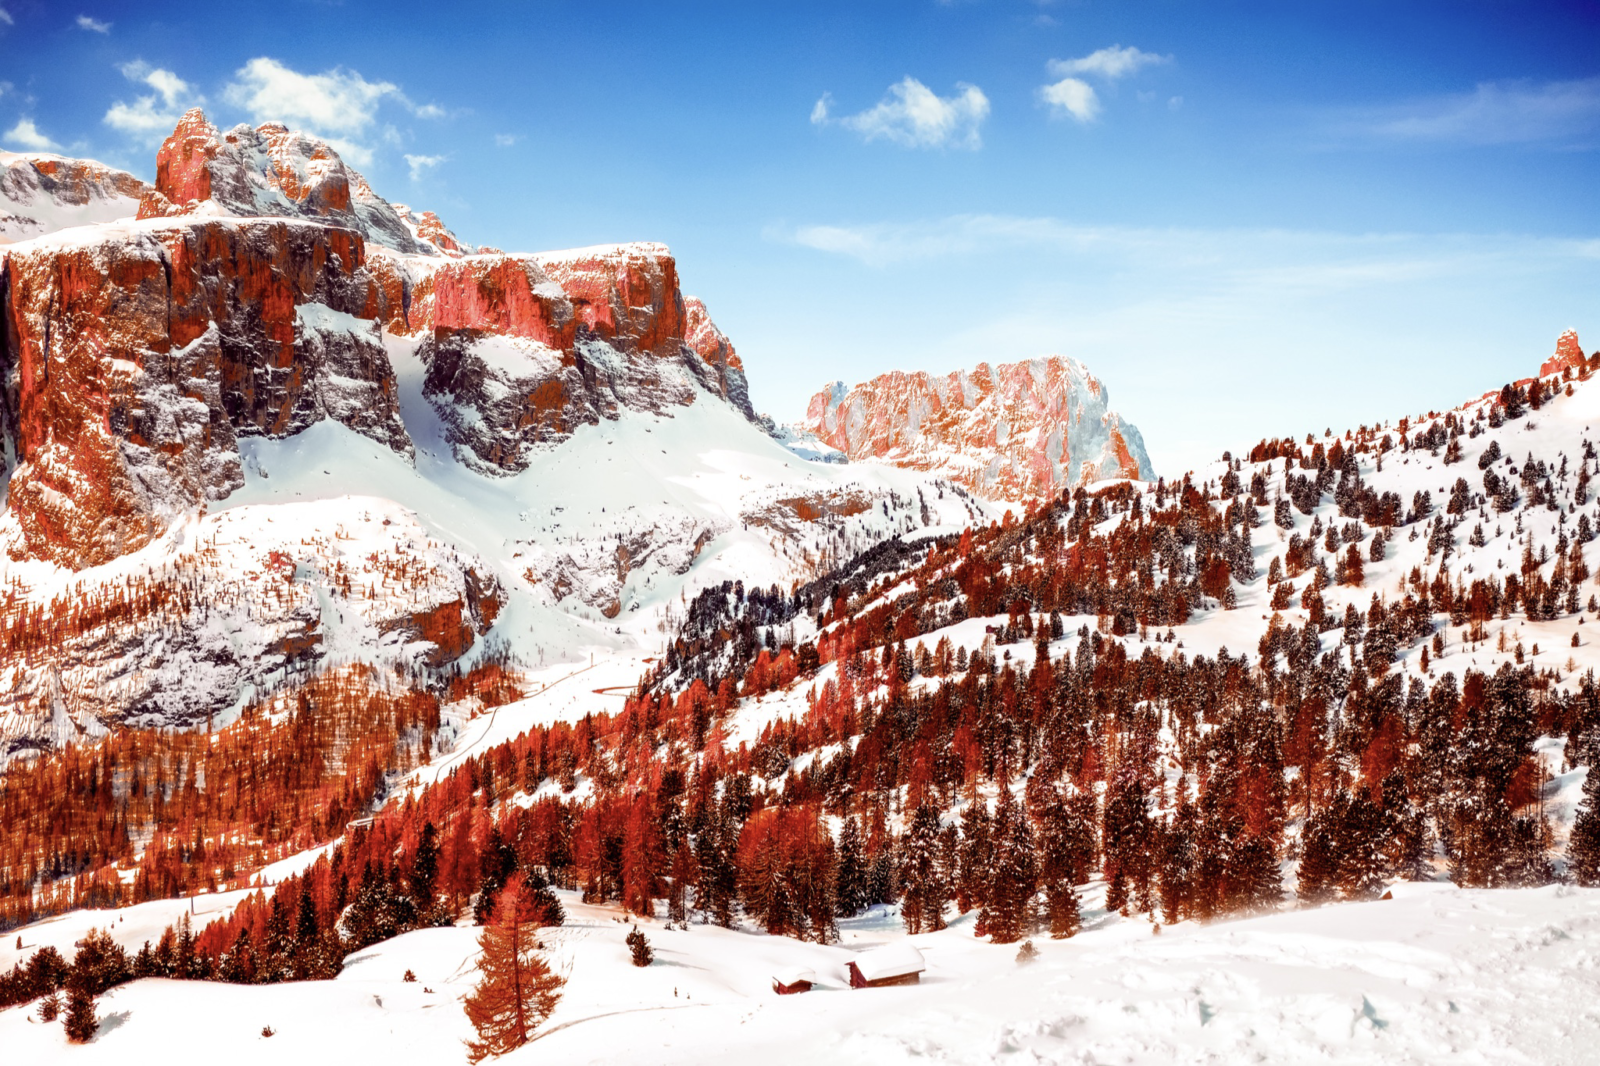
Harsh and fast-changing weather conditions make winter photography tricky, especially getting the white balance right. Winter scenes can easily confuse your camera’s automatic white balance (AWB) settings and give your images a weird color cast. Mostly blue, but sometimes also yellowish or grayish cast. It happens because snow reflects color. During overcast, for example, the snow receives no direct sunlight and is instead lit by the sun rays reflecting off the blue sky. Hence the blue cast.
Gray card helps you set the correct custom white balance by giving your camera an exact reference point. You can also use it for correcting the white balance later when editing. Just snap an extra photo with the card in the frame and use the white balance eyedropper tool in your editing software to fix any discrepancies you may have.
5. Shoot RAW.
Not that you otherwise shouldn’t, but you definitely want to shoot RAW when capturing the magic of winter. RAW gives you more image information to work with in post-production. Additional detail and greater dynamic range make any fine-tuning easier, including correcting the exposure or adjusting white balance if necessary.
6. Test things out before the important shoot.
Not all winter days are the same. That also goes for cameras. Some are programmed to compensate for all that reflective white surface, while others are not. Some cameras love middle gray more, others less. And so on. For those reasons, it’s crucial to get to know your camera and test it out in different weather conditions before you venture to no man’s land to capture that once-in-a-lifetime winter wonder.
Winter may feel quiet and subdued, bleak even. It may feel less overtly alive than other seasons. Yet, that is exactly what makes it magical. So don’t let slippery roads and all that shoveling drag you down. Instead, grab your camera, head out the door, and turn those natural wonders of winter into beautiful works of art for everyone to enjoy. And remember, winter photography is not only about shooting snowy landscapes and glorious icicles. Winter also provides endless opportunities for macro photography.
If you are new to macro photography or need something to spark your creativity, check our blog post about the Ins and Outs of Macro Photography.
To learn how to stay warm, make winter photography enjoyable and protect your gear against the elements, be sure to read Everything You Need to Know For Shooting in Cold Weather.
And if you want to take a deeper dive into exposure and white balance, read our blog post about Mastering Photography Lighting.
Need a memory card that can handle harsh winter conditions?
We’ve got you covered. ProGrade Digital manufactures memory cards capable of withstanding freezing temperatures down to -40℉ (-40℃). Perfect for capturing the wonders of winter in demanding conditions.