Panorama photography offers a unique way to capture expansive scenes and intricate details. While many photographers are familiar with the basics of panorama shooting, advanced techniques can push the creative boundaries of this genre. This guide will explore several advanced panorama photography techniques that will help you create more dynamic and engaging images. Whether you’re a landscape photographer or use panorama to shoot cityscapes or architectural photos, these tips will elevate your skills and inspire you to experiment with new perspectives.
Exploring Advanced Techniques in Panorama Photography
In this section, we’ll explore several advanced techniques that will amp up your panorama portfolio. Building on the foundational skills you’ve already mastered, these methods will help you achieve stunning, high-impact panoramas. They will not only enhance your technical capabilities but also inspire your creative vision, enabling you to capture breathtaking scenes like never before.
Multi-Row Panoramas
Multi-row panoramas involve capturing multiple rows of photos to create a wider angle of view and huge-resolution images. This technique allows you to include more vertical and horizontal information, resulting in incredibly detailed and immersive images. To achieve this, you’ll need a multi-row panorama head. This equipment helps maintain consistency in shooting angle and overlap between shots, ensuring seamless stitching and preventing parallax.
When shooting multi-row panoramas, start by setting up your tripod and ensuring that it’s level. Then, use your multi-row panorama head to take overlapping shots, both horizontally and vertically. The key is to maintain consistent overlap, typically around 20-30%. Once you’ve captured all the images, use software like PTGui or Autopano to stitch them together, creating a high-resolution, expansive panorama.
HDR Panoramas
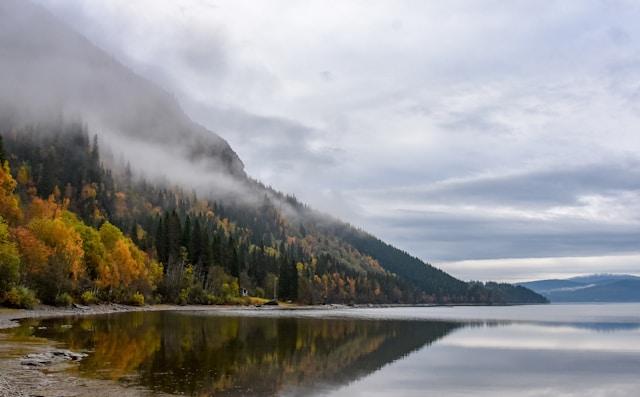
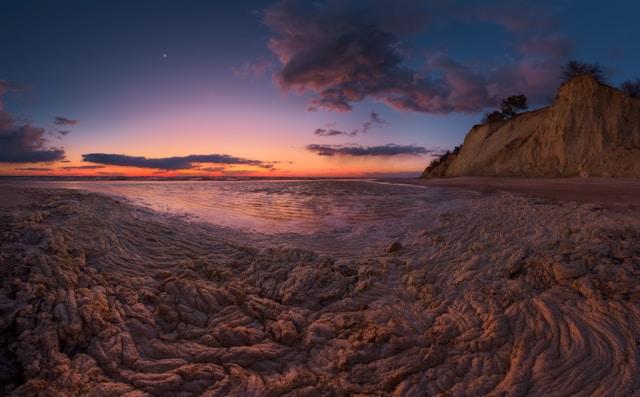
Combining High Dynamic Range (HDR) imaging with panoramas allows you to manage challenging lighting conditions effectively. HDR panoramas capture multiple exposures of the same scene and blend them to enhance detail in both shadows and highlights. This technique is particularly useful for scenes with a significant contrast between light and dark areas, such as sunsets or interiors with windows.
To create an HDR panorama, start by setting your camera to capture bracketed exposures. Typically, you’ll need three to five shots at different exposure levels. Shoot the entire HDR set at each exposure level before moving to the segment in your panorama. After capturing the images, use HDR software like Photomatix to blend the exposures for each segment of the panorama. Finally, stitch the blended HDR images together using your preferred panorama stitching software.
Gigapixel Panoramas
Gigapixel panoramas take high-resolution imaging to another level, allowing you to capture incredibly detailed and massive images. These panoramas consist of hundreds or even thousands of individual photos stitched together. The result is a stunning image with exceptional detail, perfect for large prints or digital zooming.
Creating a gigapixel panorama requires a sturdy tripod, a high-resolution camera, a high-capacity memory card, and a motorized panorama head to ensure precise movement and overlap. Start by planning your shot and determining the grid pattern you’ll use to capture the images. It helps to use specialized software like GigaPan to automate the shooting and stitching process. While gigapixel panoramas can be time-consuming to create, the breathtaking detail they offer makes them worth the effort.
360-Degree Panoramas
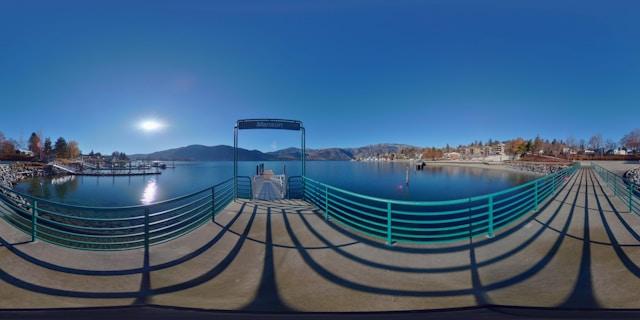
360-degree panoramas provide a complete view of the surroundings and are widely used in virtual reality (VR) and interactive media. These panoramas allow viewers to explore the scene from any angle, creating an immersive experience. To shoot 360-degree panoramas, you’ll need a specialized 360-degree camera or a nodal head for your camera.
Begin by leveling your camera on a tripod. Capture a series of overlapping images covering the entire 360-degree field of view. Use a nodal head on your tripod to avoid parallax errors. After capturing the images, use software to stitch them into a seamless 360-degree panorama.
Creative Compositional Techniques
Incorporating creative compositional techniques into your panorama photography can significantly enhance the visual impact of your images. This section explores various methods to add interest within the expansive canvas of a panorama, ultimately leading to more engaging and powerful photographs.
Vertical Panoramas
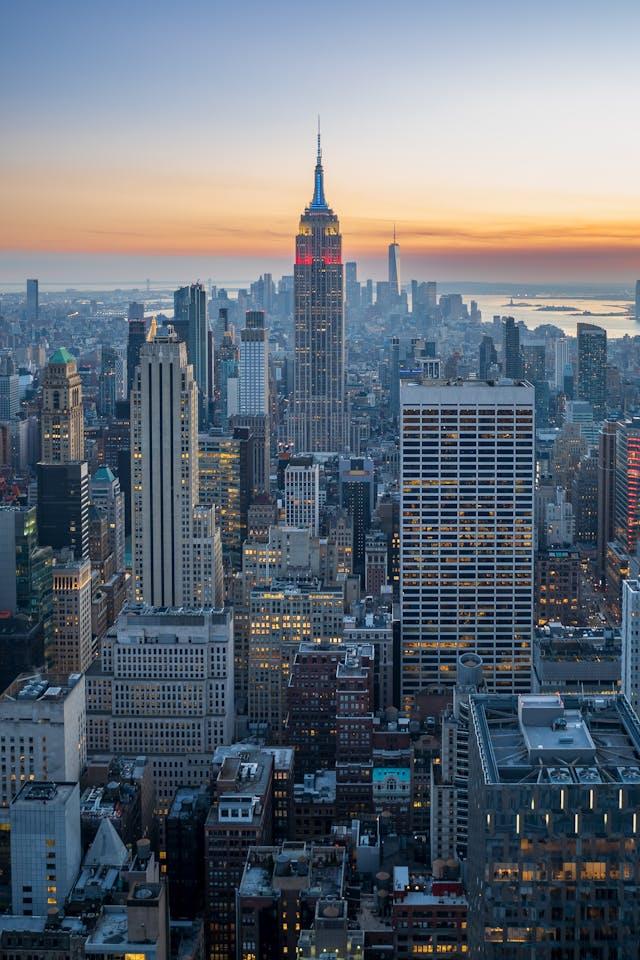
Vertical panoramas, also known as “vertoramas,” involve capturing a series of images vertically to create a tall, narrow composition. This technique is ideal for photographing skyscrapers, trees, or other tall subjects, offering a unique perspective that traditional horizontal panoramas can’t achieve.
To capture a vertical panorama, start by setting your camera in portrait orientation. Use a tripod to keep the camera steady and ensure consistent overlap between shots. Take a series of images, moving the camera from bottom to top or vice versa. Once you’ve captured the sequence, use stitching software to blend the images into a single vertical panorama. The resulting image will showcase the height and grandeur of your subject, providing a fresh and striking perspective.
Panorama Blending
Panorama blending involves combining elements from different shots into a single panorama for creative effect. This technique can be used to blend images captured at different times of day, during varying weather conditions, or even to incorporate multiple focal points. The goal is to create a seamless and visually compelling composition that tells a unique story.
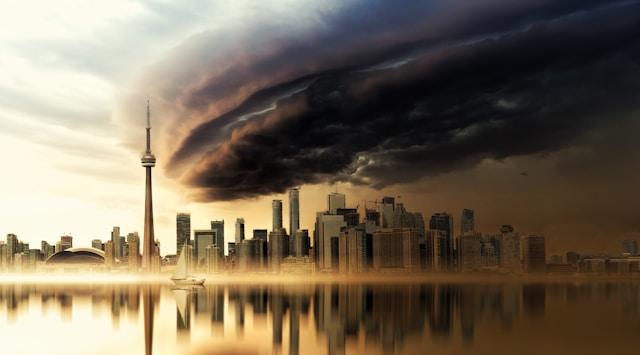
To create a blended panorama, start by planning the shots you want to combine. Ensure that the images have consistent overlap and perspective. After capturing the images, use photo editing software like Adobe Photoshop to blend the elements together. Pay attention to details like lighting, color balance, and alignment to ensure a seamless transition between the different elements. Panorama blending allows you to experiment with creative compositions, resulting in captivating and imaginative images.
Interactive Panoramas
Interactive panoramas offer an engaging way for viewers to explore a scene actively. These panoramas are typically displayed online, allowing users to click and drag to view different parts of the image. Creating interactive panoramas involves shooting a 360-degree panorama and using specialized software to make it interactive.
To create an interactive panorama, begin by capturing a 360-degree panorama as described earlier. Once you have the stitched panorama, use software like Pano2VR or KRPano to add interactivity. These tools allow you to create hotspots, add navigation controls, and embed multimedia elements like audio or video. The interactive panorama can then be embedded on websites, shared on social media, or used in virtual tours, providing an immersive and engaging experience for viewers. Interactive panoramas are especially popular for showcasing real estate listings, tourist destinations, or event venues.
Technical Considerations and Challenges
When venturing into advanced panorama photography, it’s important to be aware of the technical challenges and equipment requirements that can influence your results. Proper equipment and imaging software are essential for overcoming obstacles such as alignment issues, parallax errors, and the need for precise stitching to achieve seamless, high-quality panoramas.
Stitching Challenges
Stitching panoramas can present several challenges, including parallax errors, differences in lighting, and misalignment. Parallax errors occur when the camera’s perspective changes between shots, resulting in mismatched elements. To minimize parallax errors, use a nodal head (or other specialized head as noted above) to keep the camera’s optical center consistent.
Differences in lighting and exposure can also complicate stitching. To address this, use manual settings on your camera to ensure consistent exposure across all shots. Additionally, some stitching software offers tools for correcting exposure and color variations, helping to create a seamless final image.
Misalignment can occur if shots are not captured with enough overlap or if the camera moves between shots. To avoid this, ensure at least 20-30% overlap between images and use a sturdy tripod to keep the camera steady. With practice and careful planning, you can overcome these challenges and produce stunning panoramas.
Equipment Recommendations
For advanced panorama photography, having the right equipment is essential. Here are some recommendations for cameras, lenses, panorama heads, and software:
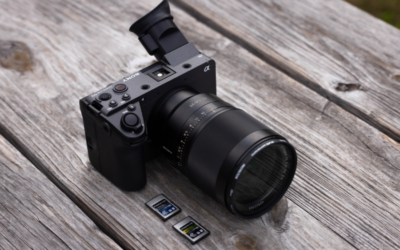
- Cameras: High-resolution DSLR or mirrorless cameras are ideal for capturing detailed panoramas. Brands like Canon, Nikon, Sony, and others offer excellent options.
- Lenses: Wide-angle lenses with minimal distortion are best for panorama photography. Look for lenses with focal lengths between 14mm and 35mm. Higher-end pro-level lenses will have less distortion and vignetting, which makes a huge impact on quality when stitching images together.
- Panorama Heads: Nodal Ninja, Really Right Stuff, and GigaPan offer high-quality panorama heads that ensure precise movement and overlap.
- Software: PTGui, Autopano, and Hugin are popular choices for stitching panoramas. For HDR and gigapixel panoramas, consider Photomatix and GigaPan Stitch.
Having the right equipment can significantly enhance your panorama photography experience, making it easier to capture and create stunning images.
Advanced Post-Processing Techniques
Shooting the panorama is only half the battle; the true artistry often lies in the post-processing stage. Here are some tips to elevate your panorama and enhance its visual impact through effective editing techniques.
Detailed Editing Workflows
Advanced post-processing is necessary for enhancing the quality of your panoramas. This includes stitching accuracy, color correction, and detail enhancement. Start by using your preferred stitching software to merge the images seamlessly. Pay attention to alignment and blending to ensure a cohesive final image.
Once the panorama is stitched, use your favorite photo editing software like Adobe Photoshop for color correction. Adjust white balance, exposure, and contrast to enhance the overall appearance of the image. For detail enhancement, consider using tools like clarity, sharpening, and noise reduction to bring out the finer details in your panorama.
A detailed editing workflow can transform a good panorama into a stunning masterpiece, showcasing the full potential of your images.
Software Tools
Several software tools are available for advanced panorama editing, each offering unique features and benefits. Here are some of the best options:
- PTGui: Known for its powerful stitching capabilities and user-friendly interface, PTGui is a favorite among panorama photographers. It offers advanced features like HDR merging, exposure blending, and mask editing.
- Autopano: Autopano is a free software that provides automatic image stitching with intelligent alignment and blending algorithms. It also supports HDR panoramas and offers a range of editing tools for fine-tuning your images.
These software tools can significantly enhance your post-processing workflow, making it easier to create high-quality panoramas.
Conclusion
Advanced creative techniques in panorama photography offer endless possibilities for capturing and creating stunning images. From multi-row and HDR panoramas to gigapixel and 360-degree panoramas, these techniques push the boundaries of what can be achieved with panoramic photography. By experimenting with new perspectives, compositions, and technologies, you can elevate your skills and create dynamic, engaging images.
Remember to invest in the right equipment, practice careful planning and shooting, and use advanced post-processing techniques to bring out the best in your panoramas.
Now it’s your turn to experiment with these advanced techniques. Whether you’re capturing the grandeur of a landscape, the intricate details of a cityscape, or the immersive experience of a 360-degree view, these tips will help you create panoramas that stand out.