Whether you’ve just unboxed your first camera and would like to get started by learning the basics, or you’ve been shooting for some time and would like to level up your current skills, these seven pro tips will serve as a solid starting point and get you moving in the right direction.
1. Get to Know Your Camera and Gear.
Airline pilots touch only 10% of all the available buttons during any given flight. It’s because most of the flying is done in relatively similar conditions and on autopilot. At the same time, they are perfectly capable of hand-flying the plane and know precisely what the rest of the buttons in the cockpit do. Pilots don’t choose to fly on autopilot because it’s easier but because automation literally outperforms humans in certain situations. In other words, pilots know exactly when to trust their equipment with decision-making and when not. Plus, they know what to do when the automation fails or when conditions change.
If you want to get decent pictures out of your camera, you have to approach your camera and gear the same way pilots approach their planes. It doesn’t mean you have to go fully manual. That’s a myth. Especially now when cameras are getting more and more intelligent by the day. However, there are limitations to what your camera’s “autopilot” is capable of, and it tends to perform better in some situations than others. So, before you start shooting, make sure you know your camera and its limitations well. Read the manual, watch tutorials, familiarize yourself with the menu, and make sure you understand what all the buttons do.
2. Understand the Basics of Lighting.
The word photography comes from Greek and literally means ‘drawing with light.’ No wonder. Light is the foundation of photography. After all, it’s the light that your camera captures to create an image. You could have the most expensive camera and all the knowledge in the world, but without light, it’s all completely useless.
At the same time, lighting is not just about brightness. It also determines the clarity, tone, emotion, and atmosphere of the image. So, it’s essential to understand lighting well. It’s pretty much what separates boys from men and explains how professional photographers often pull incredible pictures out of not-so-professional cameras.
Before you take a deeper dive into different lighting styles and start learning things like ‘Flat Lighting,’ ‘Butterfly Lighting,’ or ‘Rembrandt Lighting,’ make sure you understand the basics: position, intensity, and temperature of the light.
Similarly, if you are a seasoned photographer and already know all about ‘Butterfly Lighting’ and ‘Rembrandt Lighting’ but struggle, every now and then, with the setup and don’t quite get why then going over the basics is a wise thing to do. It may help solve these issues.
To learn all the intricate details of position, intensity, and temperature of the light, check our article about Mastering Photography Lighting.
3. Befriend the Exposure Triangle.
The exposure triangle refers to ISO, aperture, and shutter speed. It is essential to know how to balance these three to get sharp, well-exposed images.
ISO setting will determine the light sensitivity of the camera sensor. A low ISO means the sensor will be less sensitive to the light, while a high ISO means the sensor will be more sensitive to the light. Higher ISO values are for low-light situations where you need the camera to capture more light for a properly-exposed image. Whenever in bright conditions, use lower ISO settings. In general, it is better to set the ISO as low as possible, without underexposing your image. Lower ISO usually results in a higher quality photo with less noise.
Aperture, also named f/stop, is the opening in your lens through which light travels and enters the camera. The aperture stop can be adjusted to regulate the amount of light reaching the camera sensor. A wider aperture lets more light in and creates a shallow depth of field, allowing you to isolate your subjects from the background by blurring the latter. Meanwhile, a narrow aperture lets less light into the camera and gives you a greater depth of field. You’ll have both foreground and background in focus. Use narrow aperture whenever capturing a large scene or environment, like a group of people, landscape, or architecture.
Shutter speed is the speed at which your camera shutter closes. A faster shutter speed creates a shorter exposure and lowers the amount of light your camera takes in. A slow shutter speed gives you a longer exposure and increases the amount of light your camera takes in. By decreasing or increasing the shutter speed, you can either capture the motion of fast-moving objects or freeze them in time.
Putting the three together is where the magic happens. However, it is critical to understand that there are no perfect ISO, aperture, and shutter speed settings for a particular situation. Exact settings are predominantly your creative decision and are determined by what you want to accomplish with the image.
4. Learn the Correct Technique.
Holding the camera looks easy and effortless whenever pros do it. It is so because they have mastered the proper technique. That said, when you ask those pros about that proper technique, they will each give you a different answer. And none of those answers are necessarily wrong.
We all hold cameras slightly differently. It’s because we all are different. Someone capable of bench pressing 200 pounds may not need to rest elbows against the body, even when mounting the Canon 1,200mm Super Telephoto lens to the camera. Meanwhile, everyone else that is not Dwayne The Rock Johnson is better off doing that. Similarly, someone very tall will naturally hold the camera differently than someone much shorter, even when shooting the same subject.
The shape of the camera also plays a role and dictates how you can grip it. Not to mention the lens and everything else you mount to it. Think about gimbals. You have to rebalance the gimbal whenever you switch lenses or change the camera’s weight in some other way. It’s the same with your posture and technique. You will need to adjust the way you hold the camera whenever you change the weight of your camera.
Despite we all being different, there are a few universal guidelines for you to follow while developing your own way of holding the camera:
- Hold the camera with two hands.
- Hold the right side of the camera with your right hand while keeping your left hand underneath the camera or under the lens barrel (depending on the weight of the lens).
- Keep the camera close to your body. The closer it is, the easier it is to keep it stable.
- Rest your elbows against your body to decrease movement.
- Assume a slightly wider stance for better balance.
- Lean against a wall, tree, post, or whatever else is available for you for extra support.
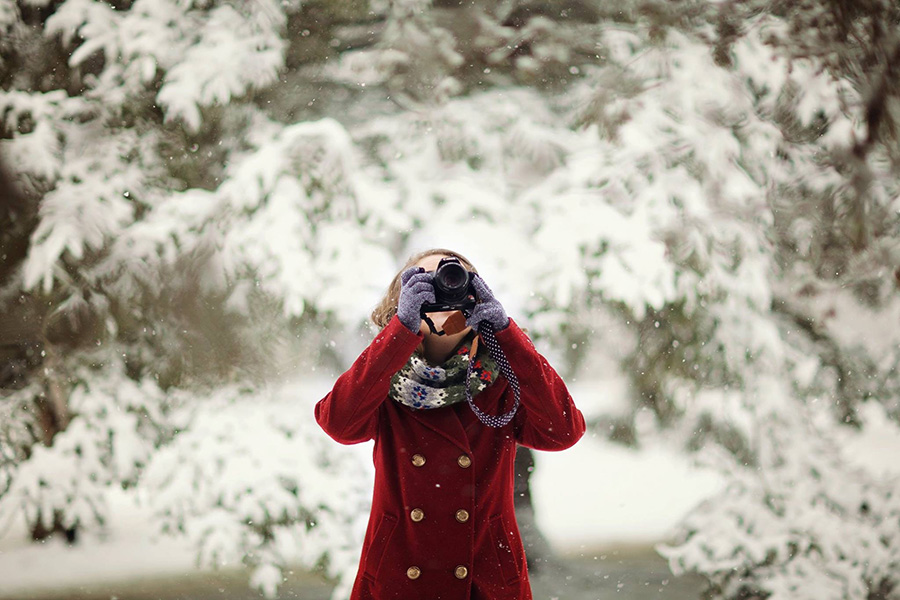
- Use a viewfinder instead of an LCD screen when composing your shots. Using the viewfinder will naturally bring the camera closer to your body, and pressing the camera slightly against your head gives you also a bit more stability.
Proper breathing and factoring in your heartbeat are also crucial for stability. Olympic biathletes learn to shoot between heartbeats for a reason. Expert sharpshooters recommend the following:
- Inhale fully.
- Exhale only half a breath and pause.
- During the pause, press the shutter button gently.
- Then, complete the exhalation.
5. Master the Art of Composition
Never shy away from getting better at telling stories through your images. After all, that’s what photography is all about: nudging the viewers by telling them something with your photos. Understanding composition is essential for that. It’s what makes some images stand out and others not so much.
Imagine a book where all the words are randomly composed. It confuses you and gives you pretty much nothing. It’s the same with photos. If the arrangement of elements in the scene makes no sense, it leaves the viewer with absolutely nothing.
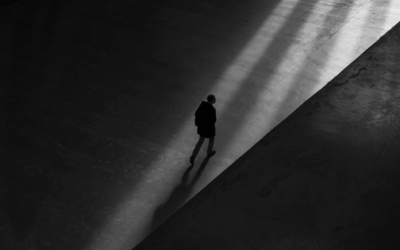
A good composition creates balance, adds energy, motion, and a sense of visual excitement. It’s what draws people in, gives them direction, and leads them through the image.
There are many photography composition rules and techniques for you to follow. Rule of thirds, rule of odds, rule of space, keep it simple, keep it level, look for patterns and repetition, fill the frame, follow the leading lines, use frames, pay attention to the background, and so on and so forth. It may feel overwhelming at first but remember – all these rules and techniques eventually boil down to one thing, gaining control over the movement of the viewer’s eye and directing your viewer’s attention to a particular point of interest.
If you want to learn everything there is about composition, check our in-depth article about Photography Composition.
6. Shoot in RAW.
RAW is a file format that captures all the image data without compressing it. That means higher quality pictures and more control in post-production. JPEG will limit your creative freedom by not capturing enough detail and dynamic range from your camera sensor. If you shoot RAW, you will have more control over color, and it’s also easier to fix any exposure issues.
Just remember, Contrary to shooting JPEG, it is good to overexpose your images ever so slightly when you shoot RAW. That gives you more information in the shadows and reduces noise in finished photographs.
7. Keep on Learning. Keep on Shooting.
Sign up for an online class, dig into books, watch tutorials, find yourself a mentor, or join other enthusiasts to keep on learning. And whenever you learn something new, try to put it into practice as soon as possible.
By breaking the learning process down into bite-size pieces, you will chew through everything much quicker and achieve mastery much faster.
Bonus Pro Tip
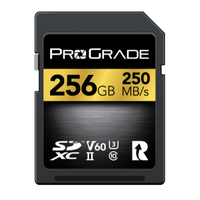
There will be a point on your road to mastery where you start valuing your images. Sometimes even more than your gear. It usually occurs right after you take your first picture that actually inspires awe and wonder in your viewer. Whenever you get there, get yourself pro-level memory cards from ProGrade Digital.
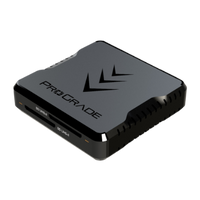
We manufacture high-quality memory cards and workflow readers specifically for professional photographers. Well, actually, for everyone who needs lightning-fast memory cards that can handle a heavy workload and keep the images safe even in pretty extreme conditions.
Check our free compatibility charts to find a perfect memory card for your camera.
Well, that is photography in a nutshell! Now that you’ve finished reading, you’re well-prepared to start capturing sharp, well-exposed, well-composed, and high-quality artistic photos that tell a story. Have fun doing that!


