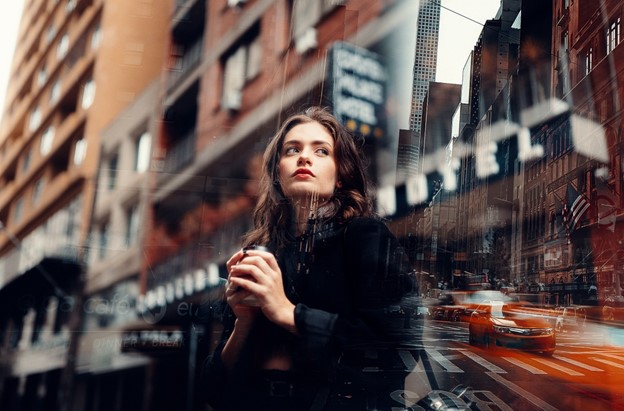
In photography, the term “double exposure” refers to a technique where two or more exposures are made on the same piece of film or digital media. By overlaying different images, double – or multiple exposure can create unique and unexpected results. While this technique can be used for any type of photography, it is often associated with experimental and impressionist styles. If you’re interested in trying out multiple exposure photography, here’s everything you need to know.

What is Multiple Exposure Photography?
Multiple exposure photography is a technique that involves exposing the film or your digital camera’s sensor to two or more sources of light, resulting in a single photograph that combines multiple images.
If you remember shooting on film, or if you use a vintage film camera now, there’s a good chance you’ve shot a multiple exposure photo by accident. The result was probably an unusable, over-exposed mess, or maybe you lucked out and ended up with something haunting and unique. But with modern technology and a bit of planning, it’s now possible to create beautiful and intentional double-exposure photographs every time.
A Brief History of Multiple Exposure Photography
The history of multiple exposure photography is as old as photography itself. In the early days of film photography, it was not uncommon for photographers to accidentally shoot a double exposure. This was often the result of reloading the film without advancing it to the next frame.
This haunting effect could be considered one of the first special effects in use long before the invention of digital photography. 19th-century photographers used it to create ethereal portraits by superimposing the image of their subject over a landscape.
In the 1860s, professional photographers would use double exposure as another source of revenue. They used the technique to make the subject appear in the photo twice, posing differently as if they had an identical twin.
With the advent of digital photography, accidental multiple exposures all but disappeared. Instead, they have become much more intentional and controllable. Many modern DSLR cameras have numerous exposure modes built-in that make it easy to create stunning images. And now, with the rise of Instagram and hunger for vintage techniques, multiple exposure photography has seen a resurgence in popularity.
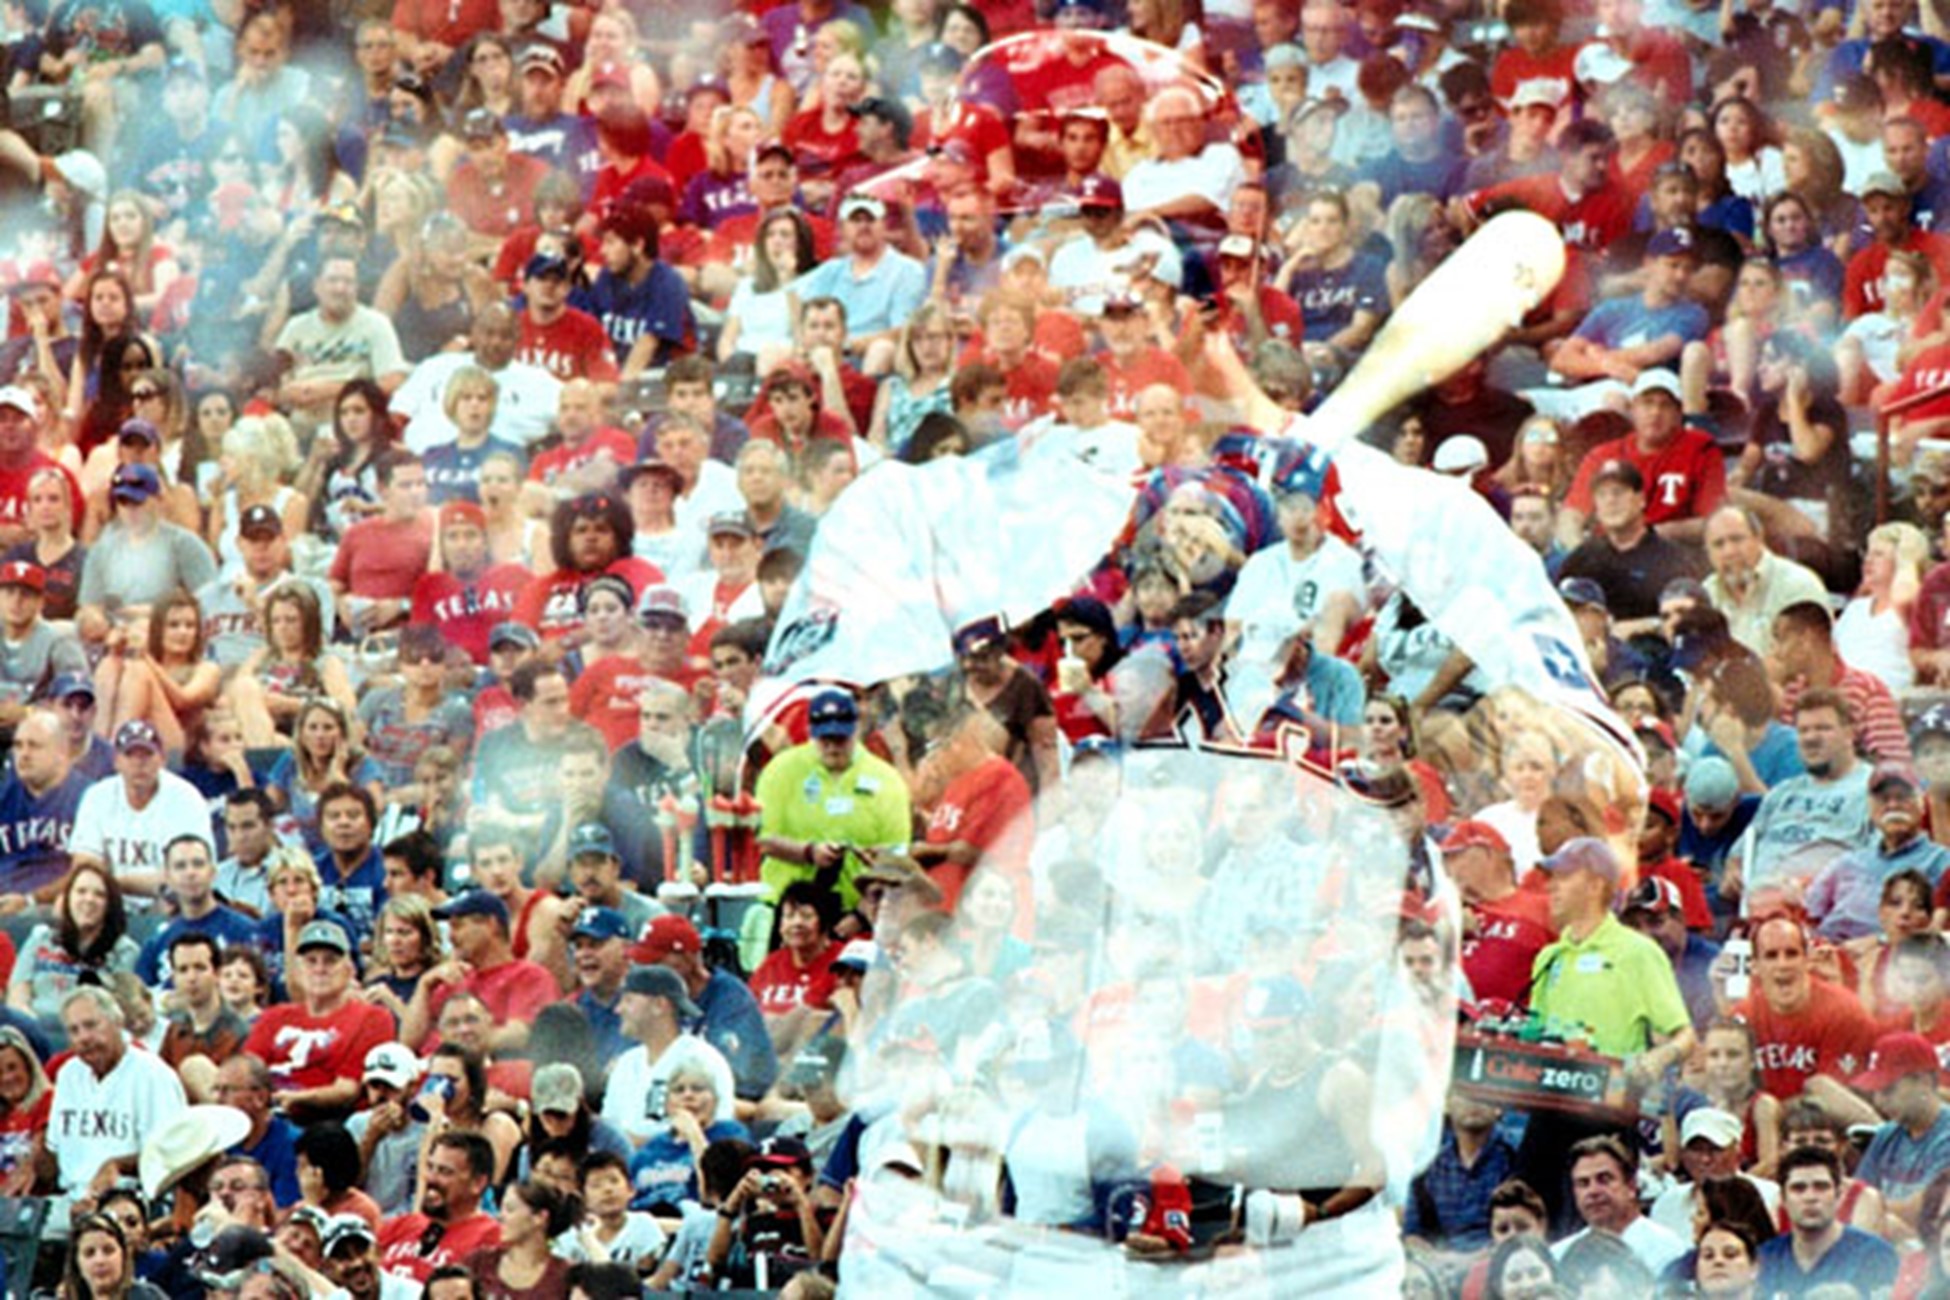
In 2015, sports photographer Cooper Neill made headlines when he started taking his 35mm film camera along with him on assignment to sporting events and shooting double exposures to expand his creativity.
Why You Should Try Multiple Exposure Photography
If you’re looking to add a creative edge to your photography, double exposure is a great technique to try. With digital cameras, it’s now easier than ever to shoot multiple exposures without wasting film. And with a bit of practice, you can produce some truly stunning results.
Here are just a few reasons why you should give multiple exposure photography a try:
- It’s a great way to add creativity to your photos.
- Multiple exposure photography can help you tell a story or convey an emotion in a single image.
- It’s a fun and easy way to experiment with photography.
- You can use multiple exposures to create unique portraits.
- With digital cameras, it’s easy to shoot multiple exposures without wasting film.
How to Shoot Multiple Exposures with a Film Camera
If you’re shooting on film, there are a few things you need to know before you get started.
First, you’ll need to ensure your camera can shoot multiple exposures. Many vintage cameras have a multiple exposure lever that allows you to shoot overlay images. Suppose your camera doesn’t have a multiple exposure lever. In that case, you can still shoot double exposures by opening the back of the camera and manually advancing the film to the next frame, but that’s a bit trickier.
Once you’ve determined that your camera can shoot multiple exposures, it’s time to load your film. Again, it’s essential to use a fresh roll of film for multiple-exposure photography so that each frame is correctly exposed.
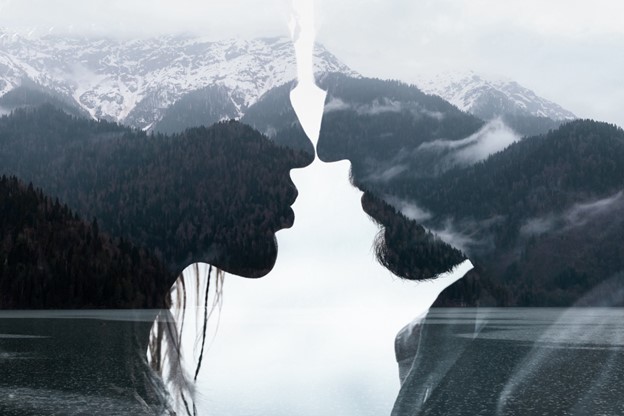
Next, decide what kind of images you want to overlay. Do you want to superimpose a portrait over a landscape? Or layer two landscapes together? Once you’ve decided on your subject matter, it’s time to start shooting.
Step 1: Take your first picture. The first image should be of your subject, usually a portrait.
Step 2: Without advancing the film, take your second picture. Or, if the film automatically advanced, rewind the film and take your second picture. The second image should be of background, like a landscape or a cityscape.
How to Shoot Multiple Exposures with a Digital Camera
If you’re shooting with a digital camera, the process is much more straightforward than it is with film, though the concept is the same. Most DSLR cameras have a multiple exposure mode that allows you to take two or more pictures and combine them into a single image.
Here’s how to shoot multiple exposures with a digital camera using the camera’s built-in multiple exposure mode:
Step 1: Set your camera to multiple exposure mode. It usually can be found in the menu under “shooting mode” or “exposure mode.”
Step 2: Take your first picture. Like with film, the first photo should be the subject, usually a portrait.
Step 3: Take your second picture, your background. Make sure to overlap the first image so that they combine nicely.
Step 4: Review your image and make any necessary adjustments.
The benefit of shooting multiple exposures with a digital camera, besides the fact that you can preview your shots right away, is that you can choose from different blend modes that will open up a whole new world of creative possibilities. Sure, you can create the traditional double-exposure look (called Additive Mode), but you can also have the camera combine images in various other creative ways.
Average Mode will average the brightness of the individual images. Lighten or Bright Mode (depending on if you use Canon or Nikon) will keep the lighter pixel of the two images and discard the other. And, as you can imagine, Darken (or Dark) Mode will keep the darker of the two. The results are quite different from the standard stacked images you’re used to with old-school film double-exposures.
What’s more, since the digital camera can store the first shot on your memory card before you shoot the second one, consider what that means for your ability to get creative in between shots. You can swap lenses, change your filter, move to a different location, or even combine a macro image with a landscape. The creative possibilities are only as endless as your ability to dream them up!
Best Practices for Multiple Exposure Photography
Now that you know the process for shooting multiple exposures, here are a few tips and tricks to help you get the most out of this creative technique:
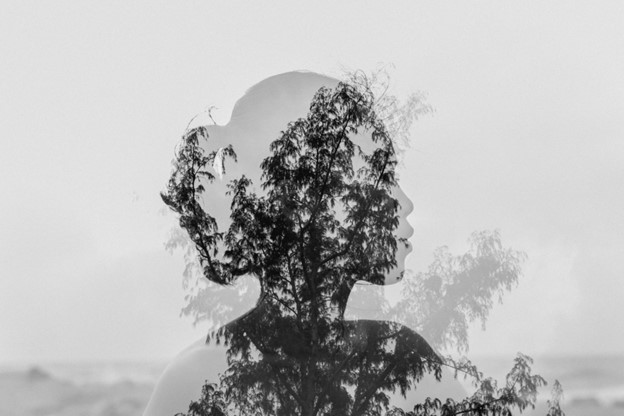
- A general rule of thumb is to use a darker subject or scene as your base or first exposure. Try a silhouette. Additionally, when you shoot your subject, try to make sure the background in that first image is light-colored and isn’t very busy.
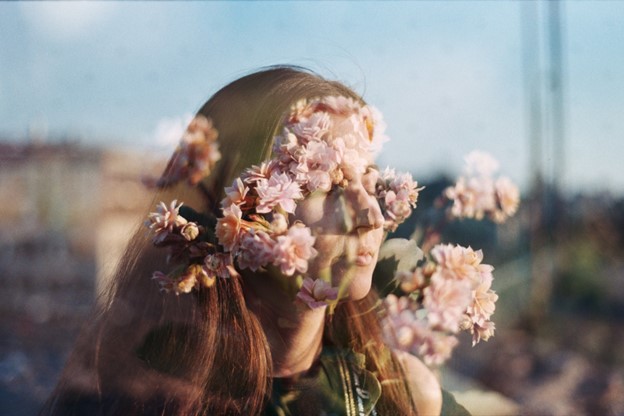
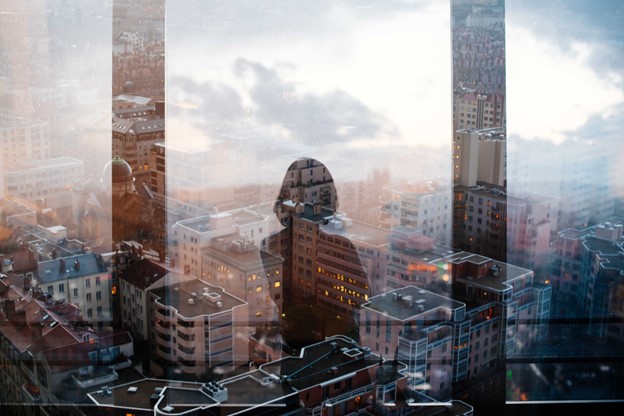
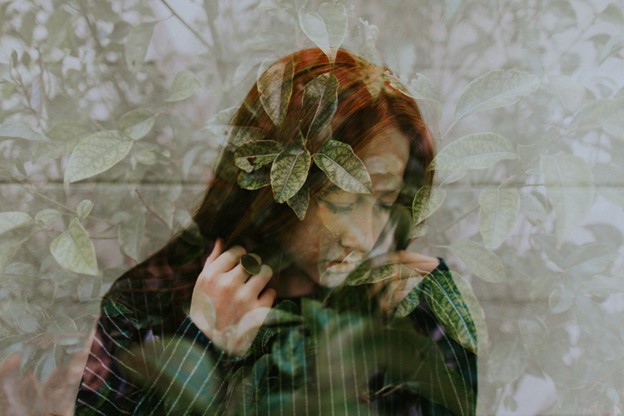
- For your second image, choose a background with lots of texture and color, like a cityscape at night, a field of flowers, or a beautiful landscape. Experiment with layering it unexpectedly.
- Underexpose your images slightly so that when you combine them, the extra exposure creates a properly exposed double exposure.
- Use a tripod. It will help keep your pictures from moving and produce cleaner results.
- Use a low ISO film or set the ISO low on your digital camera. It will produce less noise in your images.
- Experiment with the different blend modes. It is where digital cameras have an advantage over film cameras. By playing around with the different blend modes, you can create some truly unique and exciting images.
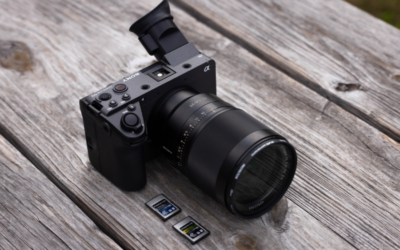
- Use a large memory card. You have the option to keep all exposures in your digital camera’s multiple exposure settings. It will tell your camera to save individual copies of each photo you take, plus the multiple exposures you create. As you can imagine, this will fill up your memory card quickly.
- Have fun! Multiple exposure photography is all about experimentation, so don’t be afraid to try new things and see what works best for you.
Final Thoughts
If you’re looking for a way to add creativity and storytelling to your photography, multiple exposure photography is a great option. It’s easy to do and can help you create unique images that convey emotions or tell a story. So why not give it a try? You may be surprised at how much fun you have experimenting with this creative technique. And if you have a digital camera, shooting multiple exposures is a breeze. So get out there and start experimenting!
The Best Memory Cards for Shooting Multiple Exposure Photography
Not all memory cards are created equal. When shooting multiple exposures, you’ll want to use a high-speed memory card with a large capacity. It will help ensure that your camera can keep up with the demands of shooting multiple images. You will also have plenty of space to store all those extra exposures. ProGrade Digital memory cards are created for professional photographers and offer some of the fastest read and write speeds on the market. They also come in various capacities, so you can choose the one that’s right for your needs.