In digital photography, capturing a stunning image is only the beginning. The magic begins in post-processing, where photographers can transcend the boundaries of reality and create visually captivating and artistically expressive images. Among these creative possibilities, double exposures stand out as a technique that can blend different scenes into a single, unique masterpiece. This guide will take you through post-processing techniques—including double exposures and more—providing tips and inspiration to help photographers of all levels craft one-of-a-kind images.
What is Post-Processing in Photography?
Think of post-processing as the digital darkroom where photographers enhance and transform their shots. Photography is your art, and post-processing is the equivalent of adding the final brushstrokes to a painting or putting the finishing touches on a sculpture. This phase is necessary for refining your photos and bringing your creative vision to life. Ask any professional photographer, and 99.9% of them will tell you—they always edit their photos. From adjusting brightness and contrast to correcting colors, post-processing can make the difference between a good photo and a great one.
Consider cropping an image to create a more compelling composition. Or perhaps you want to remove an unwanted object that snuck into the frame. Post-processing allows you to make these adjustments with precision. Even simple tasks like sharpening to enhance details or reducing noise in low-light images fall under post-processing. It’s about making sure the final image aligns with what you envisioned when you pressed the shutter.
But, this guide is all about the creative aspects of post-processing. By playing with filters, textures, and other artistic effects, photographers can give their work a signature style. It’s all about pushing boundaries and exploring new possibilities—turning an ordinary photo into something extraordinary.

Techniques for Creating Stunning Double Exposures
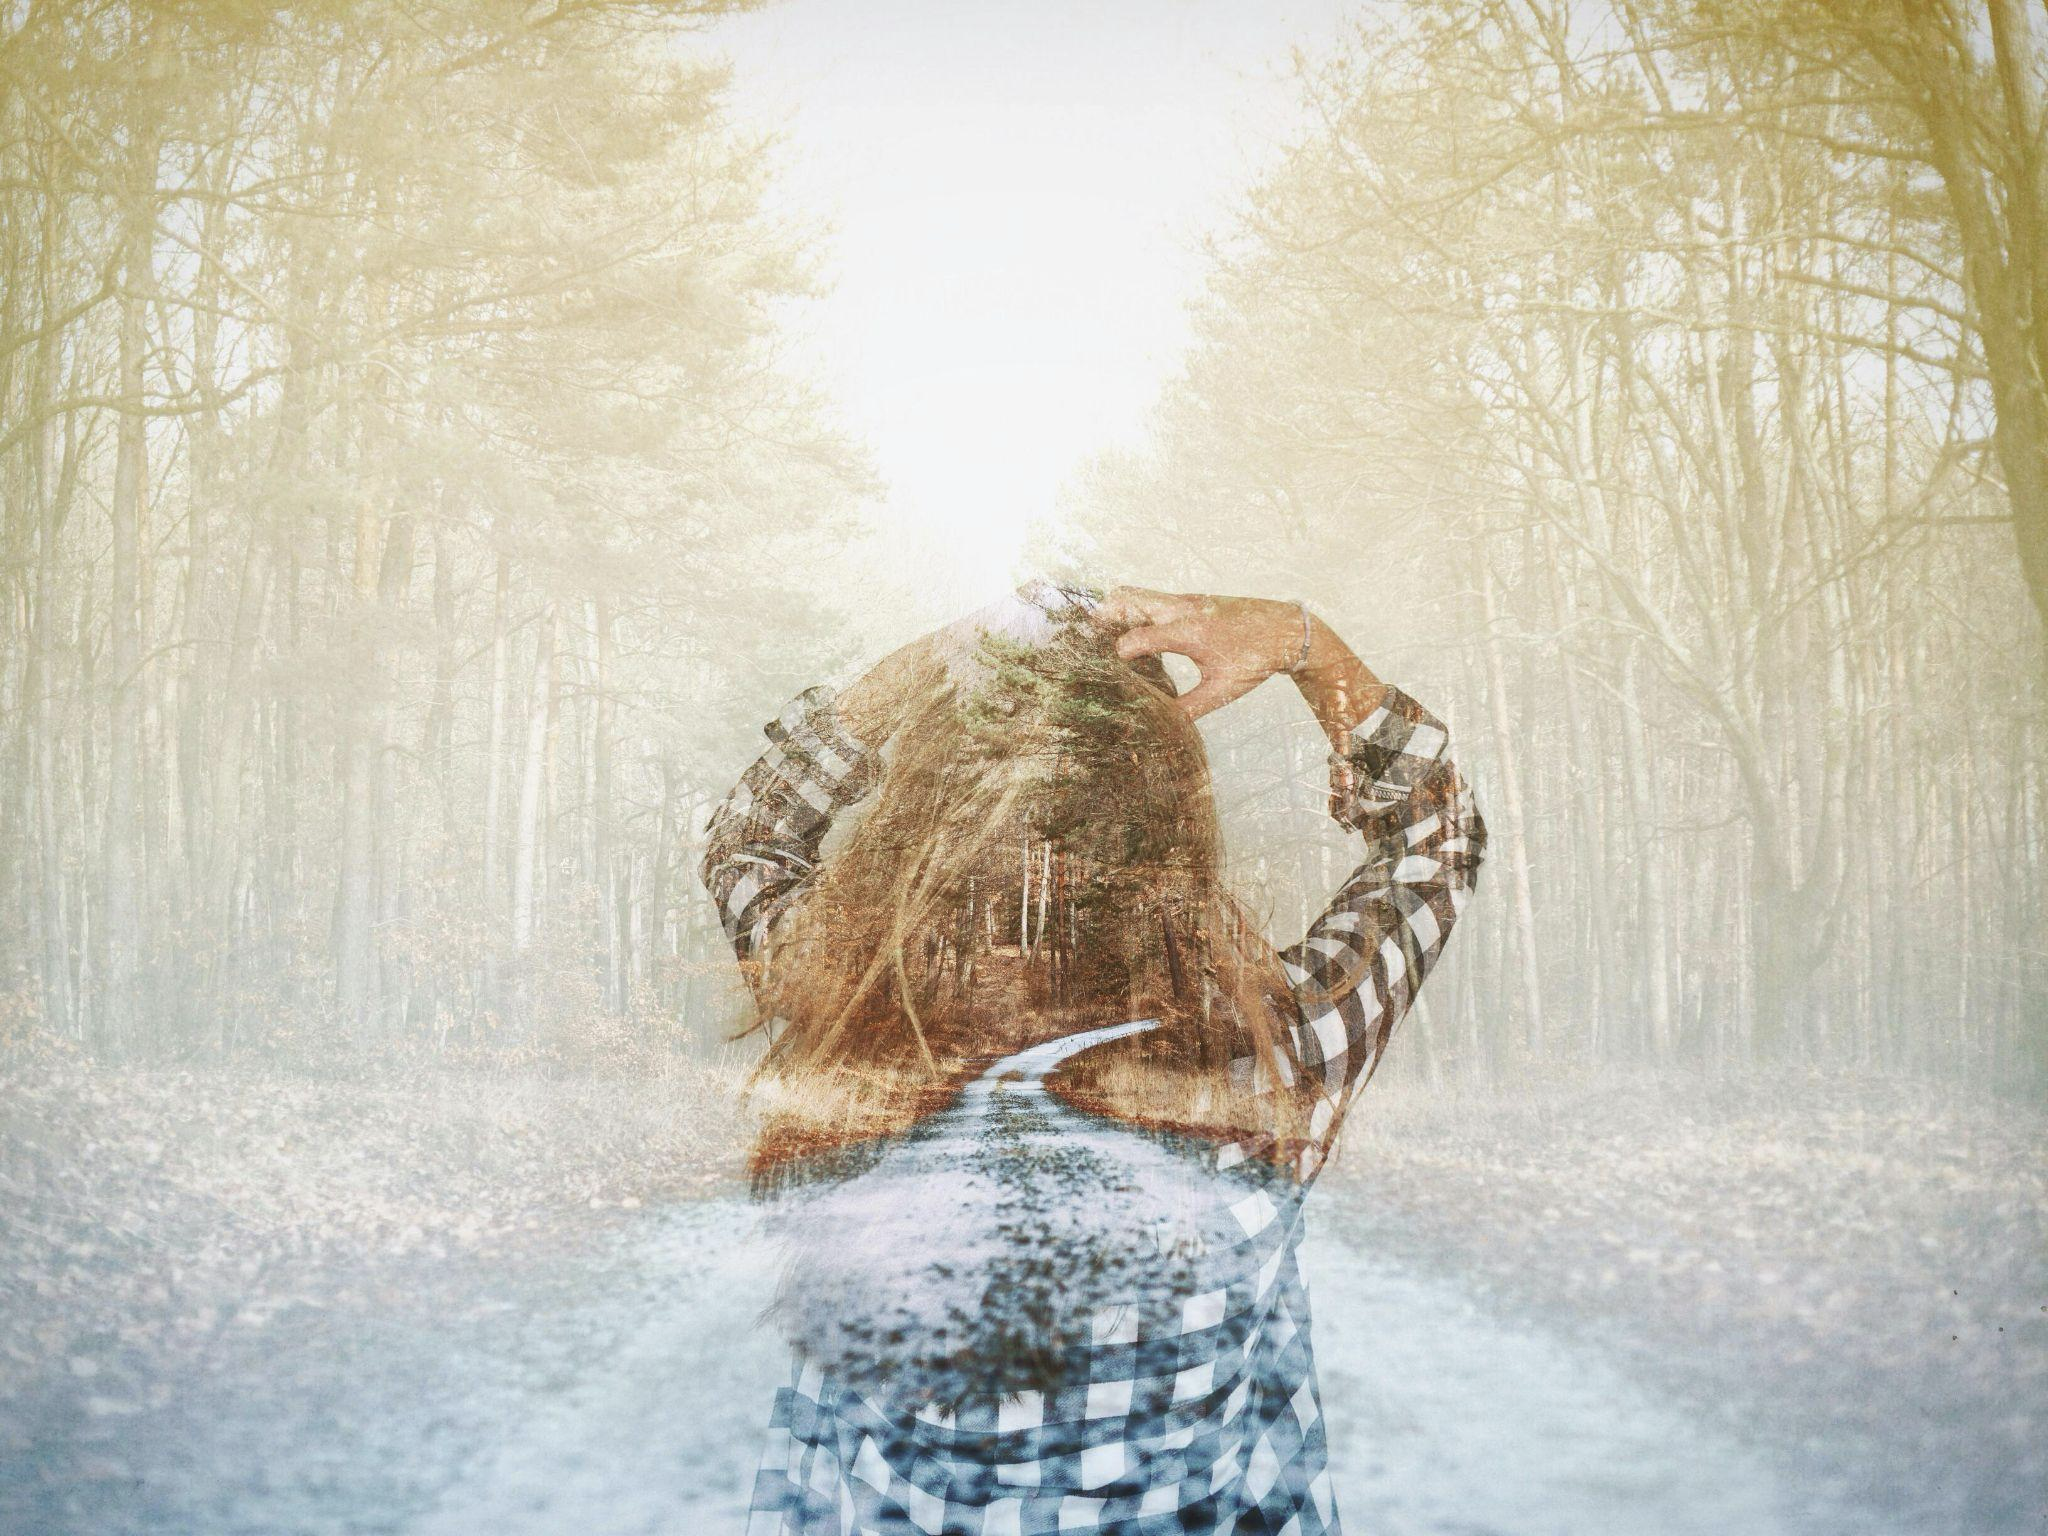
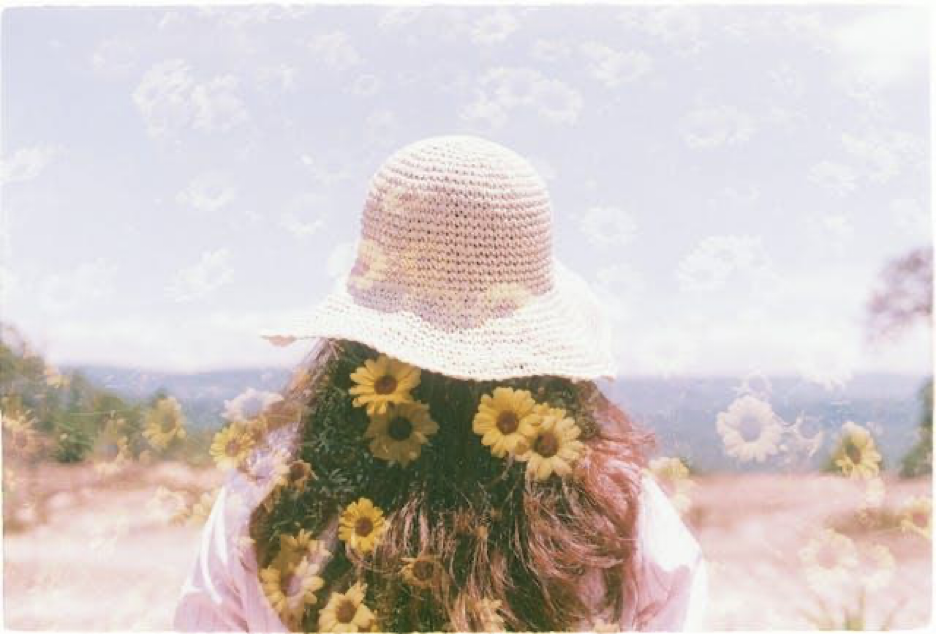
Double exposure photography is where creativity meets technique, blending two or more images into one. This approach opens a world of imaginative visuals, letting you layer scenes in ways that tell complex stories or evoke deep emotions. Modern digital cameras make double exposure photography relatively simple. Back in the days of shooting 35mm film, it was a tedious process that required precise exposures and careful film handling. But now, with digital cameras, the technique is much easier, allowing you to focus on crafting your creative vision. Whether done in-camera or digitally, mastering double exposures can lead to breathtaking results.
In-Camera Double Exposures
First, let’s talk about creating double exposures directly in the camera. Many modern cameras have settings that allow you to overlay images. Each camera is different, so you’ll need to refer to your owner’s manual for instructions on how to set up and capture double exposures. Typically, the process involves taking one photo, and then overlaying a second image while still in live view mode. Once you have both photos captured, your camera will merge them into one seamless image.
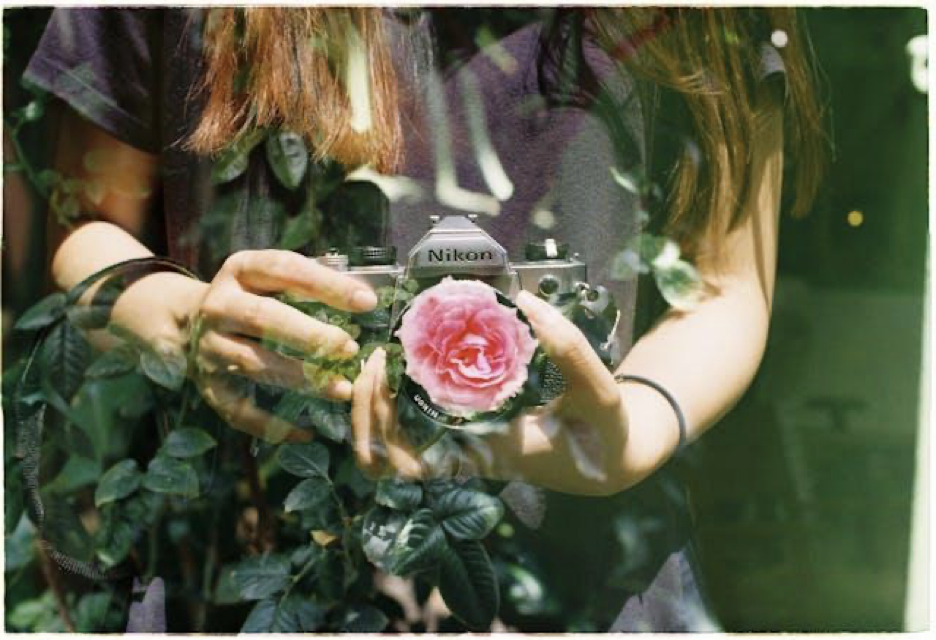
When creating in-camera double exposures, the risk is ending up with a messy image. So, the key is to plan ahead and think about how the two images will blend together. For example, if you want your subject to appear as if it is floating or blending into nature, make sure the background of your first shot is relatively plain so that your subject can stand out in the second exposure.
When working in-camera, the key is experimentation. You might not get your desired results right away, but with practice, you’ll start seeing how different images interact. Play with exposure settings and try various combinations to discover what works best. Each attempt can yield surprising and delightful outcomes.
Some examples of in-camera double exposures to experiment with include:
- landscapes with a silhouette of a person or object overlaid,
- a portrait with a texture layer added in-camera
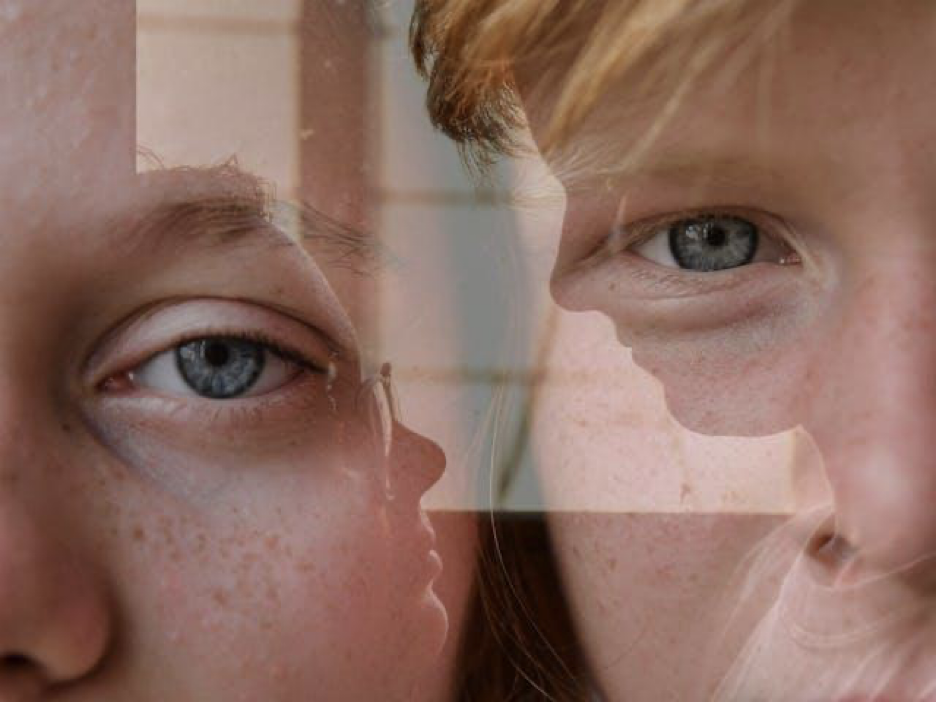
- combining two distinct scenes to create an otherworldly effect
- overlaying close-up photos of an object shot from different angles
The possibilities are endless, and it’s all about finding your unique style and experimenting until you achieve the desired results.
Digital Double Exposures
For those who prefer more control, software like Adobe Photoshop offers countless possibilities for double exposures. In a digital setting, you have the advantage of trying multiple variations without making any permanent changes. It’s easier to make subtle adjustments and see their impact immediately. The process involves creativity and technical skill, providing room for innovation while achieving a polished result.
How to Create a Double Exposure Image in Adobe Photoshop
Creating a double exposure image in Adobe Photoshop allows you to have detailed control over the blending of your images. Follow these steps to craft your unique composition:
- Prepare Your Images: Start by selecting two images you want to combine. As a beginner, you might consider one image with a strong silhouette or clear subject and another with an interesting texture or landscape. Open both of your images in Adobe Photoshop.
- Create a New Document: Open a new document where you’ll merge the images. Set the dimensions to match the size of your primary image with the clear subject.
- Add the Base Image: Drag and drop your first image (the one with the strong subject) onto the new document. This serves as your base layer.
- Place the Second Image: Next, bring in the second image by dragging it into the new document. This image will be on the layer above your base layer.
- Adjust Layer Blending: With the second image selected (the top layer), change its blending mode to “Screen” in the Layers panel. This mode is effective for combining two images because it allows the lighter parts of the top image to blend with the bottom layer while maintaining the visibility of both. Experiment with the other blending modes to see how they change the look of your image.
- Position and Scale the Image: Use the Free Transform tool (Ctrl + T on Windows or Cmd + T on Mac) to adjust the second image, scaling or repositioning it so that it closely lines up with your desired composition.
- Mask and Refine: Add a layer mask to the top image layer. Use a soft brush with black to paint on the mask where you want to hide areas of the second image. This helps refine the blending by keeping only the most visually appealing parts visible.
- Adjust Levels and Colors: Fine-tune the exposure and color balance of each layer by using adjustment layers such as Levels, Curves, or Color Balance. This may enhance the overall harmony between the two images.
- Finalize and Save: Once you’re satisfied with your composition, save your final double exposure as a PSD file for any future edits, and export it as a JPEG or TIFF for sharing or printing.
By following these steps, you’ll be able to create striking double-exposure photography. Experimenting with different images, blending modes, and adjustments can lead to even more exciting results.
More Tips for Creative Compositions
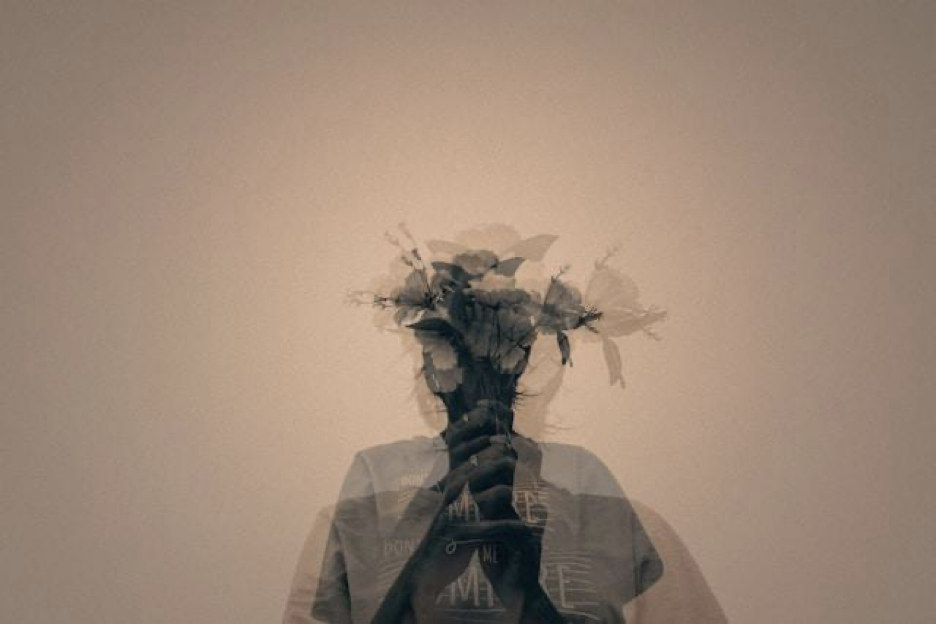
The art of double exposure lies in creative composition. When selecting images to layer, think about theme and mood. Perhaps you want to convey a sense of nostalgia by combining a portrait with a fading sunset. Or capture a contrast between urban life and nature by overlaying cityscapes with forest textures. Think about a self-portrait by combining a photograph of yourself with an image of something meaningful to you.
Use symmetry, repetition, and contrast to enhance your composition. Look for lines and shapes that draw the viewer’s eye through the image. Remember, the goal is to produce a cohesive piece that invites viewers to explore the depths of your creativity.
Other Creative Post-Processing Techniques
Beyond double exposures, post-processing offers more avenues to explore your artistic side. Techniques like HDR photography, panoramic stitching, and selective color allow photographers to create dynamic, engaging images that stand out from the crowd.
HDR Photography

High Dynamic Range (HDR) photography is ideal for scenes with high contrast, like sunsets or interiors with bright windows. By combining multiple images taken at different exposures, HDR brings out details in both shadows and highlights, resulting in vibrant photos with a realistic feel. Software makes it easy to merge exposure brackets into a seamless HDR image, giving you complete control over the final look.
Panoramic Stitching
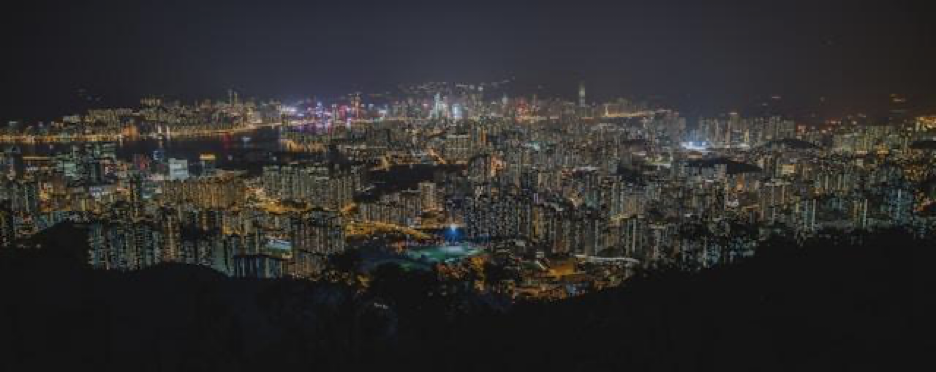
For breathtaking landscapes or expansive cityscapes, panoramic stitching is a game-changer. By aligning and merging several images, you can create wide, immersive scenes that capture the grandeur of your surroundings. This technique requires consistency in camera settings and overlapping shots to ensure smooth stitching. Once combined, a panoramic image provides viewers with an experience that feels larger than life.
Selective Color

Selective color is a powerful way to emphasize specific elements within an image. By converting most of a photo to black and white and leaving key areas in color, you draw attention to particular features. This technique can highlight a subject’s eyes, the pop of a red dress, or the beauty of a single bloom amid a monochrome garden. The dramatic contrast created by selective color invites viewers to focus on what matters most in the composition.
The Role of Software in Post-Processing
Software plays a critical role in post-processing by giving photographers tools to enhance, modify, and transform images beyond what the camera captures. Photo editing software offers a wide range of features that allow for creative edits, enabling artists to realize their vision fully. These programs streamline complex techniques, making advanced post-processing more accessible to professionals and enthusiasts alike.
Editing Software
Adobe Photoshop and Lightroom are industry standards for photo editing, offering a range of features from basic corrections to advanced manipulations. Photoshop excels in retouching and complex edits, while Lightroom shines in organizing and processing large batches of images. Newcomers to photo editing might appreciate tools like GIMP, a free and open-source alternative with robust capabilities.
Plugins and Presets
To streamline creative processes, many photographers rely on Photoshop plugins and Lightroom presets. These add-ons provide ready-to-use effects, filters, and adjustments that can enhance images quickly and consistently.
Some popular Photoshop plugins include:
- Nik Collection: A set of plugins offering stunning filters and effects, including color correction, retouching, and creative enhancements for professional-quality photos.
- Exposure X7: Known for its creative photo effects, this plugin offers versatile film emulation and powerful editing tools that bring a classic feel to your digital images.
- Luminar Neo: Features AI-powered tools for enhancing skies, adding sun rays, or even removing unwanted objects, making creative touch-ups accessible and efficient.
- Boris FX Optics: Offers optical lens effects, lighting effects, and cinematic color grading tools to enhance your images like a pro filmmaker.
Several popular Lightroom presets include:
- VSCO Film Presets: Inspired by classic and modern analog films, these presets offer a wide range of styles for capturing the timeless essence of film photography.
- Tribe Archipelago Presets: Designed for adventurous photographers, these presets enhance landscapes and cultural photography with rich colors and vibrant contrasts.
- Presetpro Creative Flow: Offers a vast collection of creative edits, including vintage, cinematic, and black & white effects, for stunning, artistic images that pop.
- Sleeklens Presets: These are versatile and customizable, offering a range of artistic effects including dramatic skies, dreamy tones, and stylized portraits.
Use Cases for Creative Techniques
Creative post-processing techniques can be applied across various photography genres, from fine art and commercial work to personal projects. Each of these cases highlights the impact of double exposures and other creative editing in telling impactful stories.
Fine Art Photography: The emphasis is on personal expression and conceptual depth. Techniques like double exposures or selective color allow artists to convey emotion and provoke thought. Fine art photographers often explore themes like identity, memory, and dreams through their work, using creative post-processing to bring abstract ideas to life.
Commercial Photography: Commercial photographers leverage creative techniques to capture attention and convey brand messages effectively. Whether it’s a high-contrast HDR image for architectural interiors or a meticulously composed double exposure for advertising, these techniques enhance visual appeal and storytelling. By collaborating with clients to understand their vision, commercial photographers create images that leave a lasting impression.

Personal Projects: These projects offer opportunities to experiment without constraints. Personal work often leads to fresh perspectives and new skills that enrich professional practice.

Why Creative Techniques Matter
Creative post-processing techniques offer photographers a way to express unique ideas. By blending reality with imagination, these methods enable artists to communicate emotions and narratives that resonate deeply with viewers. Whether creating surreal landscapes or intimate portraits, the freedom to experiment encourages you to push boundaries within your craft.
Eye-catching images capture attention and invite curiosity. Techniques like double exposures or selective color add layers of interest to photographs, encouraging viewers to linger and explore the message behind them. They provoke thought, which elevates the impact of photography as an art form.
Creative post-processing inspires new styles, challenges norms, and influences trends. Photographers who embrace this kind of innovation and experimentation contribute to the ongoing evolution of photography, setting the stage for future generations of image-makers.
Tips for Aspiring Creative Photographers
Aspiring photographers eager to explore creative post-processing techniques can benefit from a few guiding principles.
- Don’t be afraid to try new things and take risks in your work. Experiment with different techniques, settings, and subjects to discover what resonates with you. Each attempt, whether successful or not, is an opportunity to learn and grow as a photographer.
- Seek inspiration from diverse sources, from nature and architecture to everyday objects and experiences. Inspiration often strikes when least expected, so keep an open mind and observe the world around you. Engage with other artists, attend exhibitions, and explore different art forms to fuel your creativity.
- Like any skill, creative photography requires dedication and practice. Set aside time to work on your craft regularly, and don’t be discouraged by setbacks. Developing a keen eye for composition and detail takes patience and persistence. Celebrate your progress and continue honing your skills as you refine your artistic voice.
Conclusion
From double exposures to panoramas to selective color, these creative post-processing techniques offer countless possibilities for expressing your artistic vision. We encourage you to experiment, take risks, and explore the vast potential of photography as an art form.
Whether you’re a seasoned professional or a passionate amateur, integrating advanced photo editing into your workflow will elevate your work and foster personal growth. Join the photography community in sharing your creative endeavors, and inspiring others to see the world through a fresh lens. The possibilities are endless, and the journey is just beginning.