XQD Driver Download And Installation Guide
XQD driver installation - Windows
* If you have a mixture of XQD cards, including Sony XQD G series 120GB+, proceed with Step1 below*
* If you ONLY have Sony XQD G Series 120GB+ cards, proceed to Step 9*
- Connect CFexpress/XQD reader to the computer.
- Insert Lexar XQD card, Sony XQD card M Series, or Sony XQD card G Series (with the lowest capacity you have and as long as it is not a Sony XQD G 120GB+ card or above).
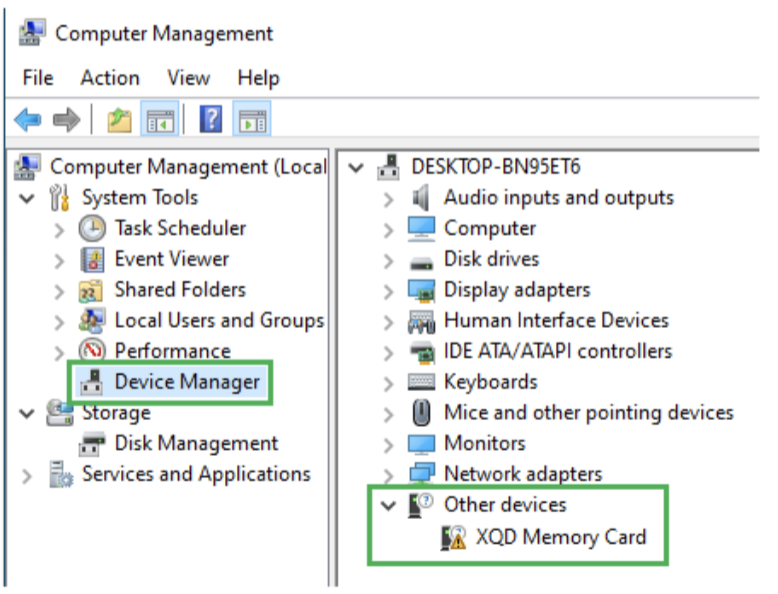
- Go to Device Manager > Other devices and look for XQD Memory Card with a yellow exclamation mark.
- Right-click on XQD Memory Card and select Update driver.
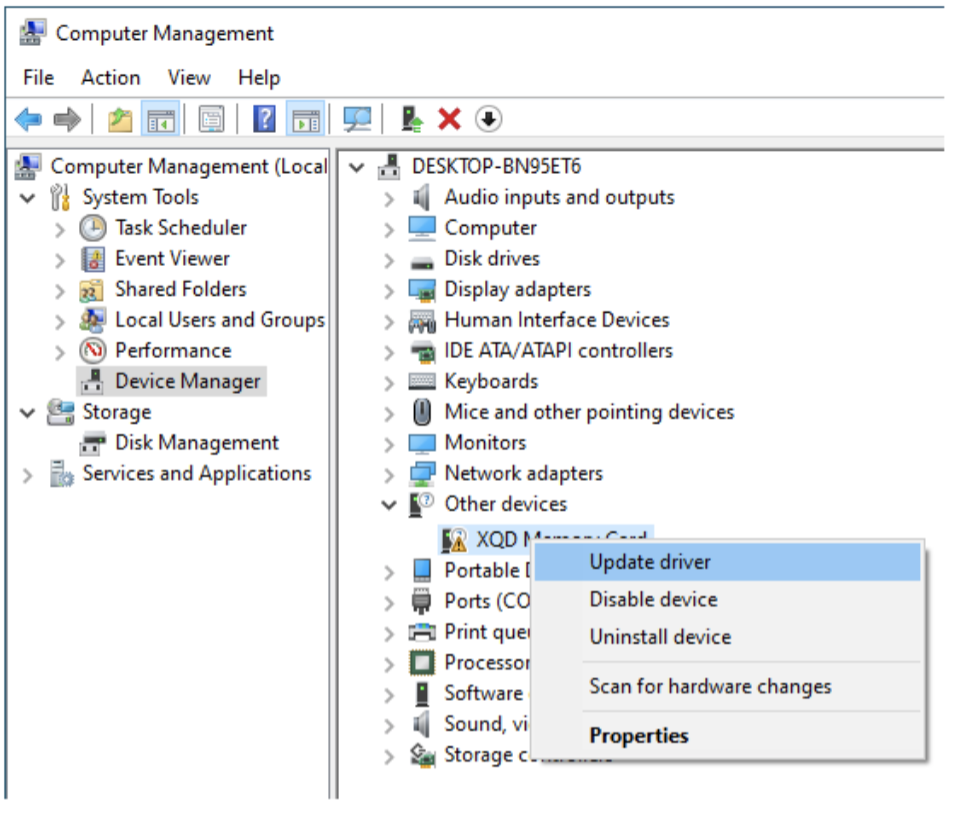
- Select Search automatically for updated driver software.

- After the driver update is complete, eject XQD card, wait a few seconds (~5-7 seconds), and re-insert XQD card back into the reader.
- The Windows system should now recognize the XQD card.
- Remove XQD card from reader. *If you also have Sony XQD G-Series 120GB+*, proceed with the additional steps below*
- Insert Sony XQD G-Series 120GB+ card into the reader.
- Following instructions below to install the Sony XQD driver (v201).
- Once driver installation is complete, eject Sony XQD card, wait a few seconds (~5-7 seconds), and re-insert Sony XQD card back into the reader.
*Download and Install XQD driver v201 for Windows 10 if you have Sony XQD G-Series 120GB+ card*
Download Windows v201 XQD Driver through steps 1A or 1B below:
1- Click here to download Windows XQD Driver from Sony’s website
OR
A- Open a web browser, go to https://www.sony.co.jp/Products/memorycard/xqd/application/drv_installer.html
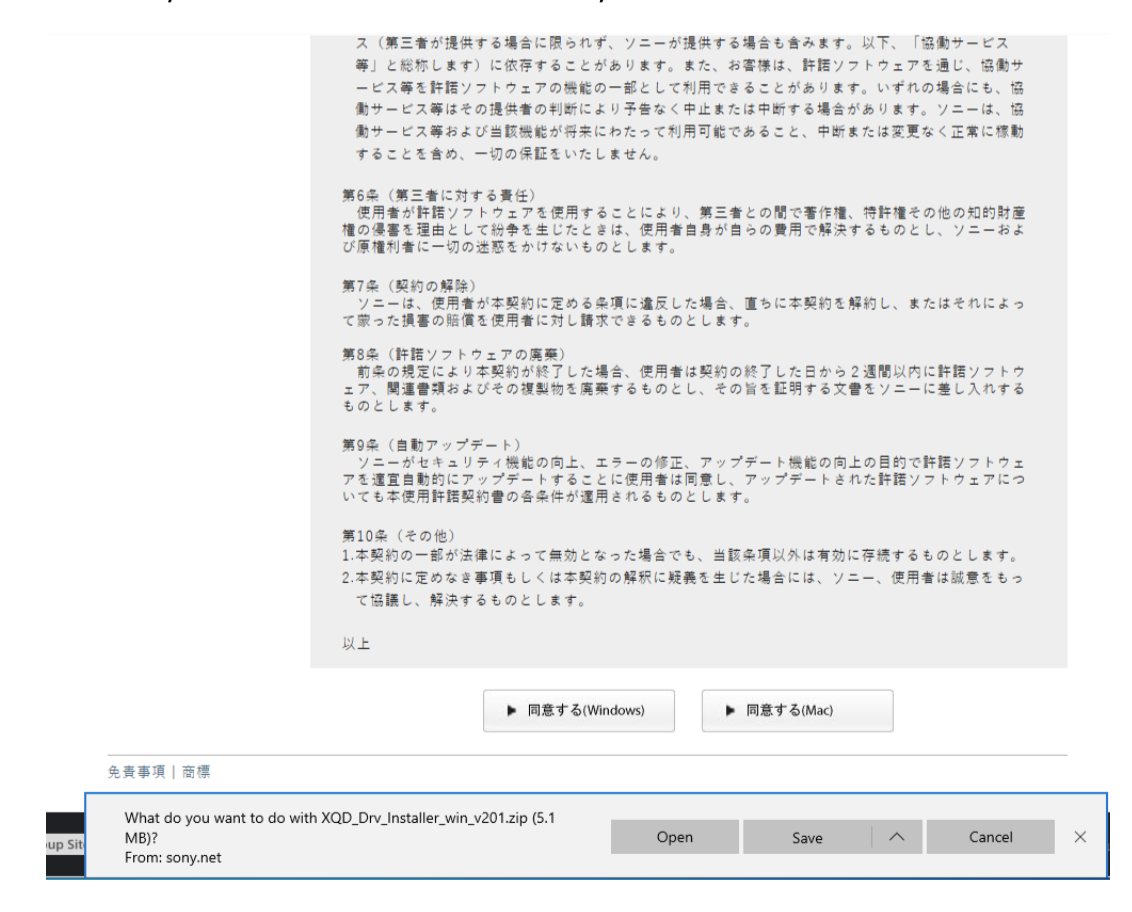
B- Navigate to the bottom of the webpage and click on “…(Windows)” icon.
(Note: This page may load in Japanese)
Proceed to download and save the XQD Driver Installer on your Desktop or a folder of your choice. The default folder is your Downloads folder.
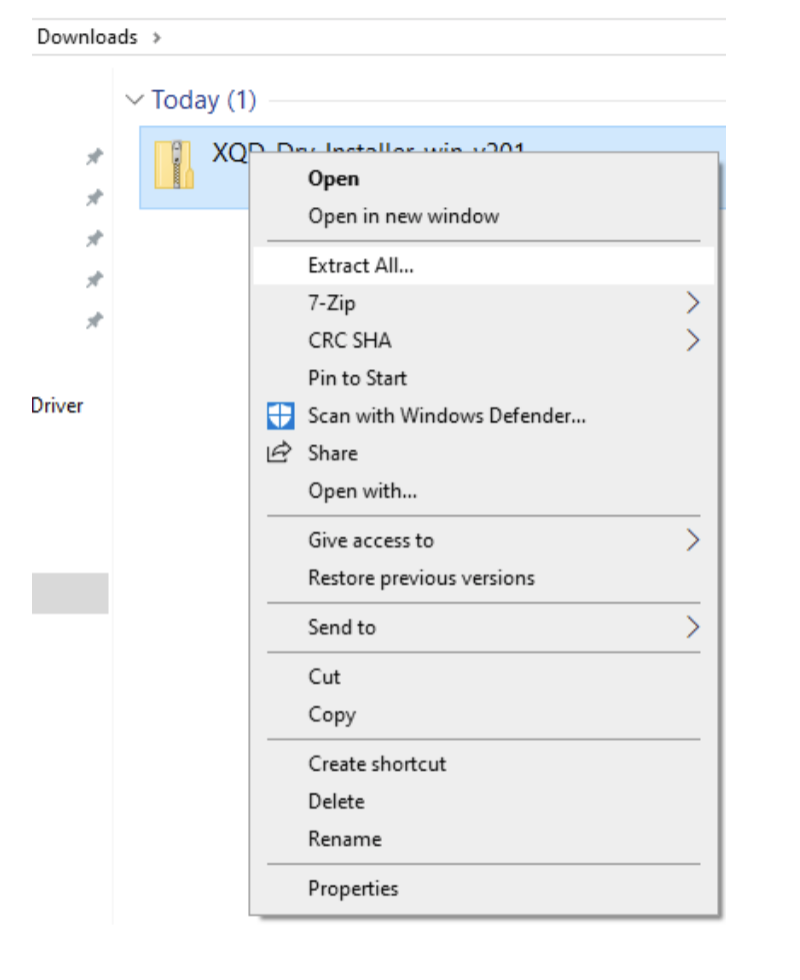
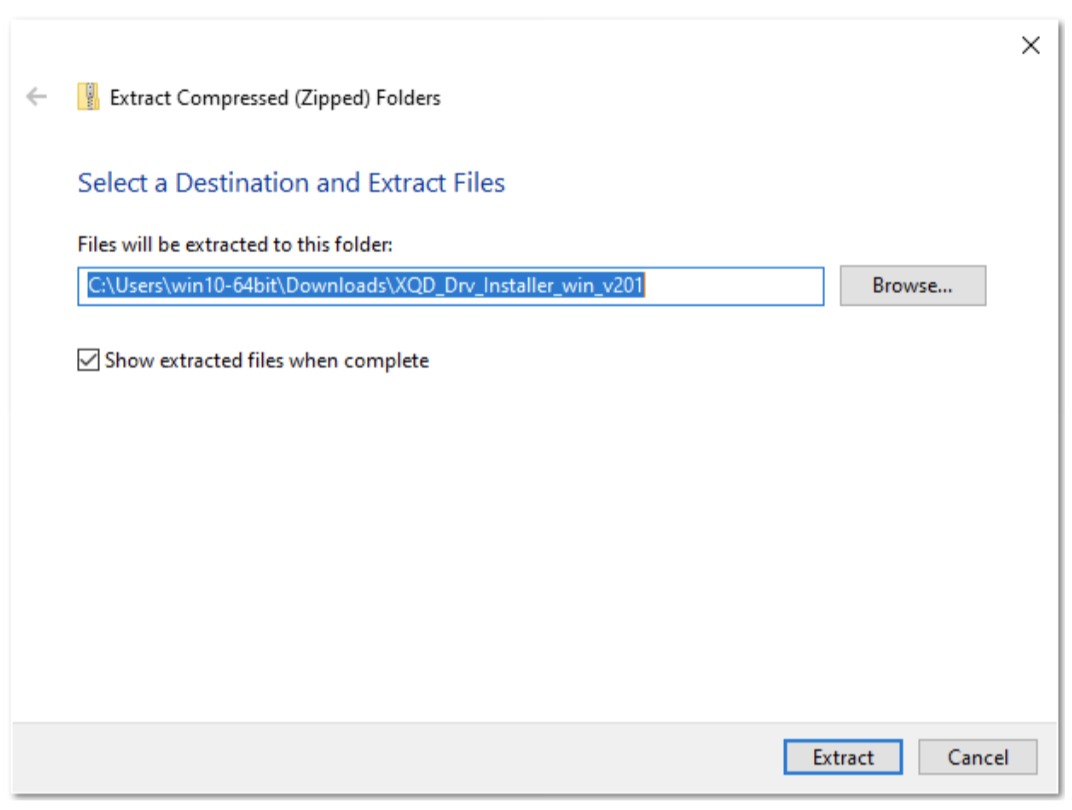
Select a file location where you want to extract the files and then click on “Extract“. The default location is your system’s Downloads folder.
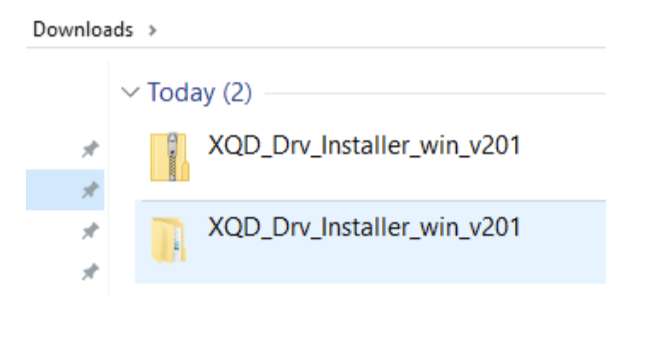
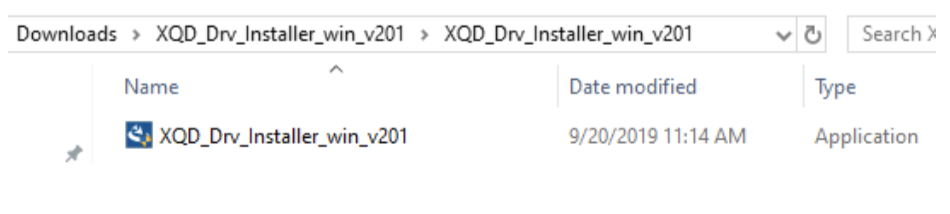
Double-click the XQD_Drv_Installer_win_v201 subfolder in the Downloads folder.
Right-click the zip file and extract it again.
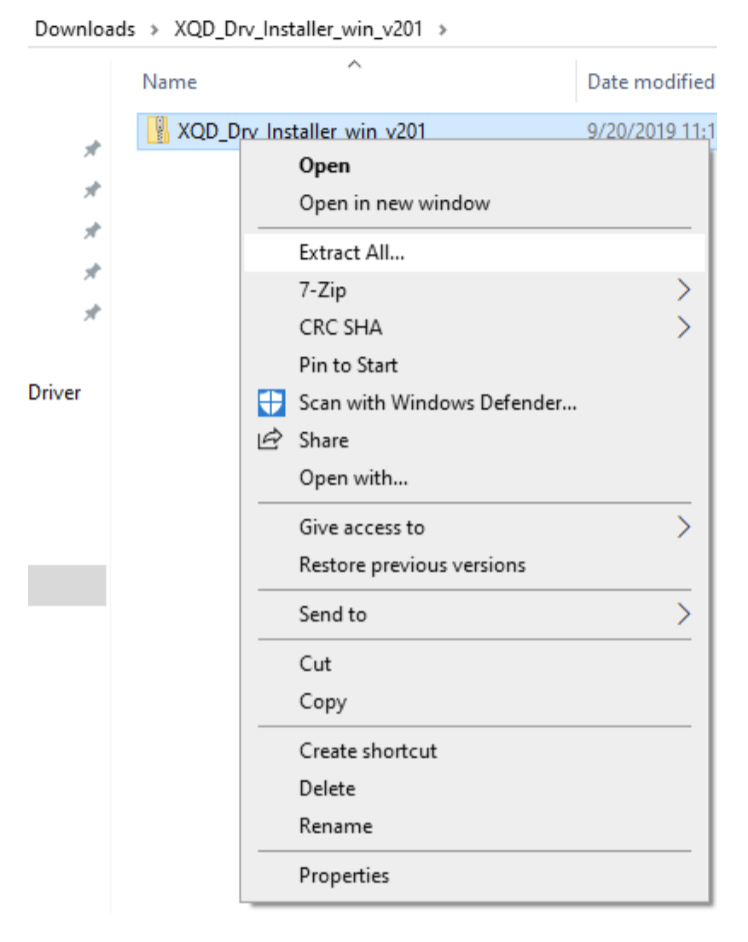
Double-click on the XQD_Drv_Installer_win_v201 to start XQD driver installation.
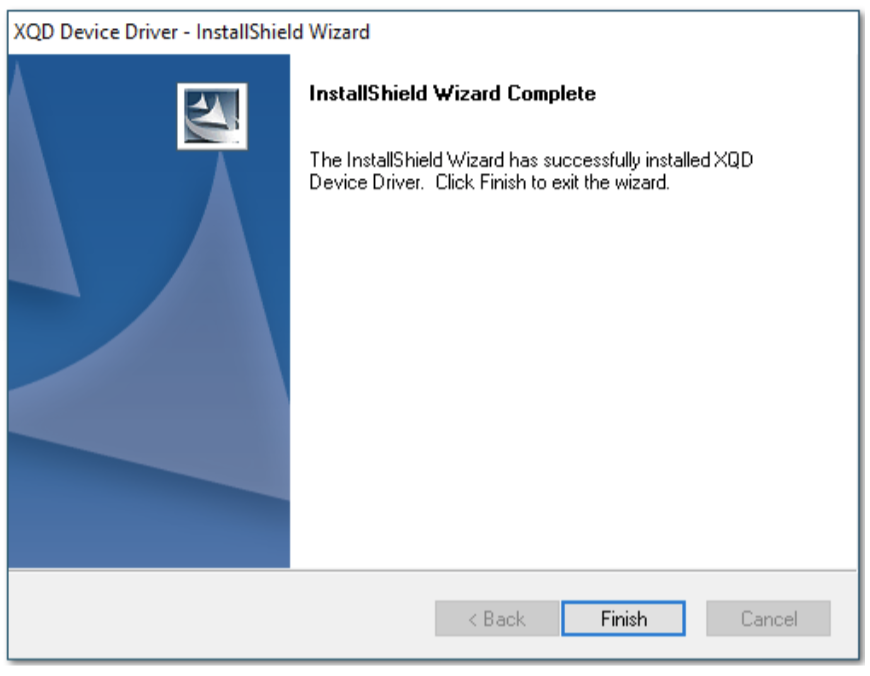
Follow the instructions on the screen to install the XQD driver. Restart your computer after the XQD driver installation is finished.
XQD driver installation - Mac
- Download Mac OS XQD driver by the following steps 1A or 1B below:
A- Click here to download XQD Driver for Mac OS from Sony’s website:
OR
B- Click on the link below, go the bottom of the page and click on the box with Mac written on it:
https://www.sony.co.jp/Products/memorycard/xqd/application/drv_installer.html
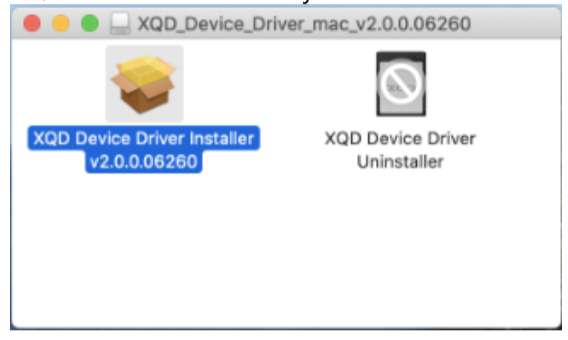
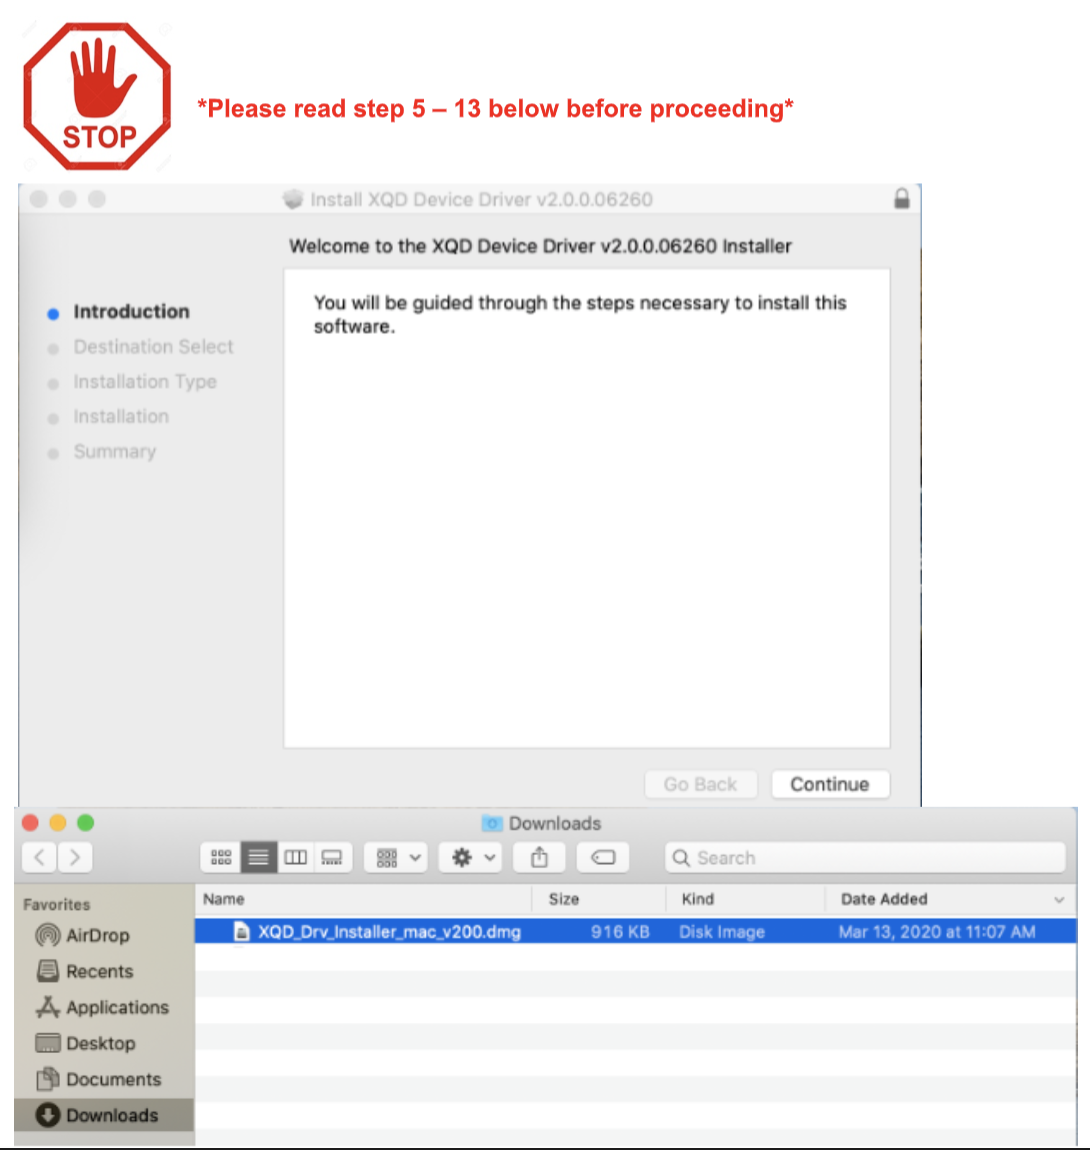
(Note: This page may load in Japanese) - Double-click “XQD_Drv_Installer_mac_v200.dmg”, which is usually located in the “Downloads” folder.
- Double-click “XQD Device Driver Installer v2.0.0.06260″ from the pop-up window to start the XQD driver installation for your Mac.
- Follow instructions onscreen to install the XQD driver.
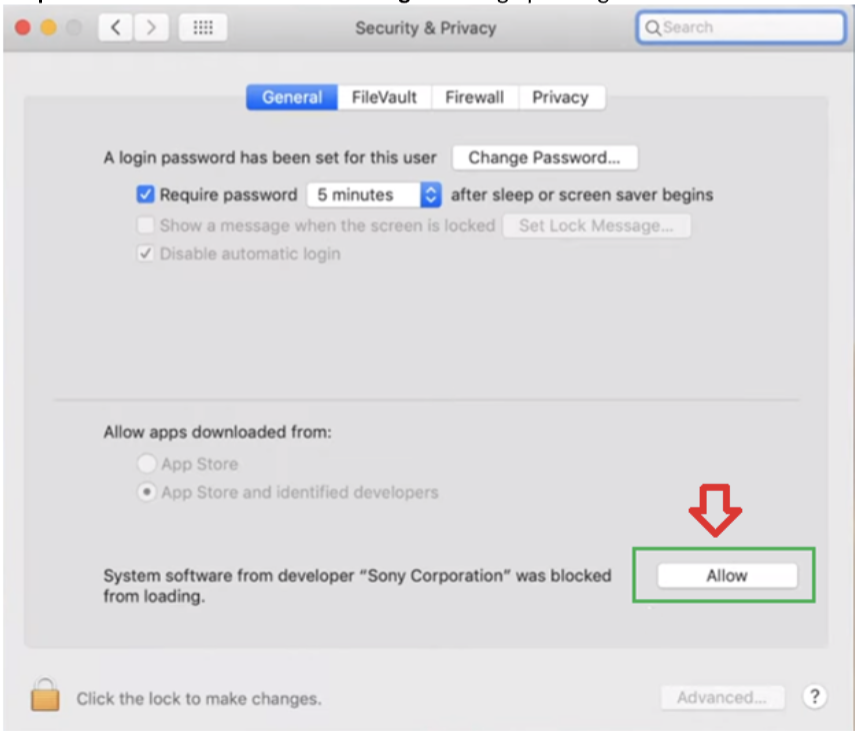
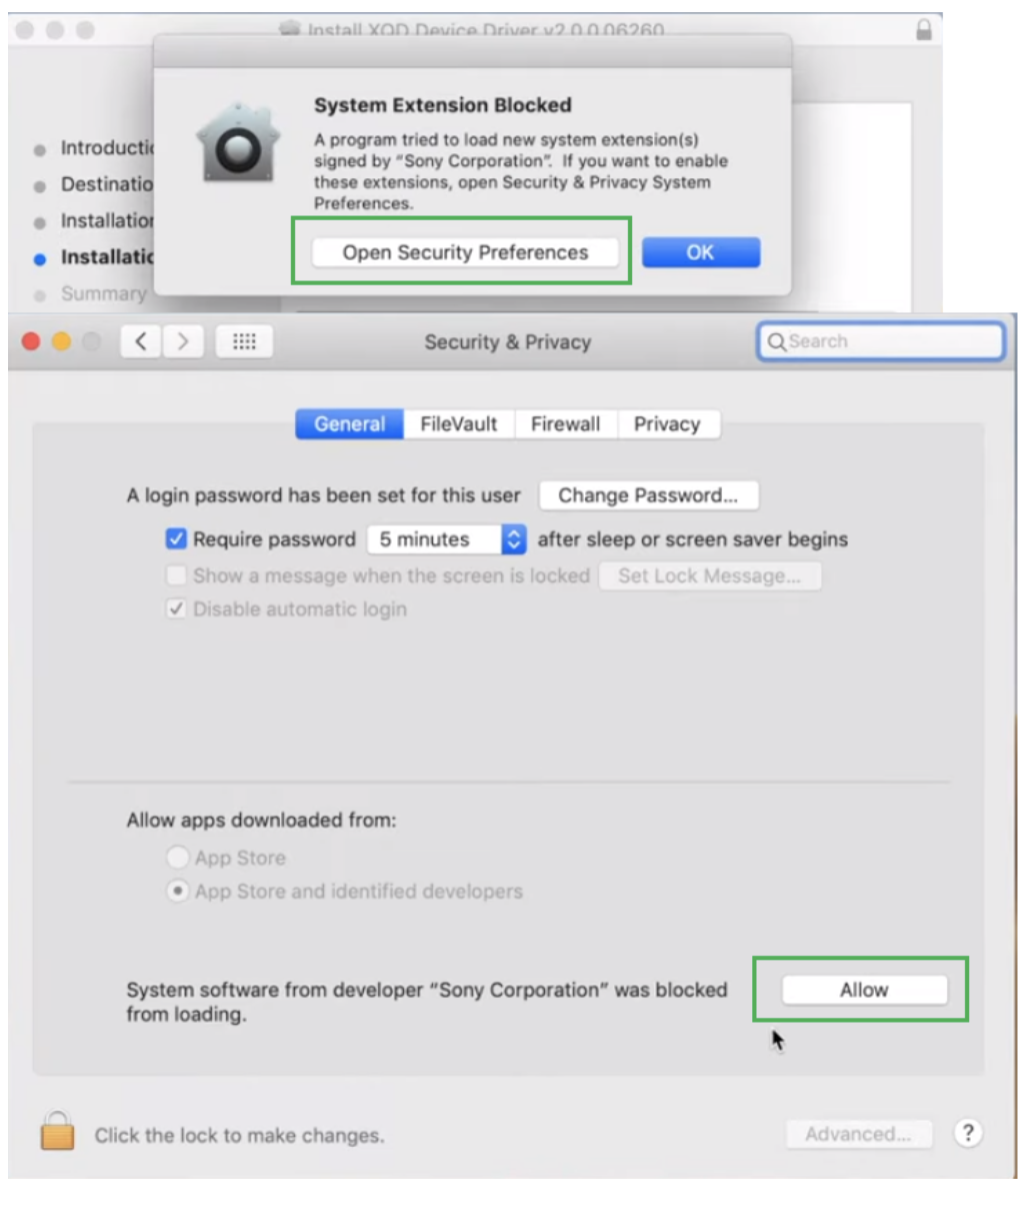
- During the XQD driver installation, you might encounter a pop-up window stating “System Extension Blocked”. instead of clicking on “OK”, “Open Security Preferences” and “Allow” system software from “Sony Corporation” to load. If you do not see the pop-up window, still go to “Security & Privacy” and check/allow system software from “Sony Corporation” to load.
- Mac should now recognise the XQD card.
- If you do not see any “System software from developer “Sony Corporation” was blocked from loading” message in “Security & Privacy” setting, proceed to the next step.
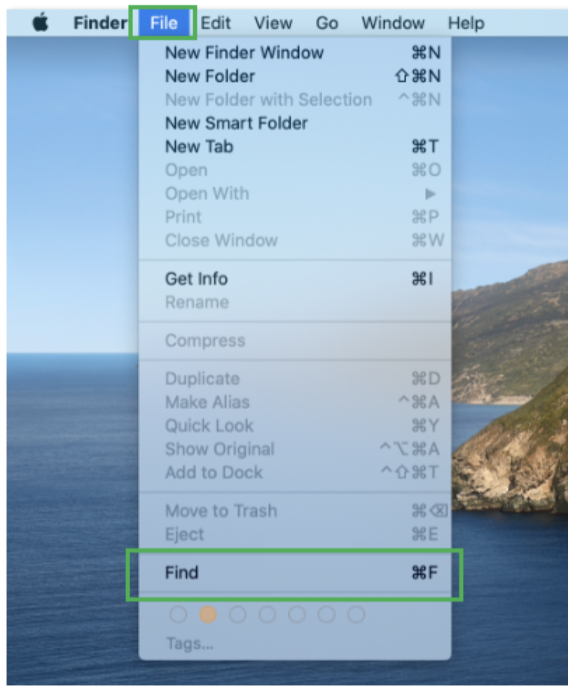
- From the Apple menu, select File ⌘ Find
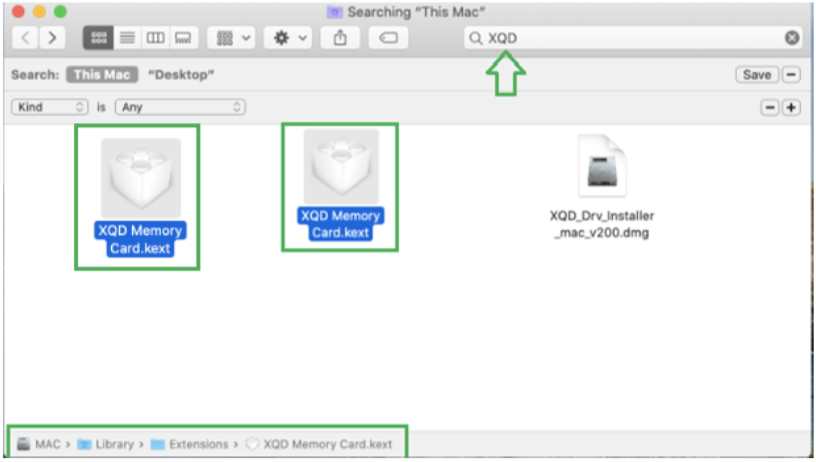
- Type XQD in the Search box.
- You should see TWO XQD Memory Card.kext listed as Search result.
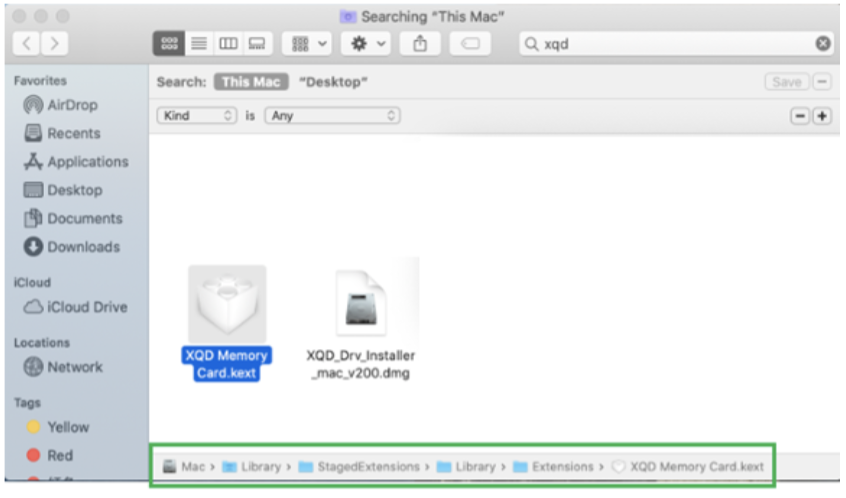
- If you only see ONE XQD Memory Card.kext listed as Search result and it is from directory /Library/StagedExtenstions/Library/Extensions/, proceed to copy that XQD Memory Card.kext to directory /Library/Extensions/
- Restart Mac with an XQD card inserted into CFepxress/XQD reader.
- Go to “Security & Privacy” setting, you should see “System software from developer “Sony Corporation” was blocked from loading”. message pending. Proceed to allow the software to run.