I’ve been a professional photographer since 2006, and one of the earliest systems I created was a system for organizing my photos on external hard drives. I needed it to be simple and fast to find any of my work, whether I needed to find a photo for marketing my business, or I had gotten one of those frantic emails from a client who had lost their photos and wondered if I still had them on file – luckily I did.
As time has gone on, my digital photo storage and organization has become even more important. I’ve photographed over 400 weddings in my career, at least that many portrait sessions, and have worked with dozens and dozens of businesses. I have 17 external hard drives lined up on a shelf in my closet ranging from 1tb to 4tb each and at least twice a year I get that frantic email from a client where I have to go back and find and redeliver their images.
I use two different systems for my professional and personal images; they’re very similar, but fit different needs for me. I’m going to outline my systems for two different people. The first is the hobbyist photographer; you love photography, take pictures every chance you get, and even though you’re not delivering images to a paying client, you need to be able to find them when you want them.
The second person I’m outlining my system for is a professional photographer. You are doing a high volume of work, you need to deliver images to clients, find old projects to show potential clients, find photos to market your business across your platforms, and you need to remember why you spent all that money on prime lenses (which was very well spent).
One other note about my workflow, before I get into the systems and specifics, is that I use solid state external hard drives as my working drives. I have two of them, but my favorite is a 2 terabyte Samsung T3; for me, this external hard drive maintains the balance of not breaking the bank, while also delivering a high volume of storage, in a small and beautiful blue case.
When I say “working drive”, I mean the drive that I work off of for projects that aren’t finished and have not been delivered to the client; it’s the drive that I’m editing or working from. In addition to having a copy of images on my working drive, I also have two additional external hard drives which I keep all images on. I currently use portable Western Digital drives which are small, beautiful, and give a lot of storage for the price.
So my workflow is, once I get back to my office from a shoot, I upload the original images to my working drive and my two backup external hard drives. As a professional photographer, it’s industry standard to store projects on two external hard drives, but I’m a bit over the top, so keeping all undelivered images on three external hard drives makes me sleep better at night and gives me confidence that I’ll never lose an image, and in 14+ years as a professional photographer, I never have.
For the hobbyist photographer, this is the system that I use for my personal images. Here’s a screenshot of my current working drive and I’ll explain why I’m organizing this the way that I am and why it matters.
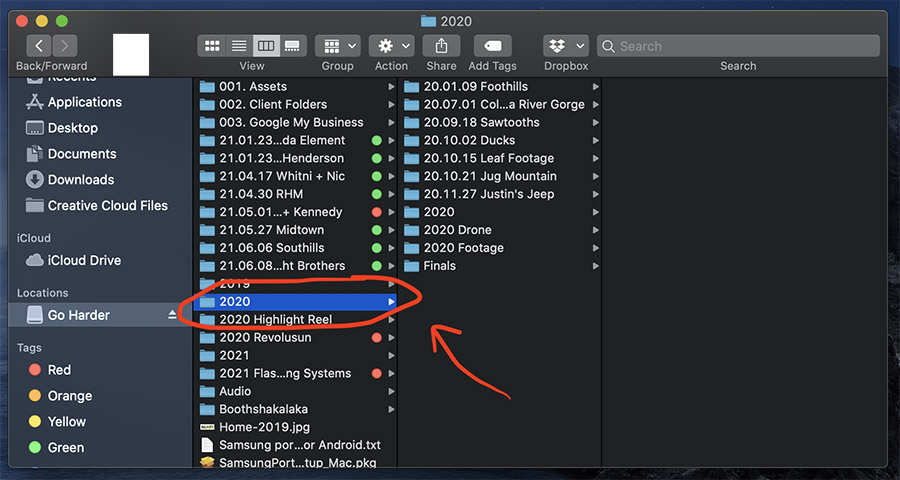
The highest level folder is the year, in this case it’s 2020, and you can also see 2019 there as well. Now within this folder, you’ll see the organization of my shoots. The way you title these shoot folders really matters; we want to use our computer system to our advantage and if we write the date in the format, “yy.mm.dd shoot title” (year, month, day), your computer is automatically going to sort everything in order – the older shoots are at the top and the latest shoots are at the bottom. You can see my year is laid out from top to bottom. After the date, I title the shoot something that makes sense to me.
You can see a few other folders in my 2020 folder which help keep things organized. The folder titled “2020 Lightroom” holds my Lightroom catalog; I use one catalog for each year as this makes it easy for me to run through a full year of personal photos and find the photos that I’m looking for, quickly and easily. The RAW files for each shoot are stored in the shoot folder (so when I import them to Lightroom they’re also organized by these same dates and names in Lightroom) and then I have a Finals folder for each year as well, where I store final, edited, and exported photos from each year. I also have a drone and footage folder, but you can ignore those, that’s just where I group my personal drone and video work.
Now for my professional work, there are a few small changes to this system, but overall it’s very similar. Each shoot follows the same folder title format of “yy.mm.dd shoot title”, but then I add an extra step before importing the RAW photos to Lightroom, I cull (which means choose the images I’m keeping and editing and the ones I’m rejecting) the images using a program called Photo Mechanic. There’s two advantages to culling images before importing to Lightroom. The first is that Photo Mechanic is much faster for culling than Lightroom. I can cull 2000 images in an hour in Photo Mechanic, where that used to take me two to three hours in Lightroom. That’s a tremendous time savings when you’re shooting tens of thousands of images each year. The second advantage to culling before importing to Lightroom is that you’re only importing a portion of the images from your shoot into Lightroom, which is again a time savings. As a side note, Photo Mechanic also allows you to tag images with the stars and color flags, and Lightroom reads those tags (I have a whole system for using these tags). So once I’ve culled the photos I put them into two separate folders, one is called “Originals” and one is called “Accepted” (I think you can figure out what is in each of those).
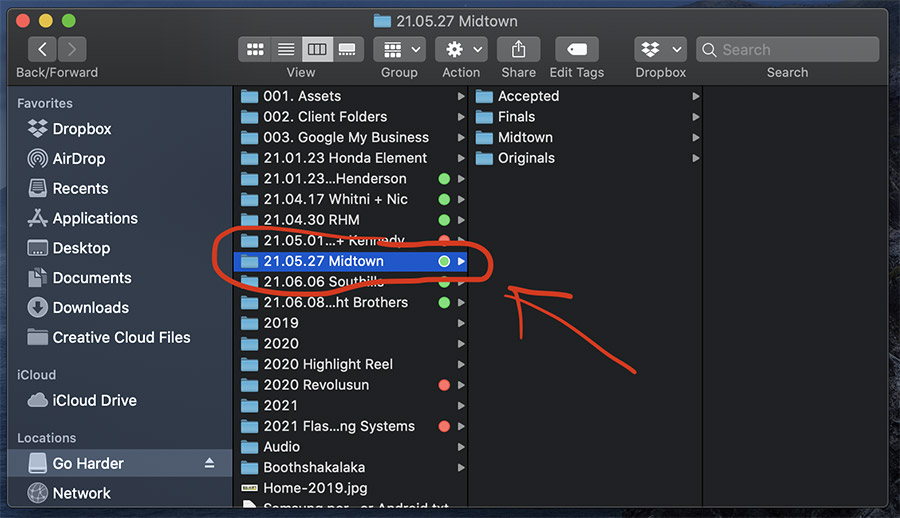
Now if you look at the Midtown folder above, which is a shoot for a local business, you can see how I’ve organized that folder. In the main shoot folder I have the “Accepted” folder, which contains the accepted images that I will edit in Lightroom and deliver to the client. The “Originals” folder, which has the rejected images (but I can easily access this folder and the rejected photos if I need an alternate shot/angle). For my professional shoots, every shoot gets its own Lightroom catalog, so the folder called “Midtown” has the Lightroom catalog (for professional work I highly recommend using separate Lightroom catalogs for each shoot). Then the “Finals” folder contains the final images that I delivered to the client.
So once I’ve delivered a shoot to a client and the client is happy with the photos I can copy this whole shoot folder onto the two backup hard drives I mentioned, which already have the RAW images on them. I then replace that old folder with this new one that has the full shoot and once I have the full folder on both hard drives (I double check folder sizes to make sure everything copies over correctly), I delete it from my working drive to open up more space on that fast solid state drive.
This system has never let me down; I’m always able to find images for clients and not spend my whole day frustrated while doing it. I keep those 17 hard drives lined up in my closet in order so on the left is my oldest drive and on my right is my newest. When I pull one to find images, if I get the wrong one, I know whether I need to go to a newer or older drive.
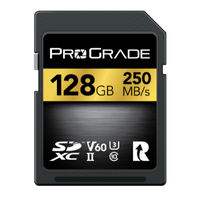
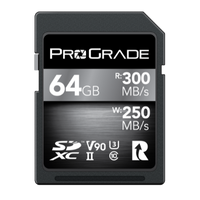
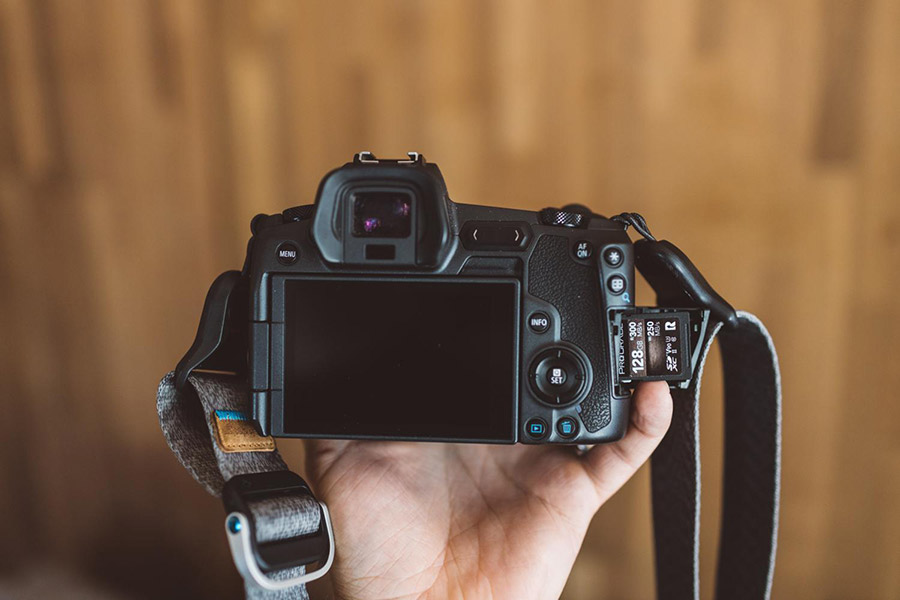
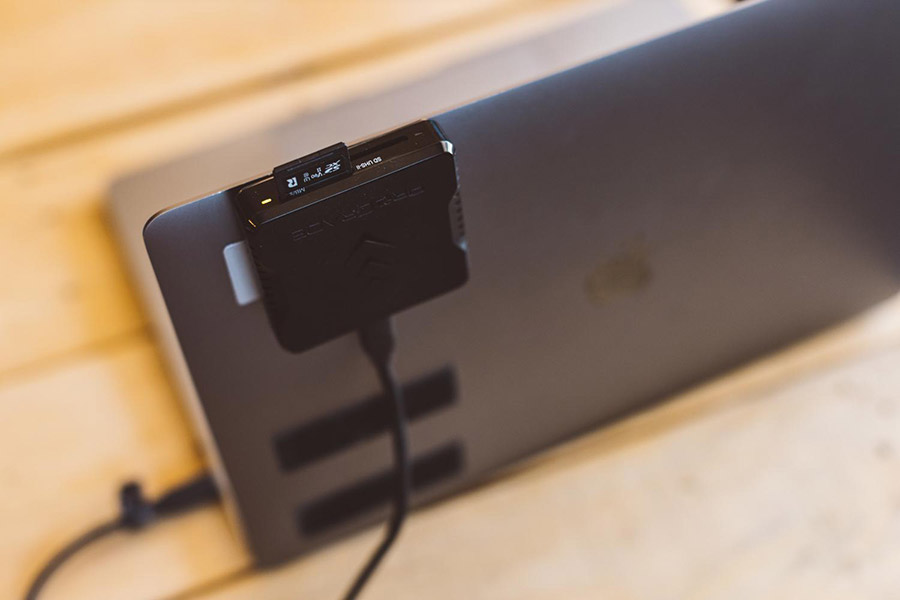
To complete your digital photo storage and organization system, choose ProGrade Digital memory card and memory card readers. Shop now!
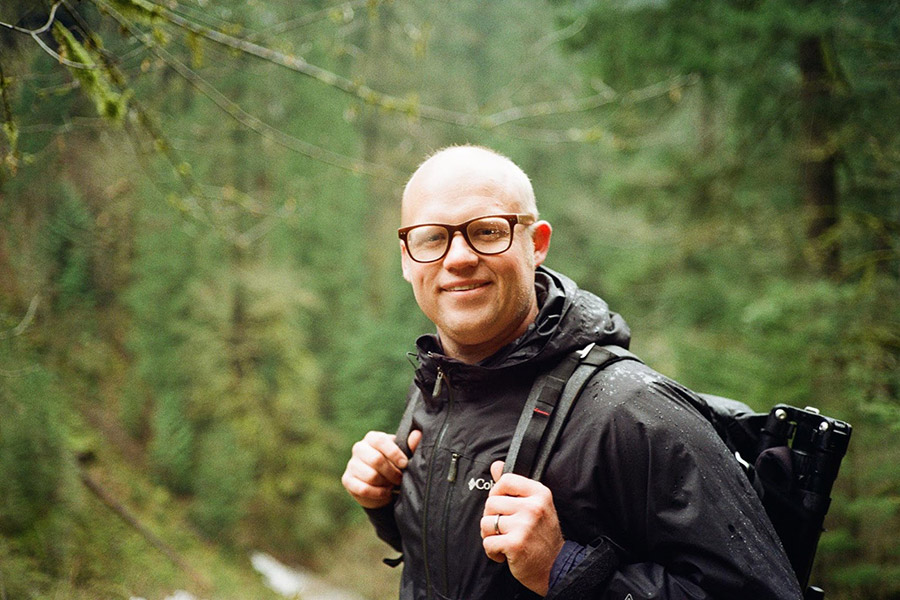
My name is Bryan Rupp, I’ve been a professional photographer since 2006. I’ve photographed over 400 weddings in that time and currently I’m focused on creating photos and videos for entrepreneurs whose businesses are reflections of their passions, as well as supporting and educating creative entrepreneurs. I’m passionate about people and visuals. If you have any questions email me at bryan@bryanrupp.com