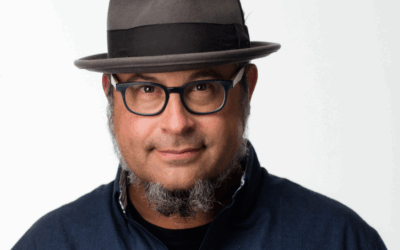
After three decades under the stars, Gabe Biderman isn’t just photographing the night, he’s helping others embrace it. As co-founder of National Parks at Night and a longtime educator, Gabe has made it his mission to teach photographers how to overcome technical challenges, creative blocks, and even a fear of the dark.
In this conversation, Gabe opens up about what first drew him to long exposures, how he builds his gear kit, and why patience and curiosity are the most powerful tools a night photographer can carry. Whether he’s stacking star trails for hours or teaching others how to capture the Milky Way in one of his workshops, Gabe proves that mastering the night is as much about mindset as it is about technique.
We sat down with Gabe to gather his top tips, lessons learned, and real-world advice for anyone ready to step into the dark and create something extraordinary. From gear must-haves to safety strategies and creative inspiration, here’s what he had to share.
“The journey of time still excites me 30 years later. I have a better understanding of what I’ll get, but surprises still happen.” – Gabe Biderman
What initially drew you to night photography, and what keeps you passionate about it after all these years?
I’m a self taught photographer that has had the benefit of attending a wide variety of workshops over the years. When I first began to explore photography, I purchased a DIY pinhole camera, a cardboard box that you could insert 120 roll film and the aperture was a pinhole, the equivalent of f/250. At high noon on a sunny day, your shutter speed would be 8-15 seconds. Wow! The unique visions of time evolving in a single frame blew my mind and I was hooked. The path of the pinhole led me to night photography, which was a little bit easier. But the theme of creating different moments of elapsed time remains the same. In each successive shot something moves in the scene to forever imprint its journey. This journey of time still excites me 30 years later. I have a better understanding of what I’ll get but surprises still happen.
What are the essential pieces of equipment every night photographer should have in their kit?
Most Mirrorless cameras from the last 3-5 years offer excellent image quality but I lean on the full frame cameras for the ultimate in high ISO image quality. When matched with a fast lens like an f/2.8 zoom or an f/1.4 or f/1.8 lens you’ll have a powerful light collecting machine that will operate in the darkest of locations.
There are hundreds of tripods to choose from but finding one that matches your height without the center column extended will give you the best stability for hours of shooting.
I’m a fan of warm flashlights instead of headlamps for both seeing and light painting. Low level LED lights that can get down to 1% power and offer white balance options from 2800-10000 are also invaluable to helping you craft where you want to direct the viewer’s attention in your night scene.
How do you determine the best settings for your camera when shooting at night, particularly for exposure, ISO, and aperture?
Dark sky environments are the trickiest exposures to figure out because there just isn’t much light to see, let alone to gauge an exposure. In these scenarios I immediately raise my ISO to 6400 and open my aperture as wide as it can go, to f/1.8 or f/2.8. This will make the camera more sensitive to the star light that is available. I then adjust my shutter speed somewhere between 4 -15 seconds and keep an eye on that internal meter. It should be close to the middle hash mark for a good starting exposure.
From there, you can juggle the ISOs, apertures, and shutter speeds accordingly to create the desired effect of sharp stars, star trails, cloud or water movement, and more. Sometimes you can’t get the whole scene exposed correctly with one shot. It is very common to take a shorter exposure. (for instance, 8 seconds, f2.8, ISO 12,800) for properly exposed and sharp stars, but it leaves the foreground in a dark silhouette. So without moving the tripod you take a second shot for a clean and well exposed night foreground that still reveals the detail of the landscape but looks like the night. This requires some experimentation but generally is 2 stops more than your sky exposure.
My first thought when considering the longer foreground exposure is, “Does it make sense to just extend the shutter speed by 1-2 stops or do I want to lower the very high ISO and have less grain and noise in the foreground?”
For example, the correct night sky exposure was 8 seconds, f2.8, ISO 12,800. Instead of just doubling my shutter speed to 15 or 30 seconds and having a brighter but grainy foreground, I could lower my ISO to 1600. There is no wiggle room with my aperture, since it is as wide as it can go at f/2.8. The juggle of getting in the correct amount of light and image quality is between the shutter speed and ISO. By lowering my ISO from 12,800 to 1600 I can achieve a cleaner foreground but I lose 3 stops of light. However, I can easily add those 3 stops of light to the shutter speed equation by changing it from 15 seconds to 1 minute. This exposure of 1 minute at f/2.8 at 1600 ISO lets in the same amount of light as 8 seconds, f/2.8, ISO 12,800, but has improved image quality.
Now it’s time to add 1-2 more stops of light to the shutter speed to reveal more information in the foreground. To do that, adjust the 1 minute shutter speed to either 2 minutes or 4 minutes. These adjustments are full stop increments, meaning I either double or half the exposure in manual mode.
Once I successfully capture the higher ISO star point shot and the longer shutter speed/lower ISO foreground shot, I’ll need to blend them together in photoshop. This process is called star-light blends. The key is to keep it looking natural, don’t overexpose the foreground so much that it looks like it was taken during the day. Make it look like you saw it under the gentle glow of the dark night sky.
Can you share some of your favorite techniques for capturing stunning night sky images, such as star trails or the Milky Way?
So the previous example was great for composite star points or the Milky Way. The only missing component is figuring out your maximum shutter speed before stars start to trail. This is dependent on the resolution of your sensor and focal length of the lens. The wider the lens, the longer shutter speed you’ll be able to attain. I typically use the NPF factor in the Photo Pills App under the Spot Stars Pill to figure out my maximum shutter speed before stars start to elongate.
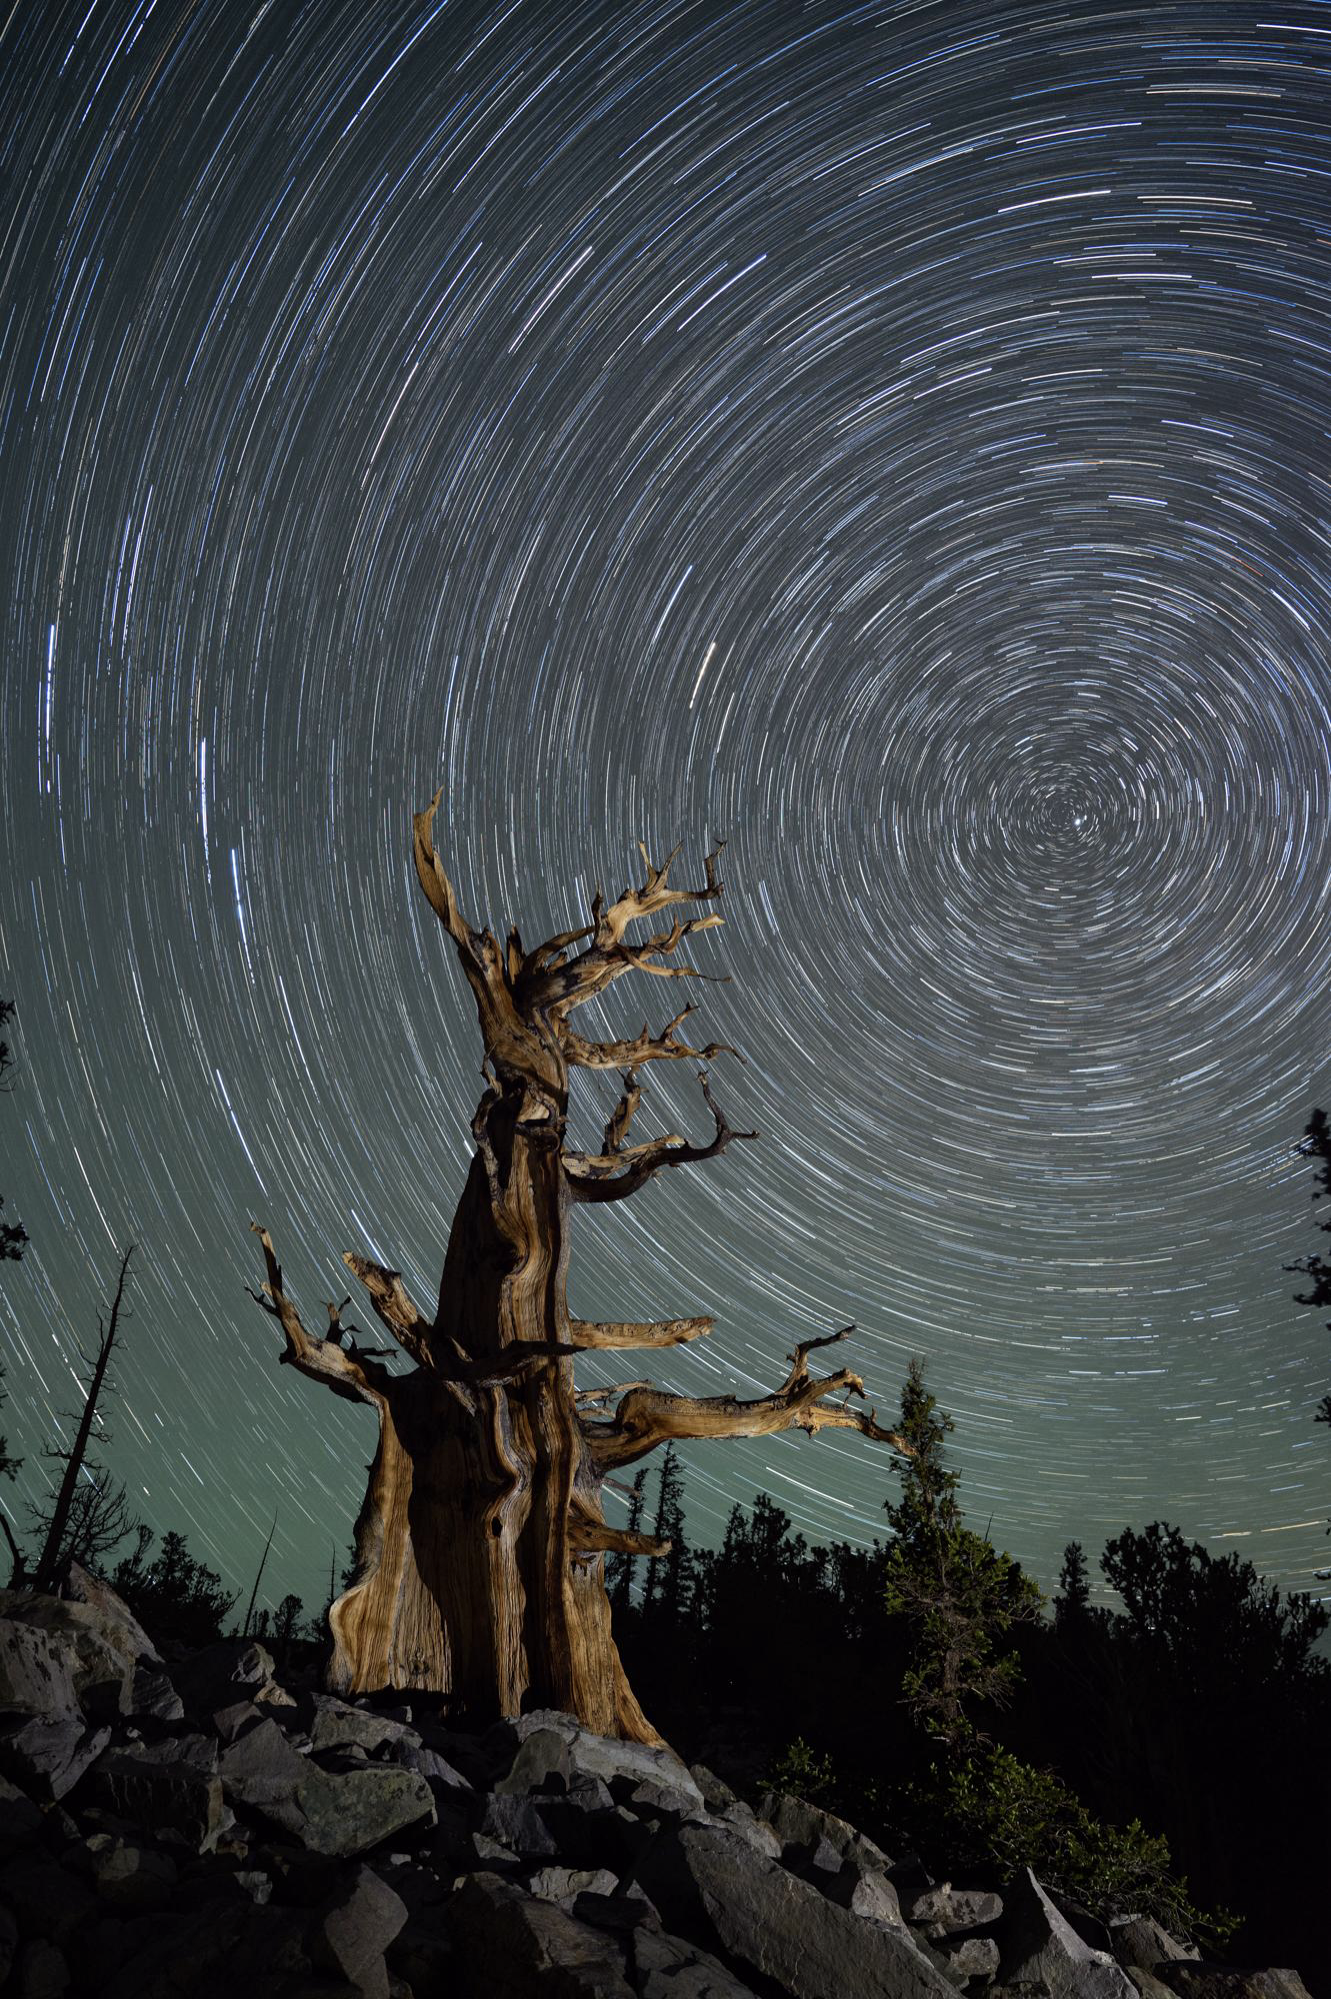
For star trails, it is very common for us to create a stacked star trail. This involves consecutive exposures that we then combine in Photoshop or StarStax to connect all the bright elements in the scene like the stars. This is much easier than doing just a one long exposure, where anything can happen to ruin that single long exposure. When we do consecutive shots (no more than 1 second between) as long as you have 1 clean shot you can use layers in Photoshop to remove any people or light that accidentally came into the scene.
When you point your camera towards the north star and collect over an hour of images you’ll get that epic circumpolar star trail that is very popular. However depending on what direction you point your camera the stars will trail differently and shorter/longer. Excellent star trails can be created in 15 minutes to 4 hours.
How do you approach composition differently when shooting at night compared to daytime photography?
Composition is still king, but what generally happens is that night photographers will want to include more night sky when the stars or interesting clouds are out. I consider myself an astro-landscape photographer, so it is always about the interplay of the landscape against the sky. Oftentimes the sky can take up ½ – ¾ of the composition and I shoot vertically to include more of the sky about 80% of the time.
What are some common mistakes beginners make in night photography, and how can they avoid them?
The most common obstacle is overcoming the things we take for granted with our camera. Exposure and focus, which work so well during the day, are almost null and void in dark sky locations. Autofocus needs contrast and there is very little at night unless you are in an urban location. So manual focusing and seeing are a challenge. Nikon offers Starlight View and Sony has Bright Sky Monitoring that gain up our LCD and EVF screens so we can see and compose but focusing can still be tricky in this granular view.
If I have a subject that is closer than 20-30 feet I might shine a low level light on it to assist with manual focusing. If the subject is past 30 feet, usually infinity focus will work with wide angle lenses.
What are the biggest challenges you face when shooting at night, and how do you overcome them?
Getting comfortable and “warming up” are the biggest challenges. When going out on a night shoot, I like to dedicate 3-5 hours of time. I scout during the day and have a shortlist on my phone of what I want to do. But things can be flipped at night and look totally different. Being open to what the scene now looks like at night instead of obsessing over something you might have seen during the day will help make you a more proficient night photographer. Patience is also needed. Night photography is a slow process. It typically takes me 5-10 shots to compose, focus and make adjustments before I commit to either a quick shot or hour-or-more long shot. I often bring two rigs (two tripods, cameras, lenses, everything) so that I can have one set up doing a long term image, like a star trail or time lapse, and the other rig for focusing on shorter exposures that will cover more ground. In the end, I’m thrilled if I come home with 4-5 setups from each camera.
How do you stay safe and prepared when shooting in remote or challenging environments at night?
Photograph with friends or a group. When you are shooting solo you can get unnerved and if something happens in a remote location with no reception, that can be big trouble. If you are by yourself, bring a Garmin or phone that you can communicate over satellite in case of emergency. But when you are with a group or friends, the whole experience is more enjoyable. Plus, working together and bouncing around ideas is invaluable.
Wearing good shoes, using lights to safely walk, and bringing plenty of water are also key essentials to staying safe. I might also suggest playing music, not at an annoying level, but it will also let animals know that you are there, and they will generally avoid you unless you have some food exposed.
Who or what inspires your night photography, and how do you continue to learn and grow in this field?
First and foremost, my colleagues and attendees constantly inspire me. We all see the world differently and I love bringing a group to a location and we all come home with different interpretations. We are always looking on Instagram and online to see what other people are doing. There is some amazing work out there in the deep space, astro-landscape, and light painting worlds. We produce two conferences a year. The online Night Photo Summit gathers night creators from all over the world. Our in-person gathering is called Nightscaper Photo Conference and takes place in a dark sky location where 300+ people can gather and learn from 20+ instructors as well as go out and photograph at some pretty cool locations each night. Through these events we’ve gotten a closer look at some really inspiring night photographers like Dan Zafros from Capture the Atlas, Jess Santos, Joshua Snow, Katrina Brown, Mike Shaw, night painter and photographer Cathrin Machin and of course the late Alyn Wallace to name a few.
Anything else you’d like to share about this incredible and inspiring field?
Overcome your fear and Seize the Night!
Follow the Light—Even in the Dark
Night photography can feel daunting, but with insight, intention, and the right tools, it becomes one of the most creatively rewarding experiences in all of photography. Gabe Biderman’s passion for the genre is contagious, and his advice is grounded in years of shooting, teaching, and evolving alongside the night itself.
No matter if you’re a total beginner or a seasoned shooter who is looking to level up, Gabe’s guidance is a reminder that the dark isn’t something to fear—it’s something to explore. So grab your gear, set up your tripod, and remember: the stars are always there—you just need to look up.